The most popular 5 star classic New York Baked Cheesecake recipe – rich, creamy and absolutely foolproof (perfect for beginners!)
A restaurant quality dessert made with a crunchy cookie crumb base and a dense baked cheesecake filling with subtle vanilla and fresh lemon flavours.
Serve with fresh blueberries and a light dusting of icing sugar (confectioners sugar) for the most delicious dessert for any occasion or a special celebration.
Follow my top tips for baking the perfect (crack-free!) baked cheesecake every single time.
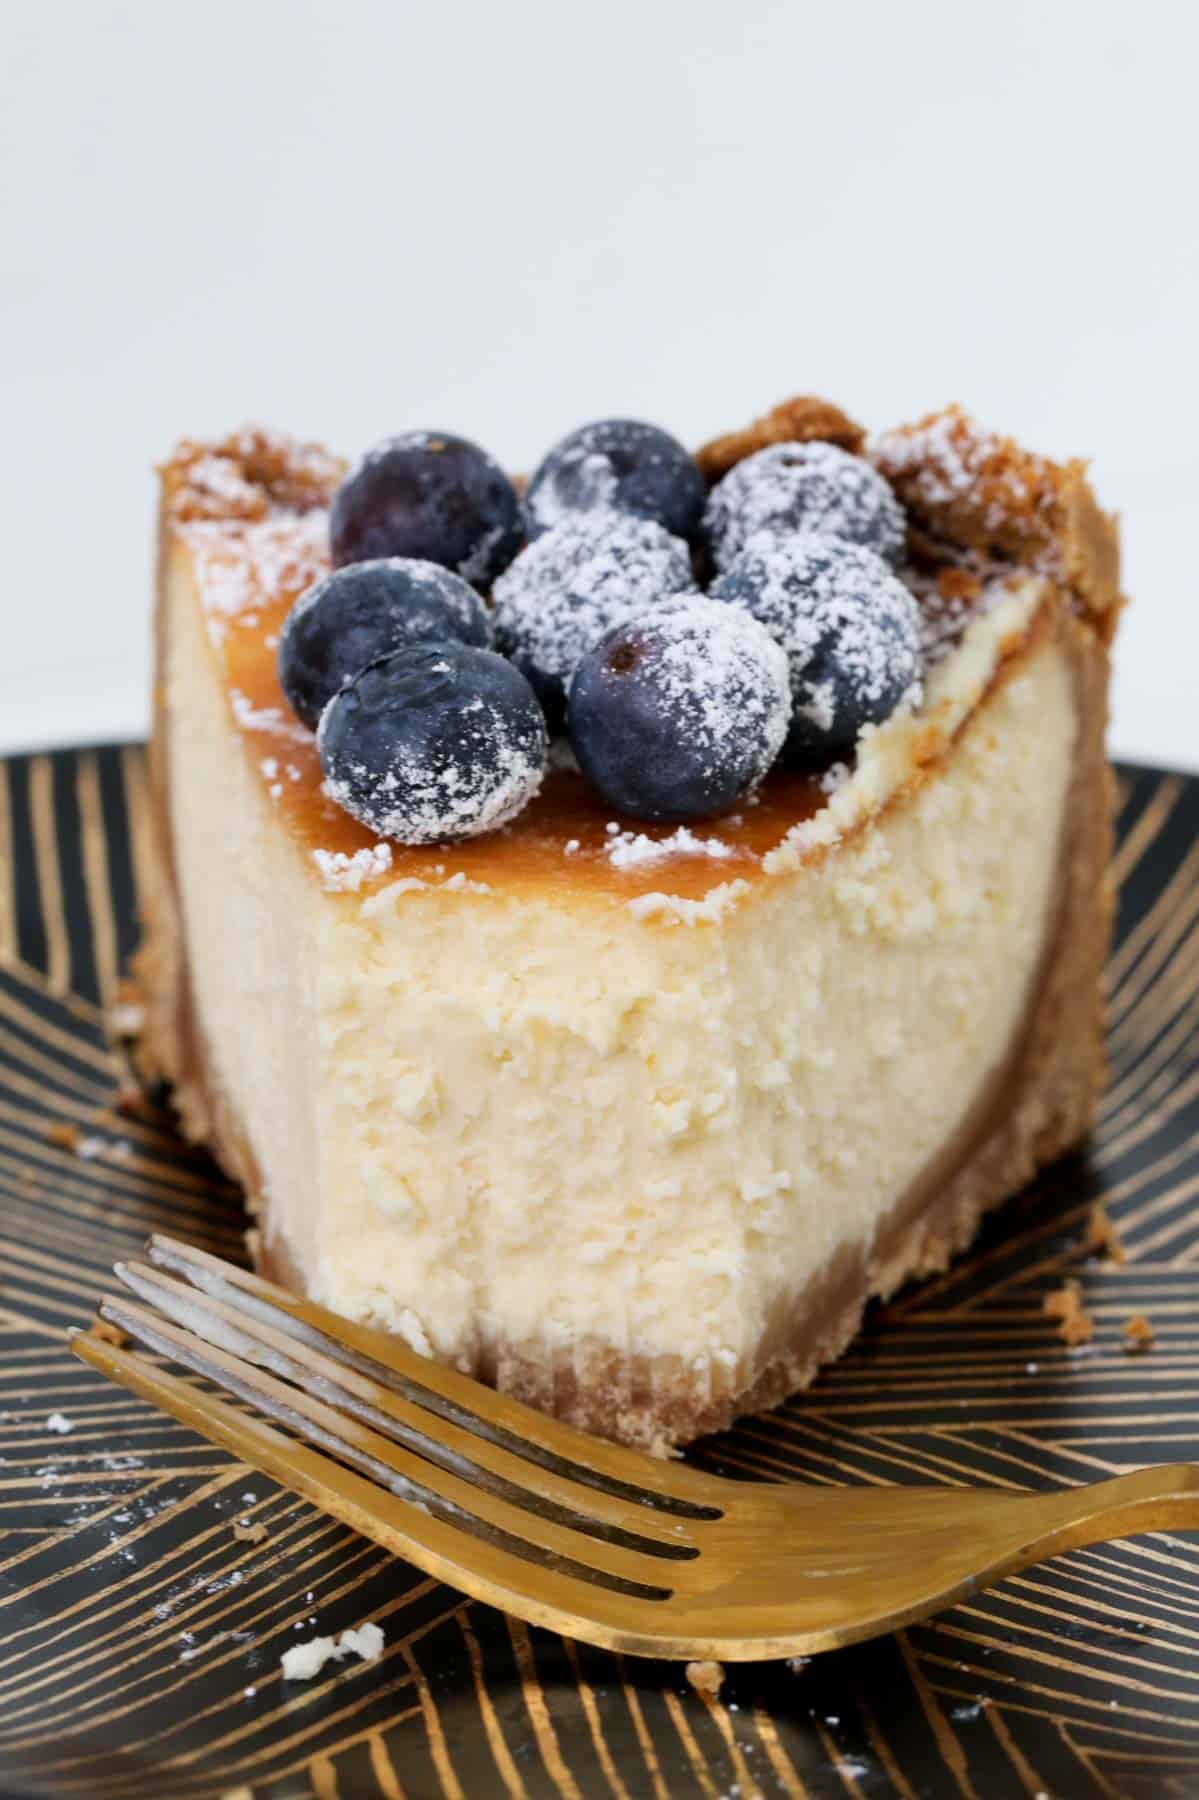
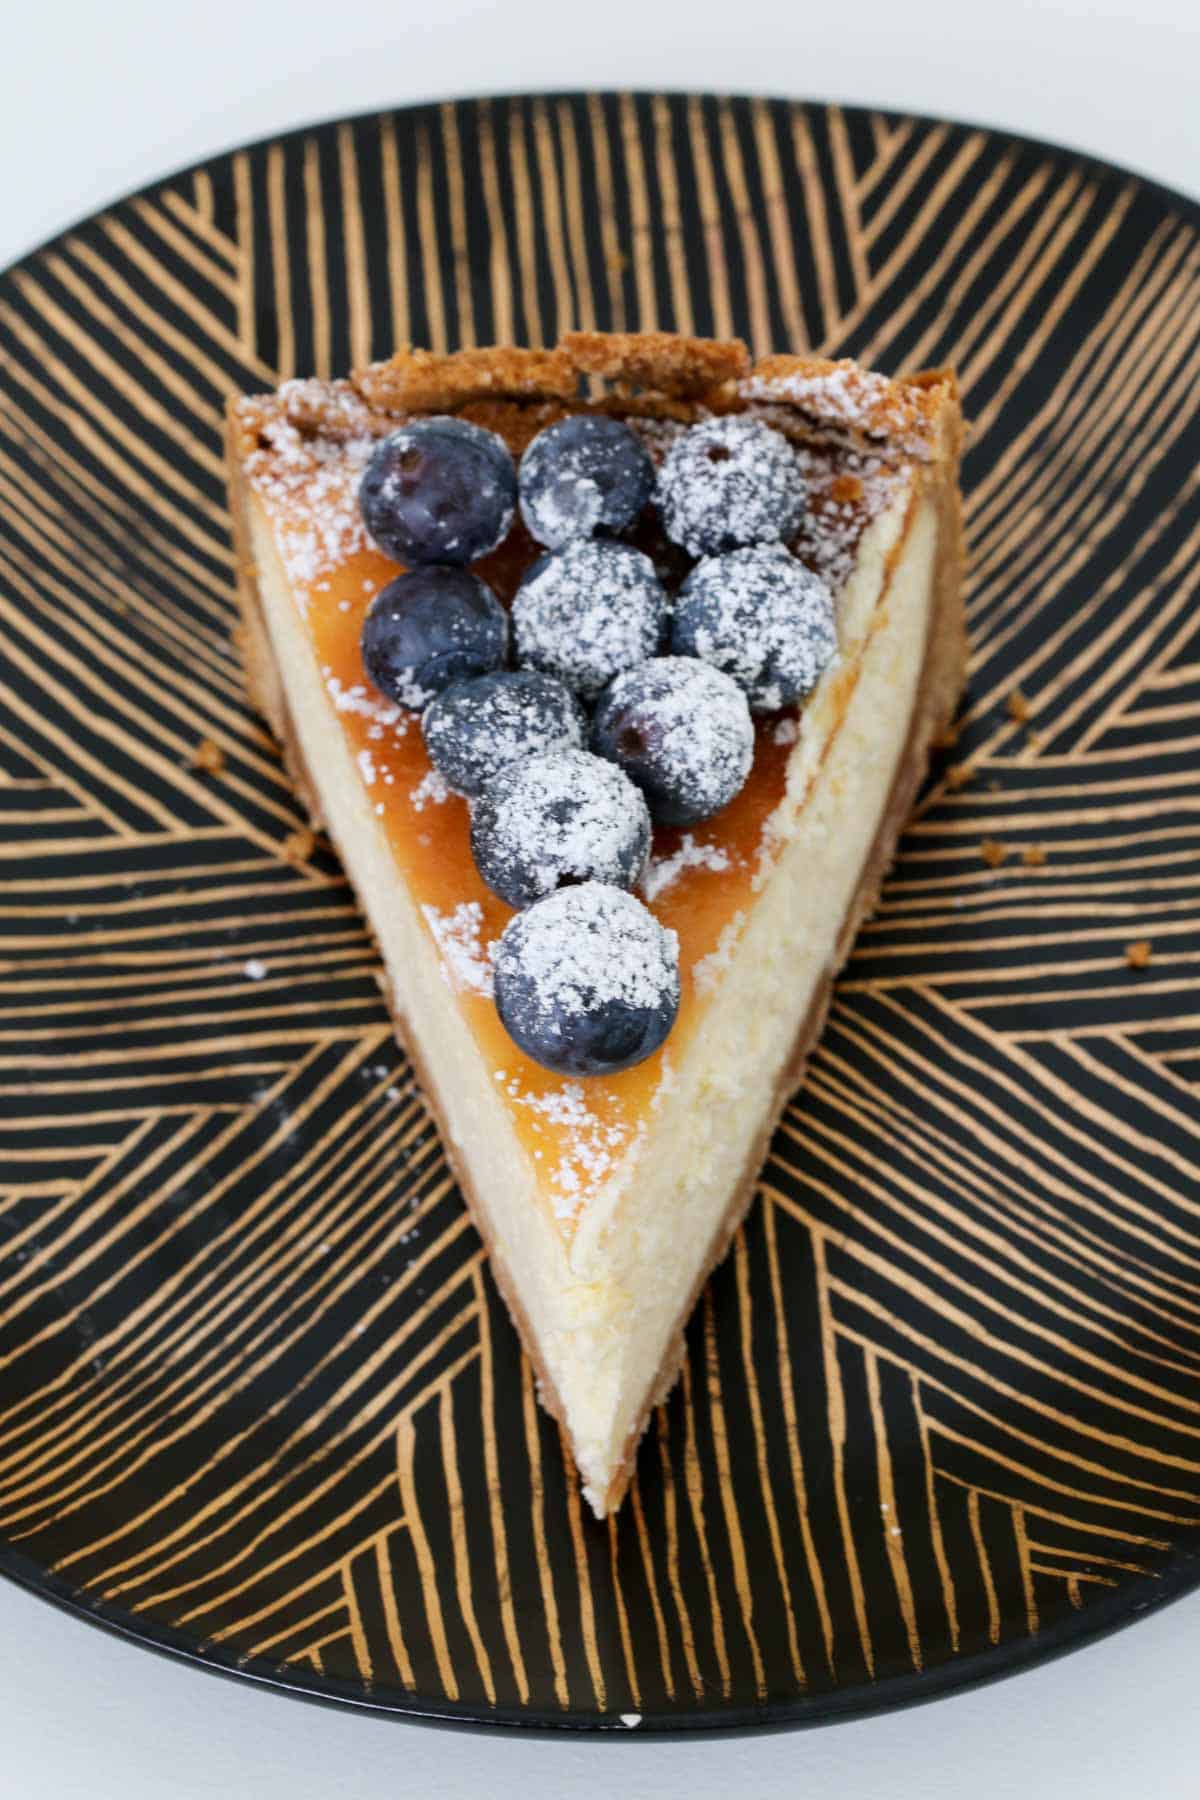
A perfectly baked New York cheesecake is the ultimate dessert, with it’s rich, dense and creamy filling surrounded by a melt-in-your-mouth cookie base.
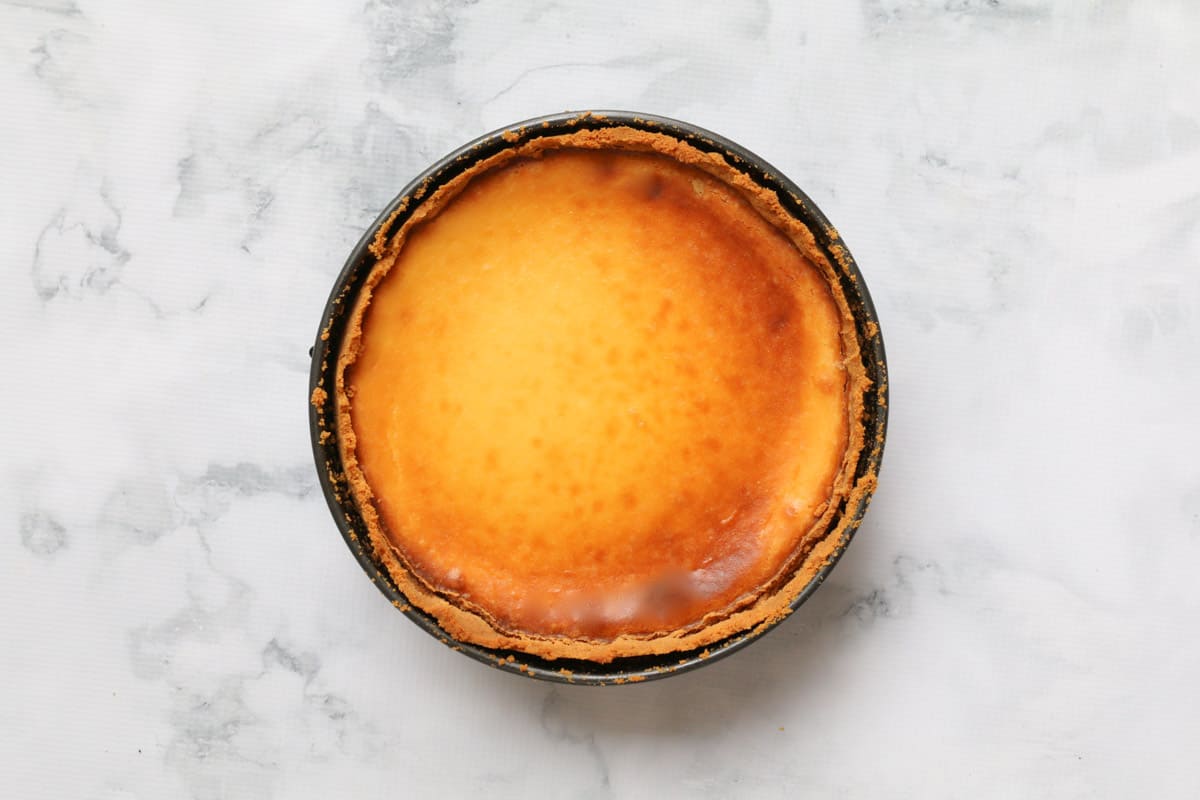
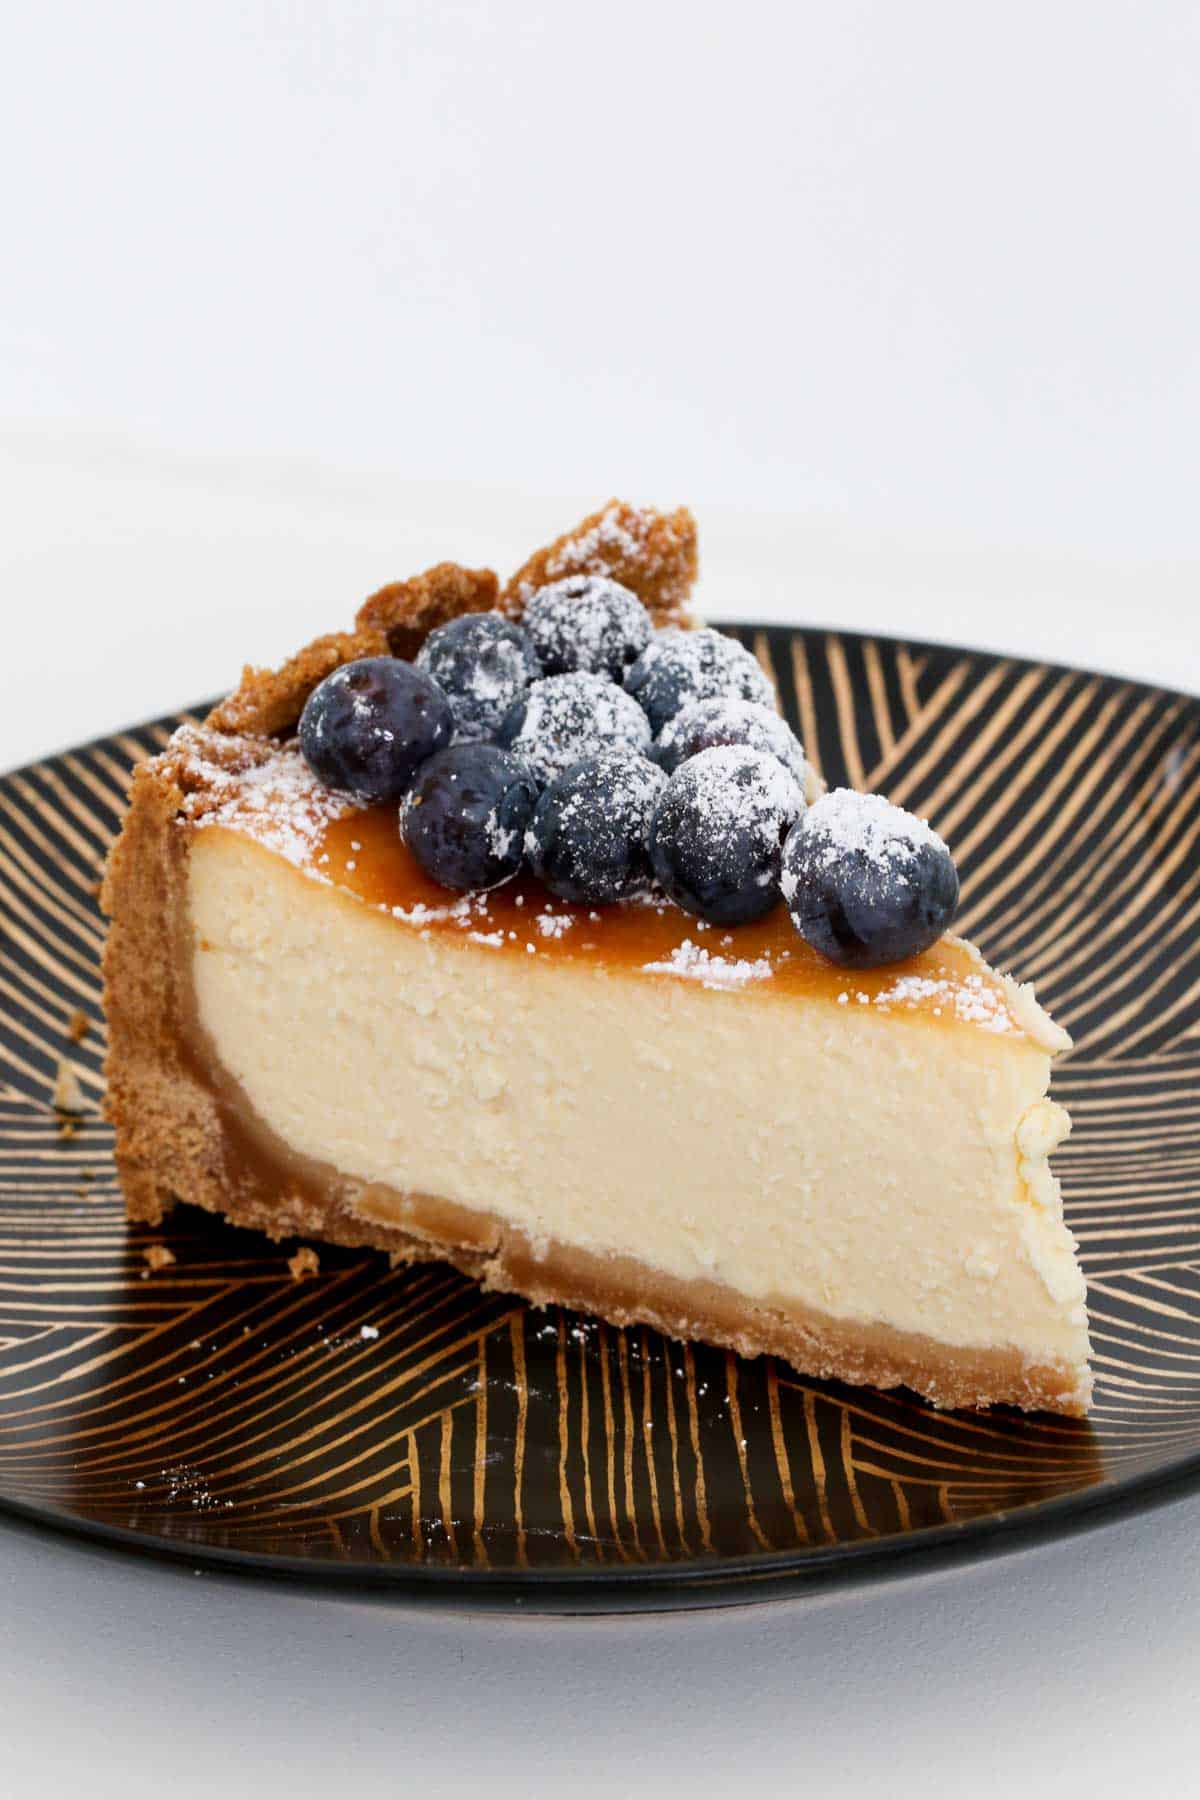
When baked correctly, a New York cheesecake will not crack or deflate in the middle, rather it will be perfectly flat and smooth – check out my tips below to see how easy it is!
Like all baked cheesecakes, (including everyones favourite Baked Lemon Cheesecake and White Chocolate & Raspberry Cheesecake Slice), a New York baked cheesecake requires time and patience… but the end result is so worth the wait!
Table Of Contents
- Why You’re Going To Love This Recipe
- 5 Star Reviews
- What You Need
- For The Base
- For The Filling
- Equipment Required
- Step By Step Instructions
- Step 1 – Prepare The Cookie Crumb Base
- Step 2 – Press The Mixture Into Tin
- Step 3 – Prepare The Filling
- Step 4 – Bake Low And Slow
- Step 5 – Turn The Oven Off With The Cheesecake Inside
- Step 6 – Chill In The Refrigerator
- Step 7 – Allow To Come To Room Temperature
- Serving Suggestions
- How To Stop A Baked Cheesecake From Cracking
- FAQ’s
- Expert Tips
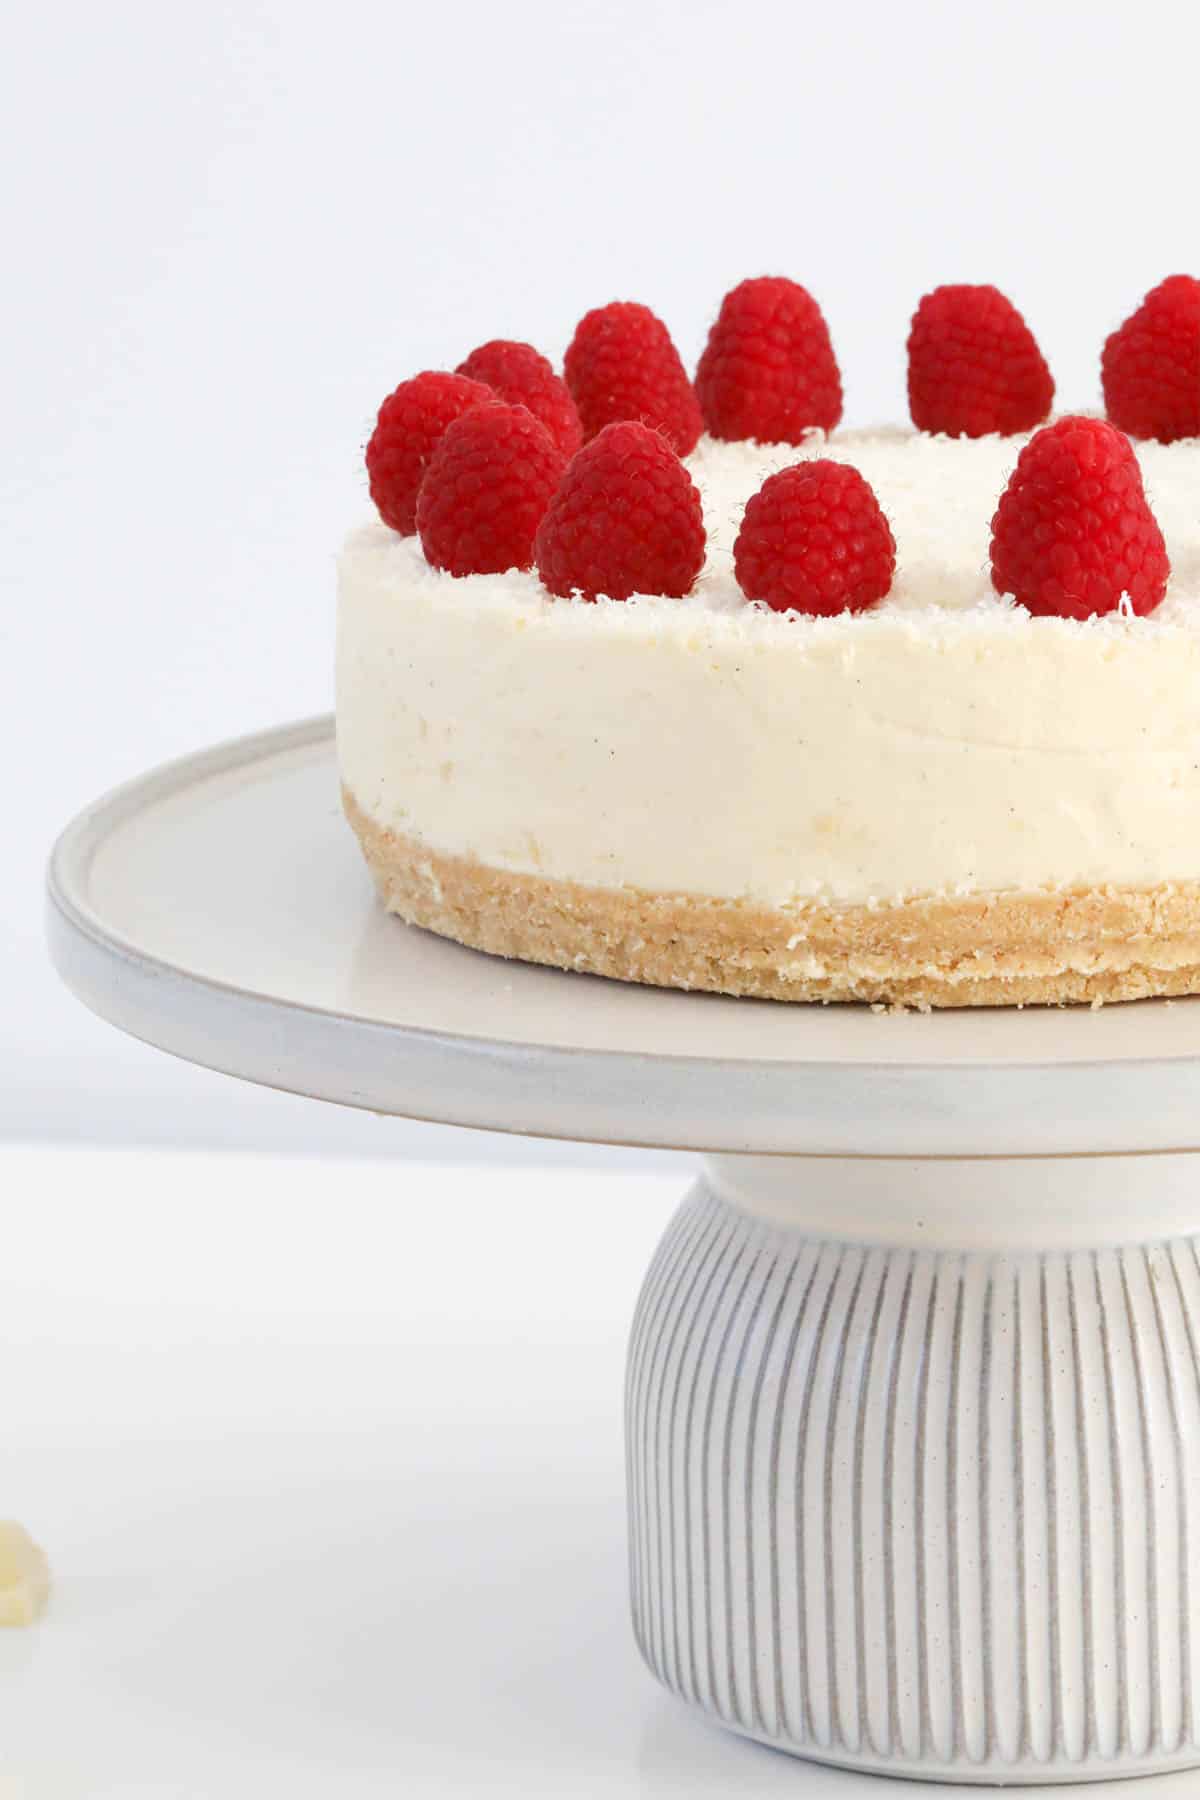
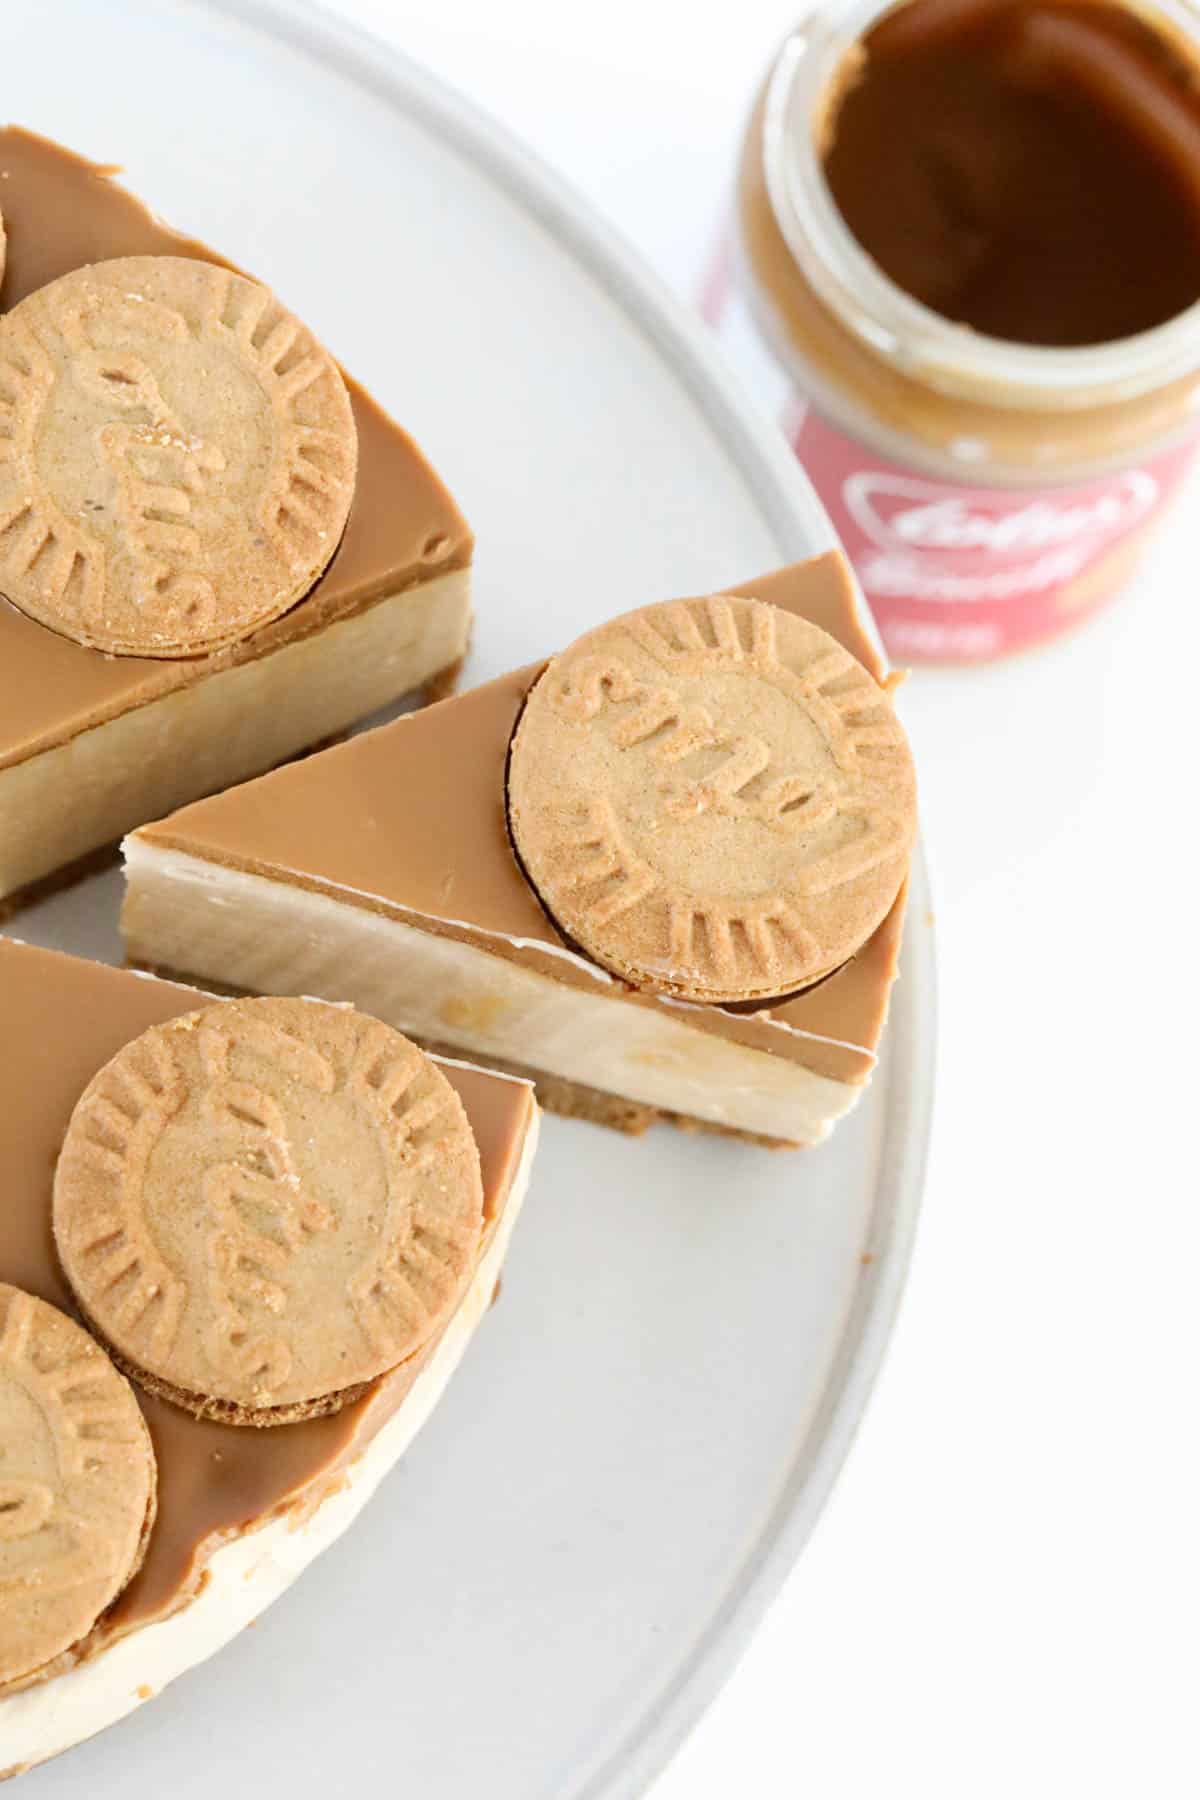
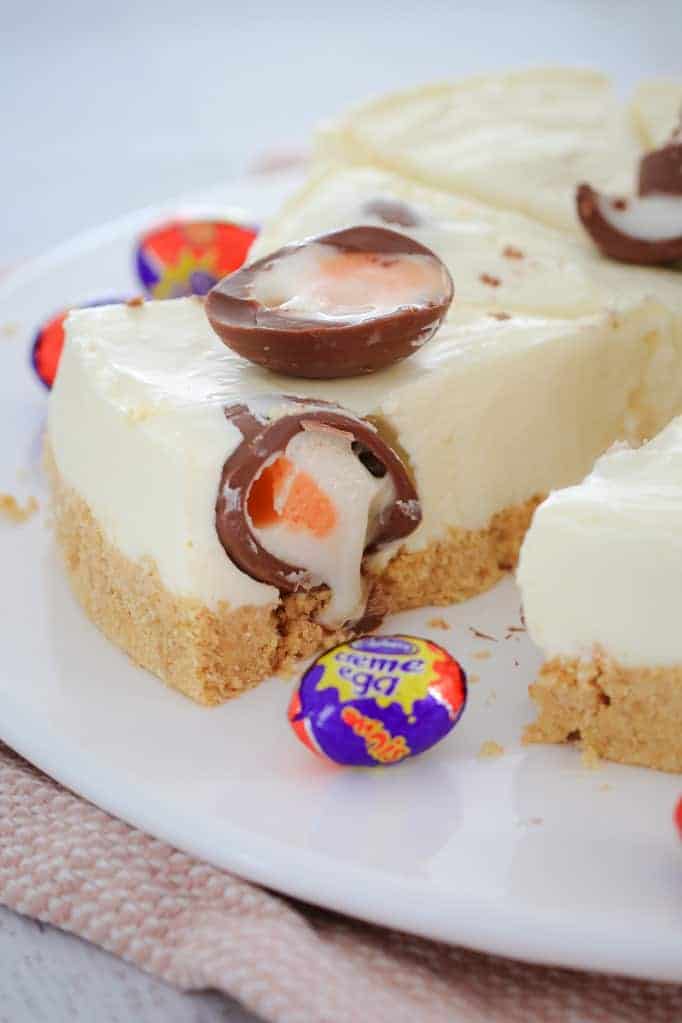
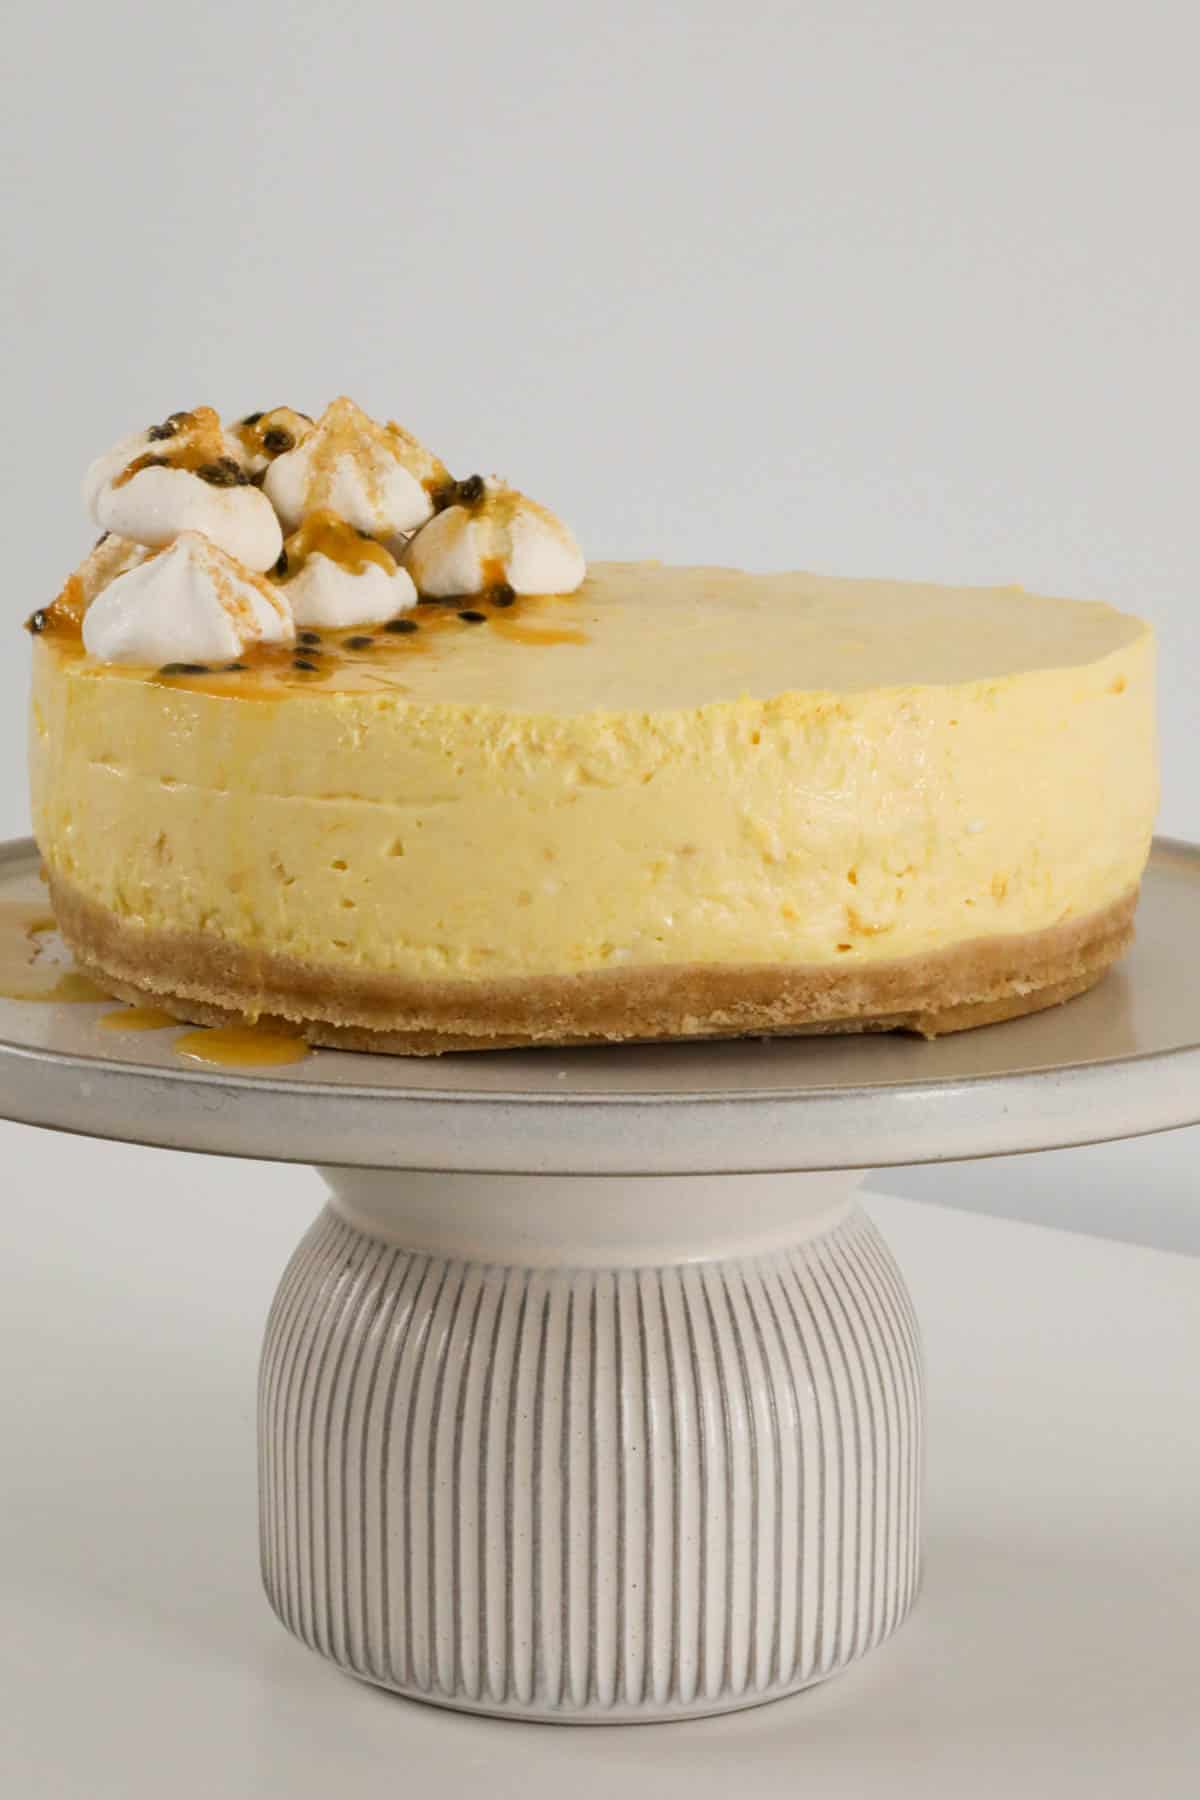
- More Cheesecake Recipes
Why You’re Going To Love This Recipe
This show-stopping dessert is restaurant quality… but so easy to make!
- Perfect for celebrations – this classic New York Baked Cheesecake recipe is my go-to for birthdays, Christmas, Easter, dinner parties… absolutely any event when I need an impressive looking and deliciously tasting dessert!
- 5 Star recipe – have a read through all of the 5 star reader reviews below. This recipe is certainly well LOVED!
- Flawless, crack-free cheesecake – follow my top tips for a perfect baked cheesecake every single time!
- Conventional and Thermomix- this cheesecake recipe can be made conventionally or in a Thermomix. You will find both the conventional and Thermomix methods in the recipe card at the bottom of the post.
- Luscious & creamy – baking the cheesecake low and slow ensures a super creamy and soft filling. It’s simply decadent….
- Most popular cheesecake – a New York Baked Cheesecake is the all-time classic cheesecake! Popular worldwide, this is the number 1 cheesecake recipe you need in your life.
- Perfect for beginners – whether you’ve been baking cheesecakes for years, or are just starting out, my tips and step by step instructions will ensure a crack-free perfectly baked cheesecake!
5 Star Reviews
This American Baked Cheesecake is one of my most popular desserts!
Here’s just a few of the many 5 star reader reviews…
Jen – First timer to baked cheesecakes! I followed this recipe and hints to the dot and studied all the notes and it’s come out 100% perfect. No cracks or pulling from the biscuit base on the sides. Must say I’m pretty impressed with myself. *****
Christina – This tastes simply amazing and turns out every time. *****
Aneeta – This is my first time ever making a cheesecake. And it was a real hit!! I made it for my son’s birthday and everyone was amazed by how delicious it was! Thank you so much for sharing your recipe! I must admit it is the best cheesecake I have tasted. You are awesome!! If I could give 10 stars for your recipe I would!! Thank you also for the tips!! So helpful. *****
Douglas – Tried this recipe 5 times now and it’s the best ever way to fattening you up beautiful dessert pure indulgence. *****
Abi – I have made this cheesecake a couple of times in the Thermomix and each time it comes out perfect! Great recipe. *****
Matt – Exactly what I was hoping for! Followed this recipe closely and it came out perfect! Thanks again Lucy. *****
Lesi – Oh my goodness – I’ve never known whether it was the way I followed recipes or just bad luck but cheesecakes have NEVER worked for me; they always come out cracked and burnt. This is the first recipe that has come out absolutely PERFECT!! Thank you soooo much – this will now be my go to for a fabulous cheesecake! *****
What You Need
This New York baked cheesecake makes such an elegant dessert, always worthy of a special occasion!
Note: Scroll to the recipe card at the bottom for the ingredients quantities and full detailed method.
For The Base
- Biscuit/Cookie crumbs – (like graham crackers in the US, Arnott’s Marie or Nice biscuits in Australia, or digestive biscuits)
- Butter – you can use either salted or unsalted butter in this recipe.
For The Filling
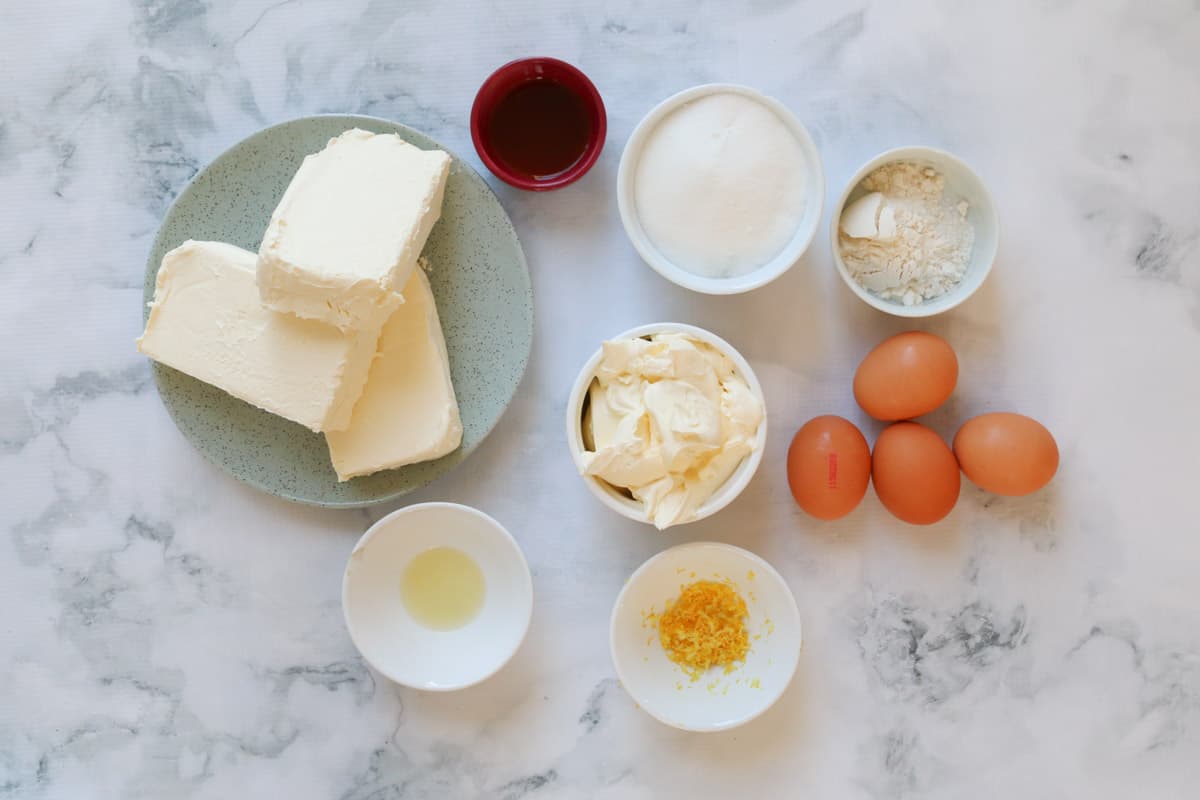
- Cream cheese – use blocks of full fat cream cheese like Philly brand (not light or spreadable).
- Caster sugar – also known as superfine sugar. This type of sugar is perfect for cheesecakes as it dissolves well when mixed with the cream cheese.
- Vanilla extract – or use vanilla essence or vanilla bean paste.
- Lemon rind – use a zester to finely grate the lemon rind.
- Lemon juice – use freshly squeezed lemons or store-bought lemon juice.
- Plain flour – also known as all-purpose flour.
- Eggs – use large eggs (approx 60g each) and bring to room temperature before using.
- Sour cream – use full fat (not light or skim) sour cream.
Equipment Required
My New York Baked Cheesecake can be made conventionally or with a Thermomix.
If making the baked cheesecake conventionally, you will need:
- 23cm springform pan – ensure the base and sides of the tin are greased and lined with baking paper. It’s important to use a loose bottomed pan when baking a cheesecake as this allows for easy removal of the cheesecake once baked and chilled.
- Food processor (or rolling pin) – for crushing the biscuits.
- Microwave or stove-top – for melting the butter.
- Hand-held beaters or a stand-mixer – for mixing the cheesecake filling together.
- Oven – it’s important to cook a baked cheesecake slowly in a low oven to avoid cracking.
If making the baked cheesecake with a Thermomix, you will need:
- 23cm springform pan – ensure the base and sides of the tin are greased and lined with baking paper. It’s important to use a loose bottomed pan when baking a cheesecake as this allows for easy removal of the cheesecake once baked and chilled.
- Thermomix – this recipe is suitable for use in all models of the Thermomix. The machine will do everything for you… from melting the butter, crushing the biscuits and mixing the filling.
- Oven – it’s important to cook a baked cheesecake slowly in a low oven to avoid cracking.
Step By Step Instructions
Once the base is pressed into the tin and chilling in the fridge you can mix the creamy filling.
Note: Scroll to the recipe card at the bottom for the ingredients quantities and full detailed method.
Step 1 – Prepare The Cookie Crumb Base
Crush the biscuits into crumbs and melt the butter.
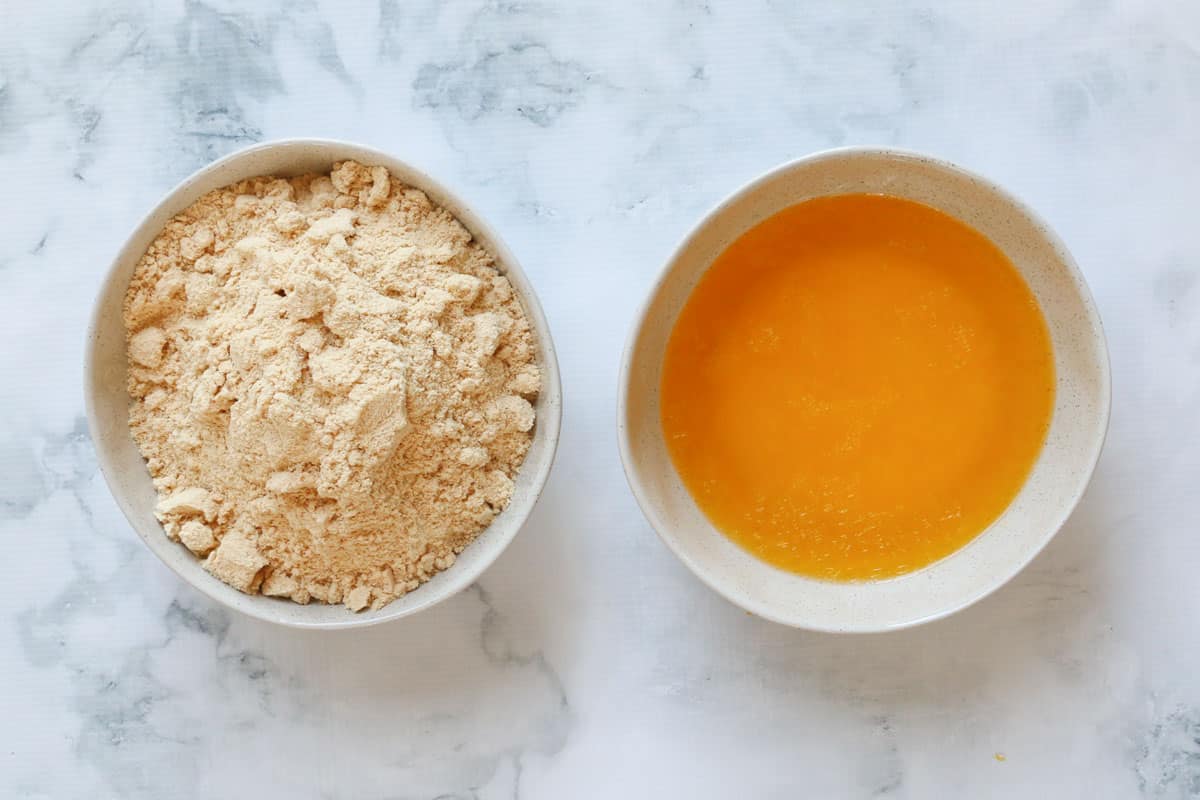
Mix melted butter and cookie crumbs together until moist and evenly coated.
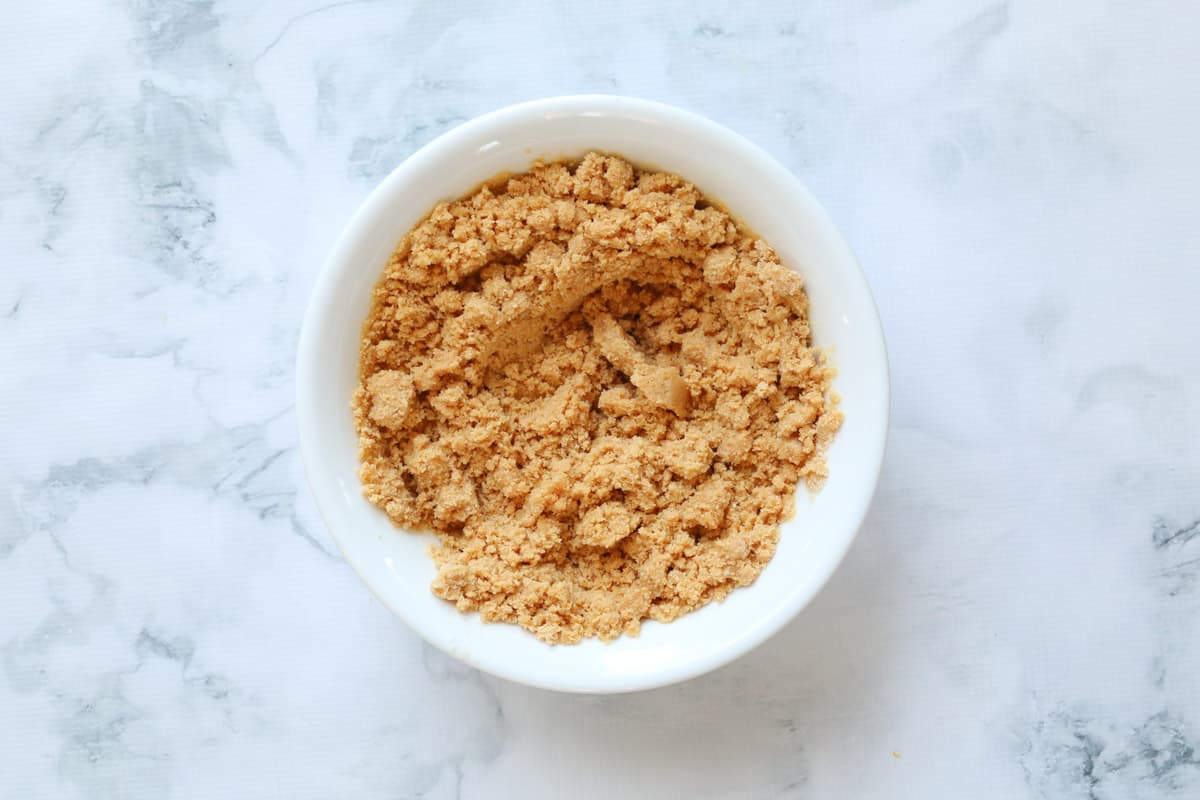
Step 2 – Press The Mixture Into Tin
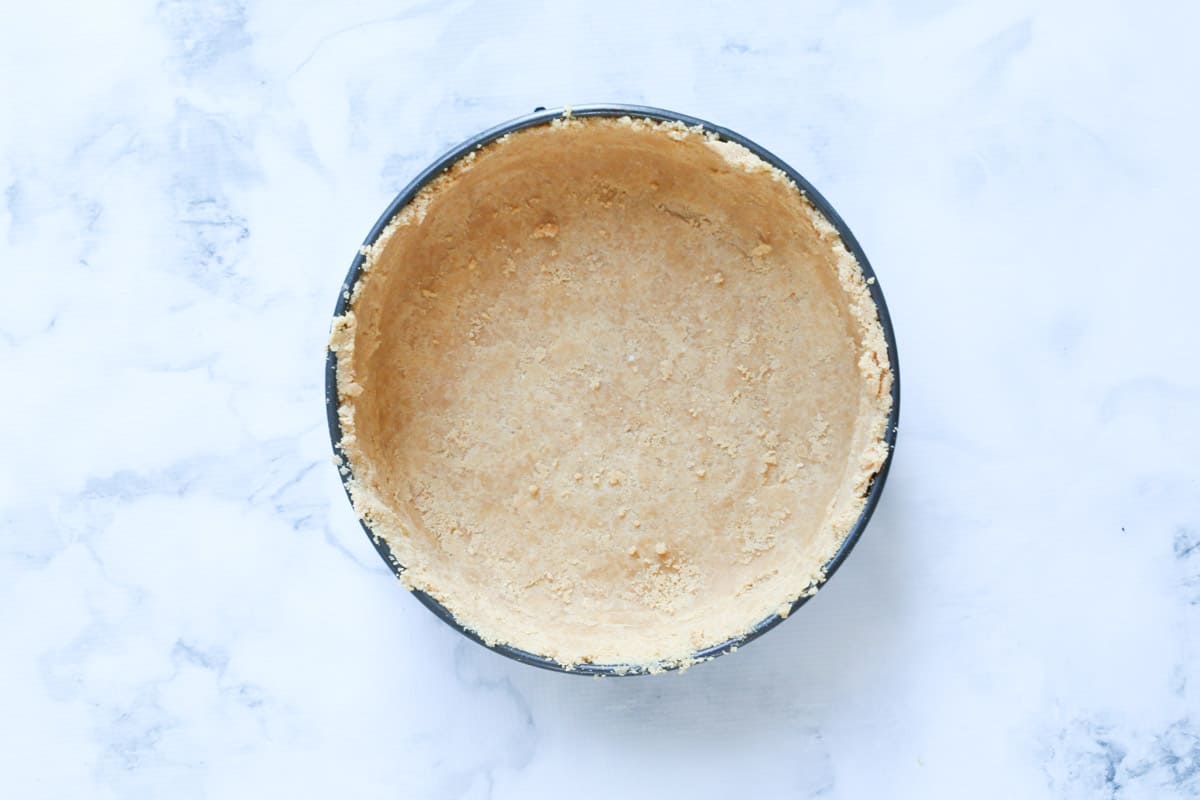
Press the cookie crumb mixture firmly into the base and sides of a greased and lined 23cm springform pan.
TIP: I recommend using a round, flat glass to press the mixture down as firmly as you can on the base, ensuring that you leave enough mixture to cover the sides of the tin as well. Use a spoon to scoop the mixture onto the sides of the tin and press firmly to the sides.
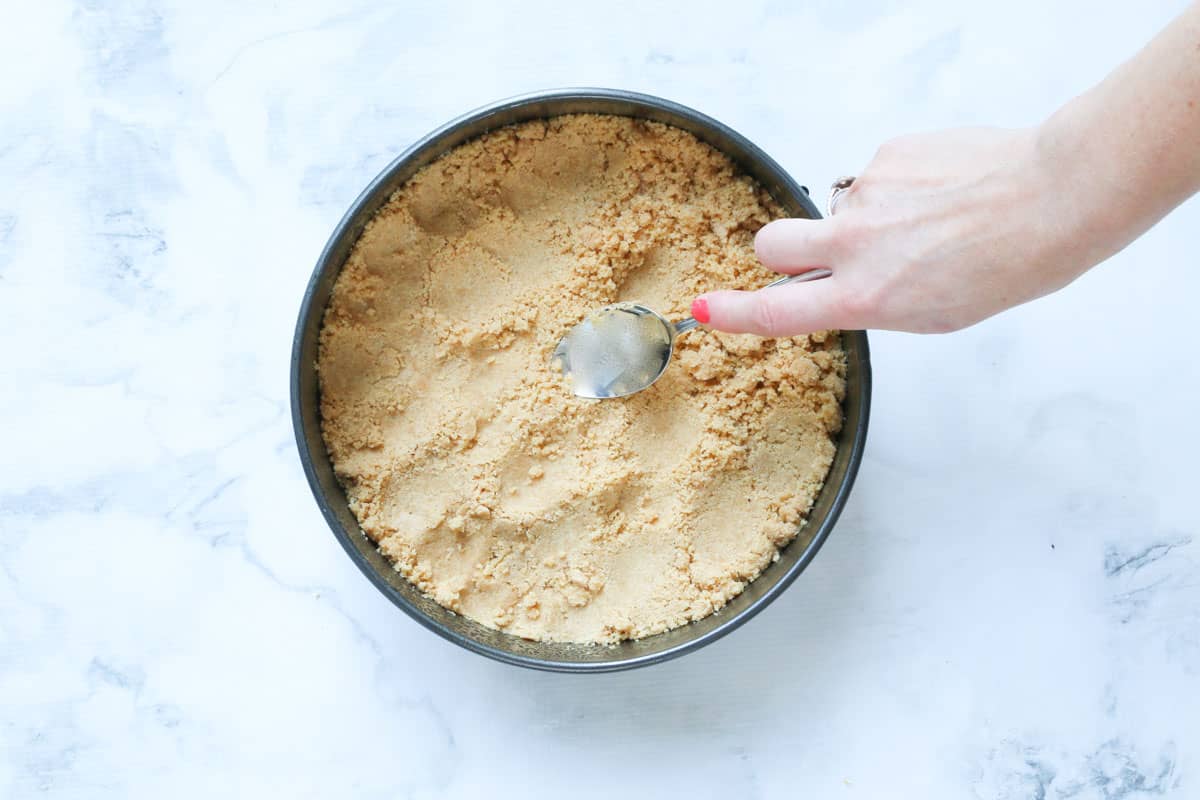
Chill in the fridge for at least 30 minutes.
Step 3 – Prepare The Filling
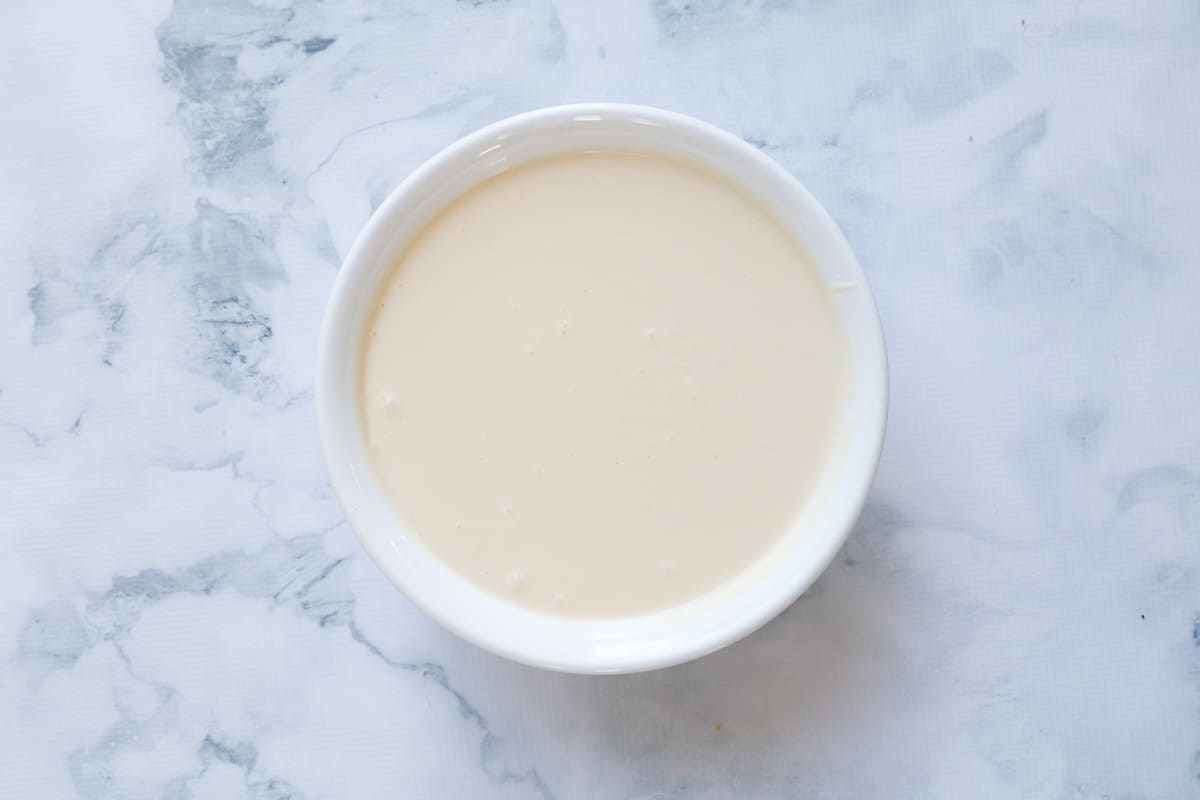
Beat the cream cheese, caster sugar, vanilla, lemon juice and lemon rind with electric beaters or a stand-mixer until just combined (don’t over-beat – see tips below).
Very gently beat in the flour and then the eggs (one by one). Continue to beat until just combined.
Stir through the sour cream until combined and then pour into the prepared tin.
TIP: You can fill the mixture almost to the very top as the cheesecake will not rise.
Step 4 – Bake Low And Slow
Put the cheesecake tin onto a flat baking tray (to catch any drips or spills) and place into a low oven set to 140 degrees celsius (fan-forced) or 160 degrees celsius (conventional).
Bake for 1 ¼ hours.
Do NOT open the door at any stage as this will cause the cheesecake to crack and sink.
Step 5 – Turn The Oven Off With The Cheesecake Inside
Once the cooking time is up, switch off the oven but still do NOT open the door.
Leave in the oven with the door closed for 2 hours.
After two hours, remove the cheesecake from the oven and place onto the bench to cool completely.
Step 6 – Chill In The Refrigerator
Place the cheesecake (still in the baking tin) into the fridge for a minimum of 4 hours (preferably overnight).
Step 7 – Allow To Come To Room Temperature
A baked cheesecake tastes its very best when served at room temperature.
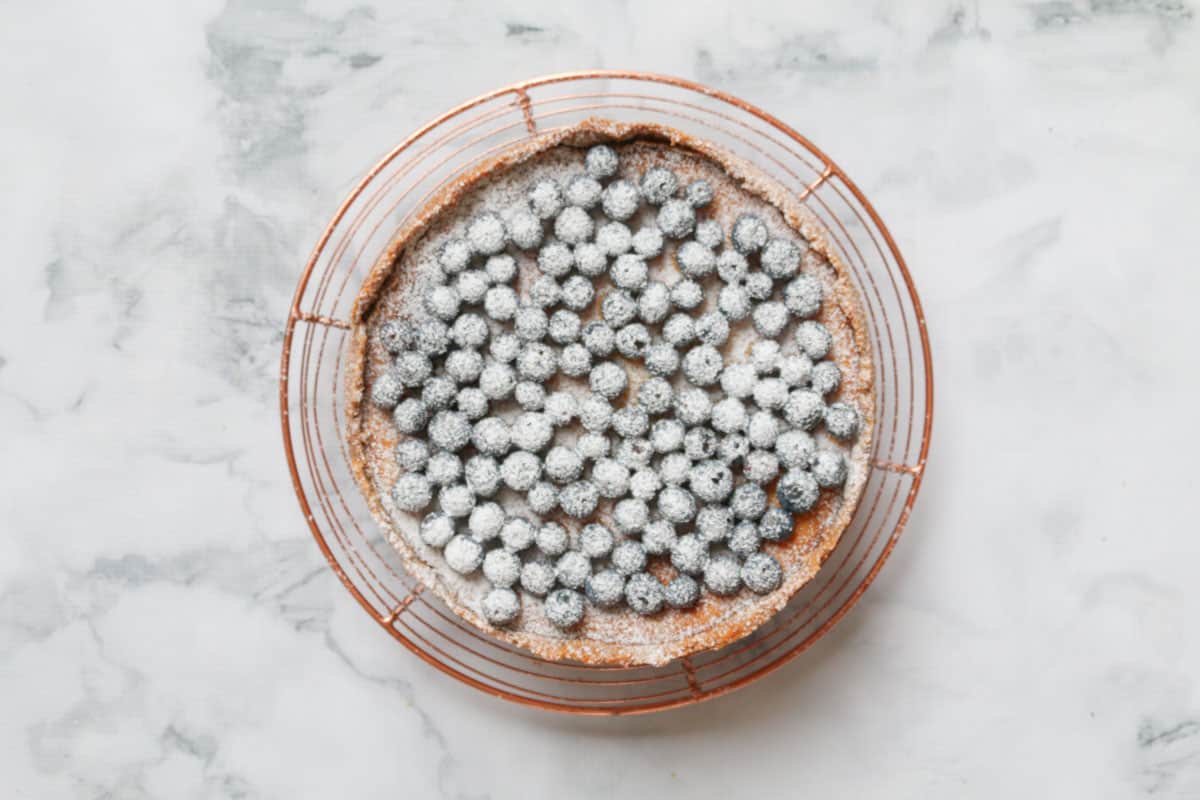
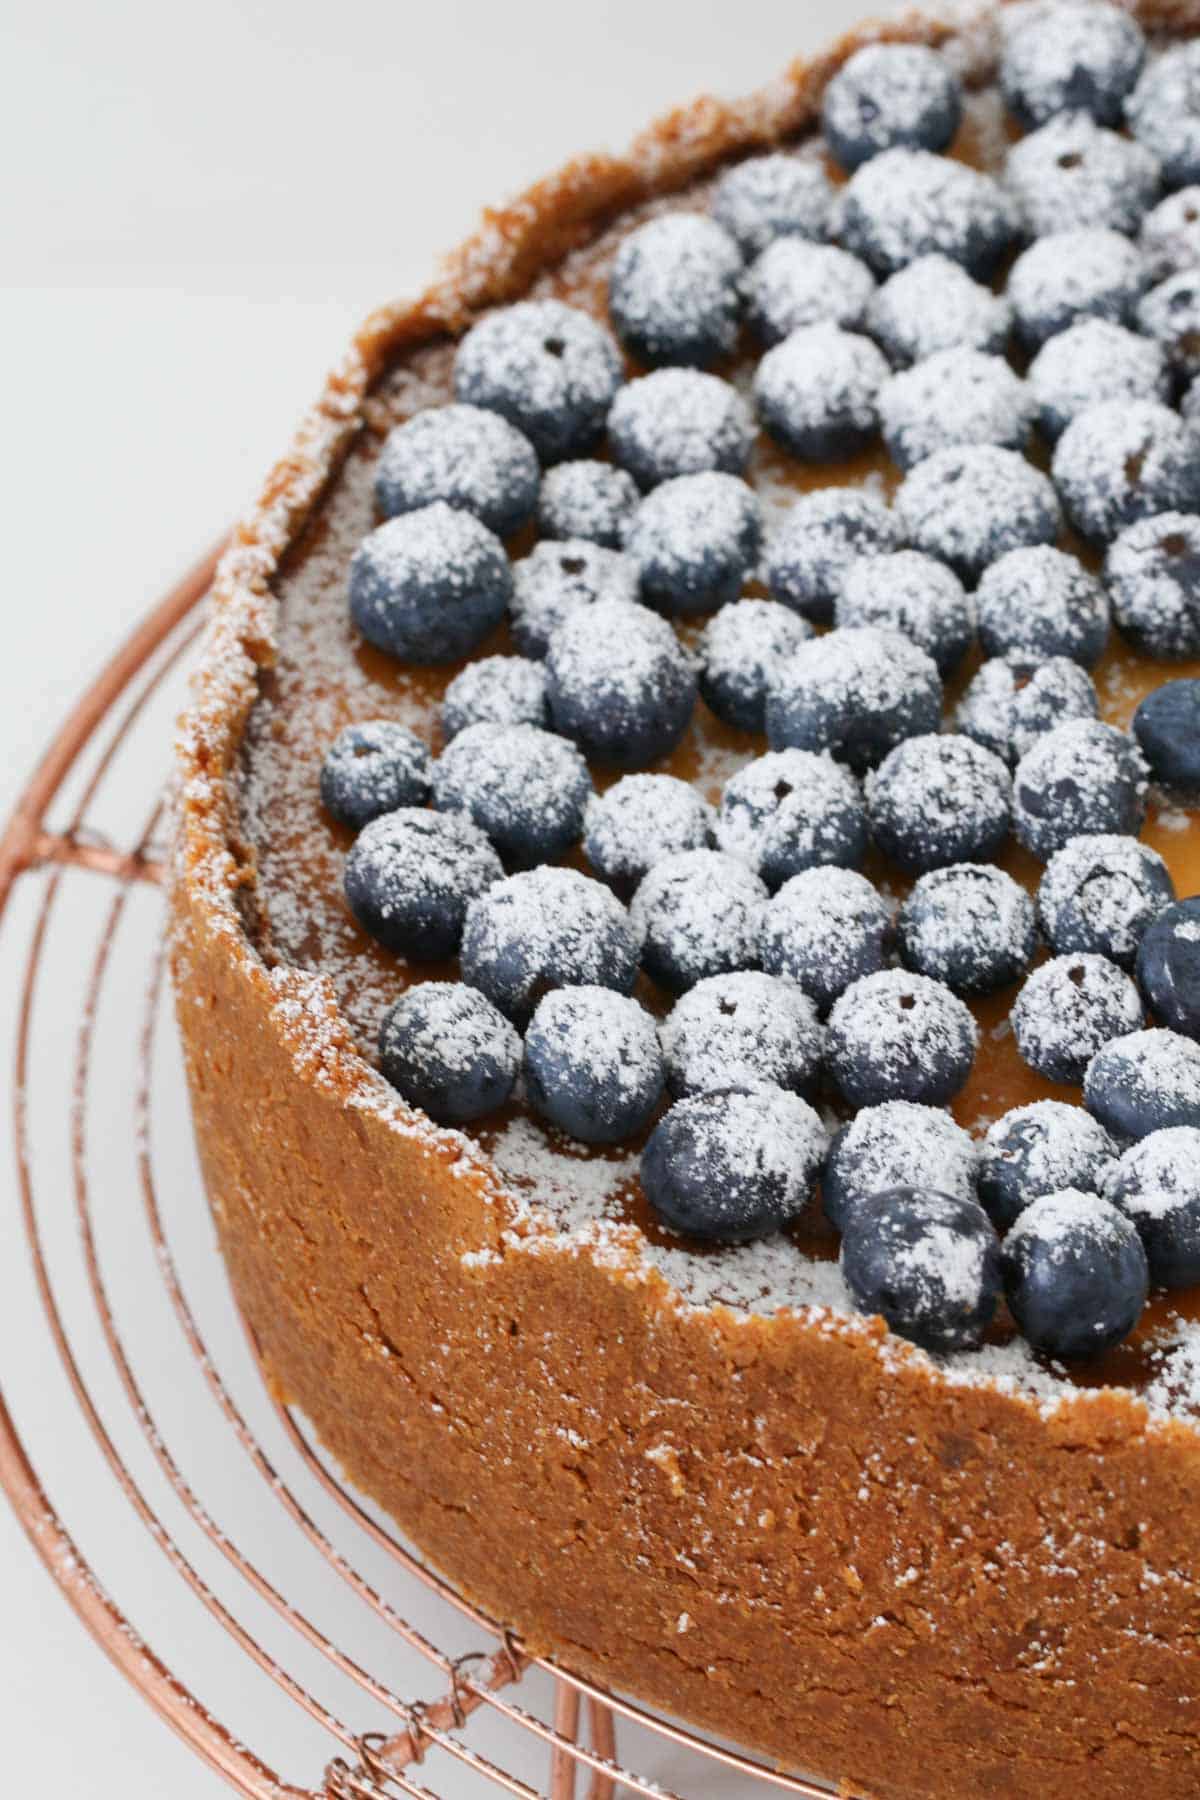
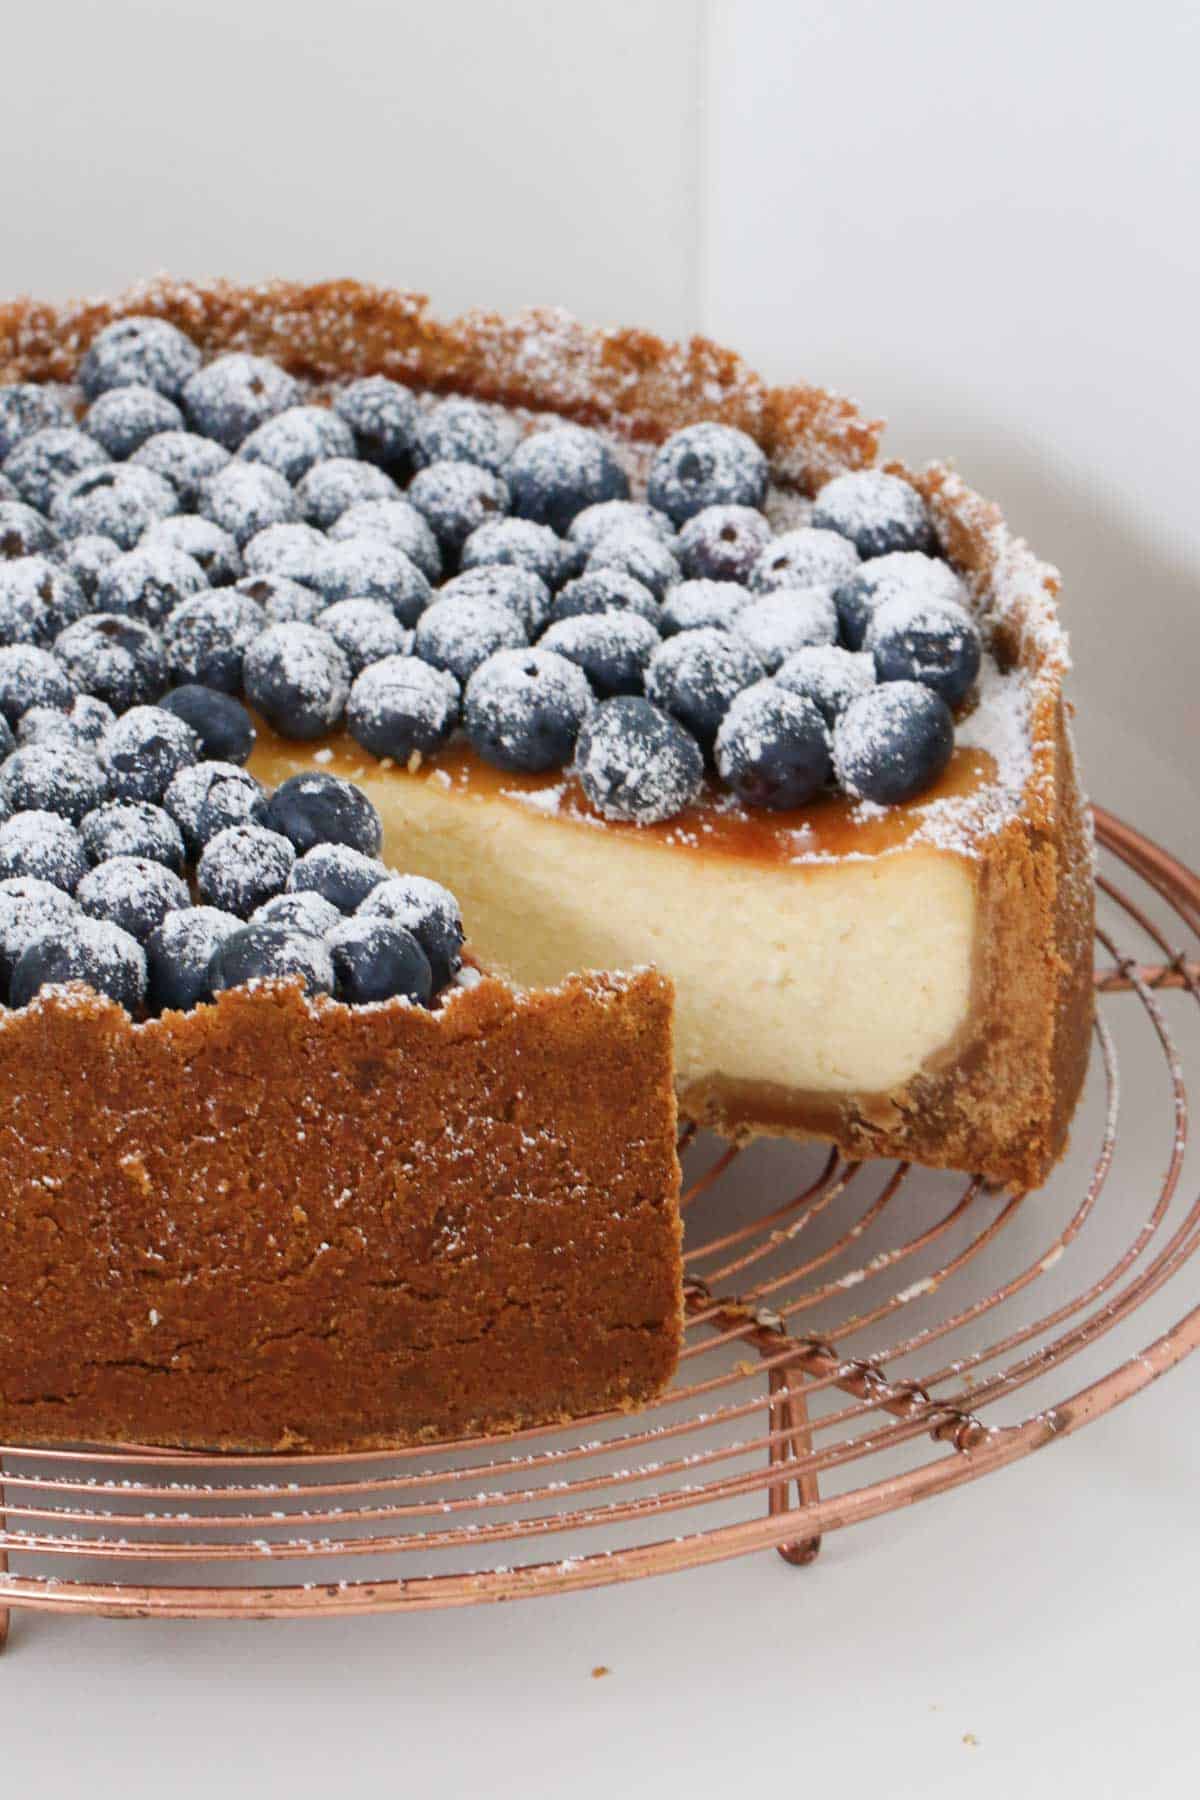
Remove the cheesecake from the fridge 1 hour before serving and decorate with fresh blueberries and a sprinkling of icing sugar (confectioners sugar).
Serving Suggestions
This New York Baked Cheesecake recipe is such a standout dessert that it requires very little additions when serving!
Ensure the cheesecake is brought to room temperature before serving (remove from the fridge 1 hour before serving).
Some popular serving suggestions include:
- fresh blueberries and sifted icing sugar (confectioners sugar)
- drizzle of lemon curd
- berry coulis
- whipped cream
- finely grated lemon zest
- fresh berries (strawberries, blackberries, blueberries, raspberries).
How To Stop A Baked Cheesecake From Cracking
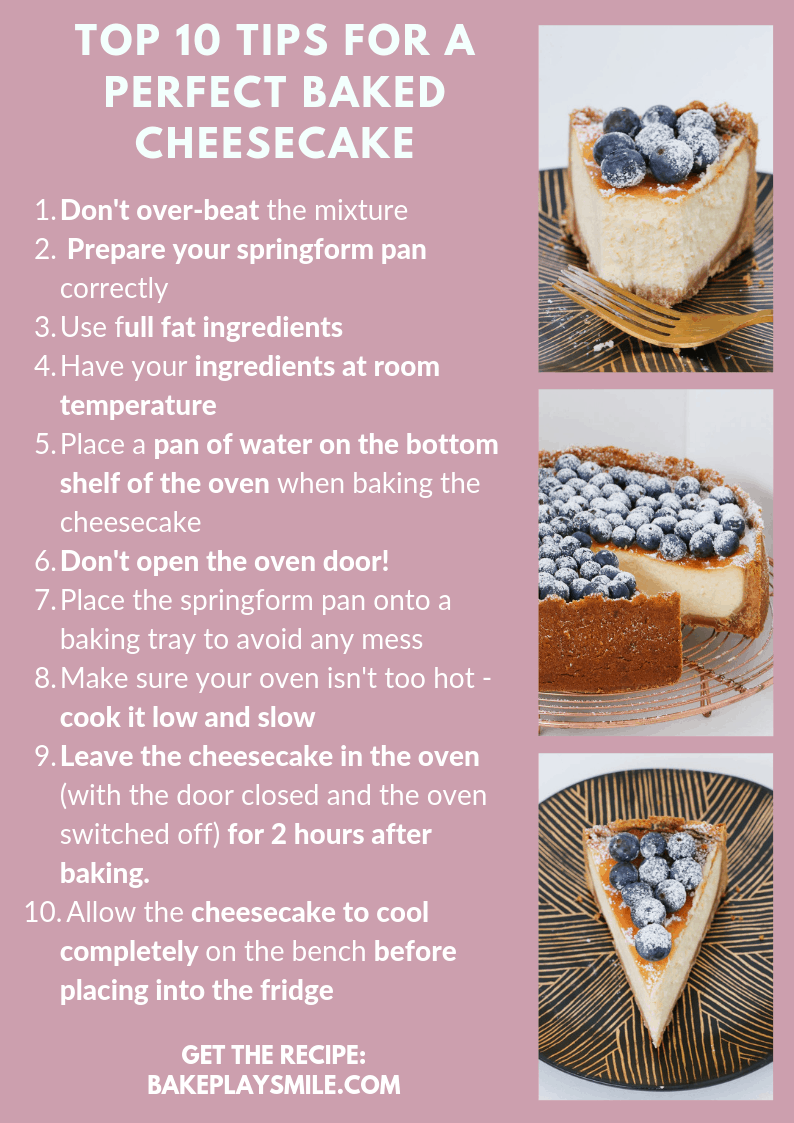
Follow my top tips for a perfect (crack-free!) New York Style Baked Cheesecake every single time!
- Don’t over-beat – over-beating the mixture causes the cheesecake to crack! Mix with hand-held beaters or a stand-mixer on medium/low speed until only just combined.
- Prepare your springform pan – remove the bottom tray of the springform pan, grease it, place a sheet of baking paper over the top and then secure it with the clasps. This makes it easier to move the cheesecake onto a serving dish. Ensure that you also grease and line the sides of the pan with baking paper too.
- Add a tray of water to the oven – place a tray of water in the oven on the lowest shelf and place the cheesecake on a middle shelf. This helps to prevent cracking and also ensures a luscious and creamy filling.
- Do NOT open the oven – opening the door of the oven will change the temperature and cause the cheesecake to sink and crack. Even once the cooking time has finished, do NOT open the oven door. Leave it closed (with the oven turned off) for at least 2 hours before opening. It’s worth the wait!
- Cook LOW & SLOW – an oven that is too hot will also cause cracking. All ovens are different and temperatures can vary, so if you think your oven runs a little hot, turn it down slightly before baking.
FAQ’s
What type of cookies should I use for the base?
You can use any type of plain sweet cookies for the base (like graham crackers if you’re in the US, Arnott’s Nice or Marie biscuits if you’re in Australia or digestive biscuits). Simply crush biscuits until fine crumbs remain before mixing through the melted butter.
How can I stop my cheesecake from cracking?
The most important things are to make sure your ingredients are at room temperature before starting to make the cheesecake, not over-beating the mixture, cooking the cheesecake low and slow in the oven, and not opening the oven door during baking (and for 2 hours afterwards).
Can you freeze a cheesecake?
Yes – absolutely! You can freeze the cheesecake for up to 1 month – simply wrap well in foil and then place into an airtight container. Remove the cheesecake from the freezer the night before you plan to use it and allow it to defrost in the refrigerator overnight, then serve at room temperature.
How long does a baked cheesecake last?
A baked cheesecake will last for 5 days in an airtight container in the fridge or up to 1 month in the freezer.
How do you serve a baked cheesecake?
Baked cheesecakes are best served at room temperature so remove it from the fridge 1 hour before slicing and serving. If you’re decorating your cheesecake, do so immediately before serving.
Expert Tips
- Use full fat ingredients – using full fat cream cheese and full fat sour cream will ensure that your cheesecake filling is dense, rich and creamy – exactly how you want it to be!
- Room temperature ingredients – make sure all of your ingredients are at room temperature before mixing (cream cheese, eggs and sour cream). This ensures that the ingredients mix perfectly when beaten and combined.
- Place the springform pan onto a flat tray – this helps to catch any drips of melted butter that may come through the small gap in the springform pan when baking.
- Chill the cheesecake – leave the cheesecake in the oven (with the temperature turned off) for at least 2 hours after the cooking time has finished. Place on the bench at room temperature to cool completely. Then place into the fridge for a minimum of 4 hours (preferably overnight).
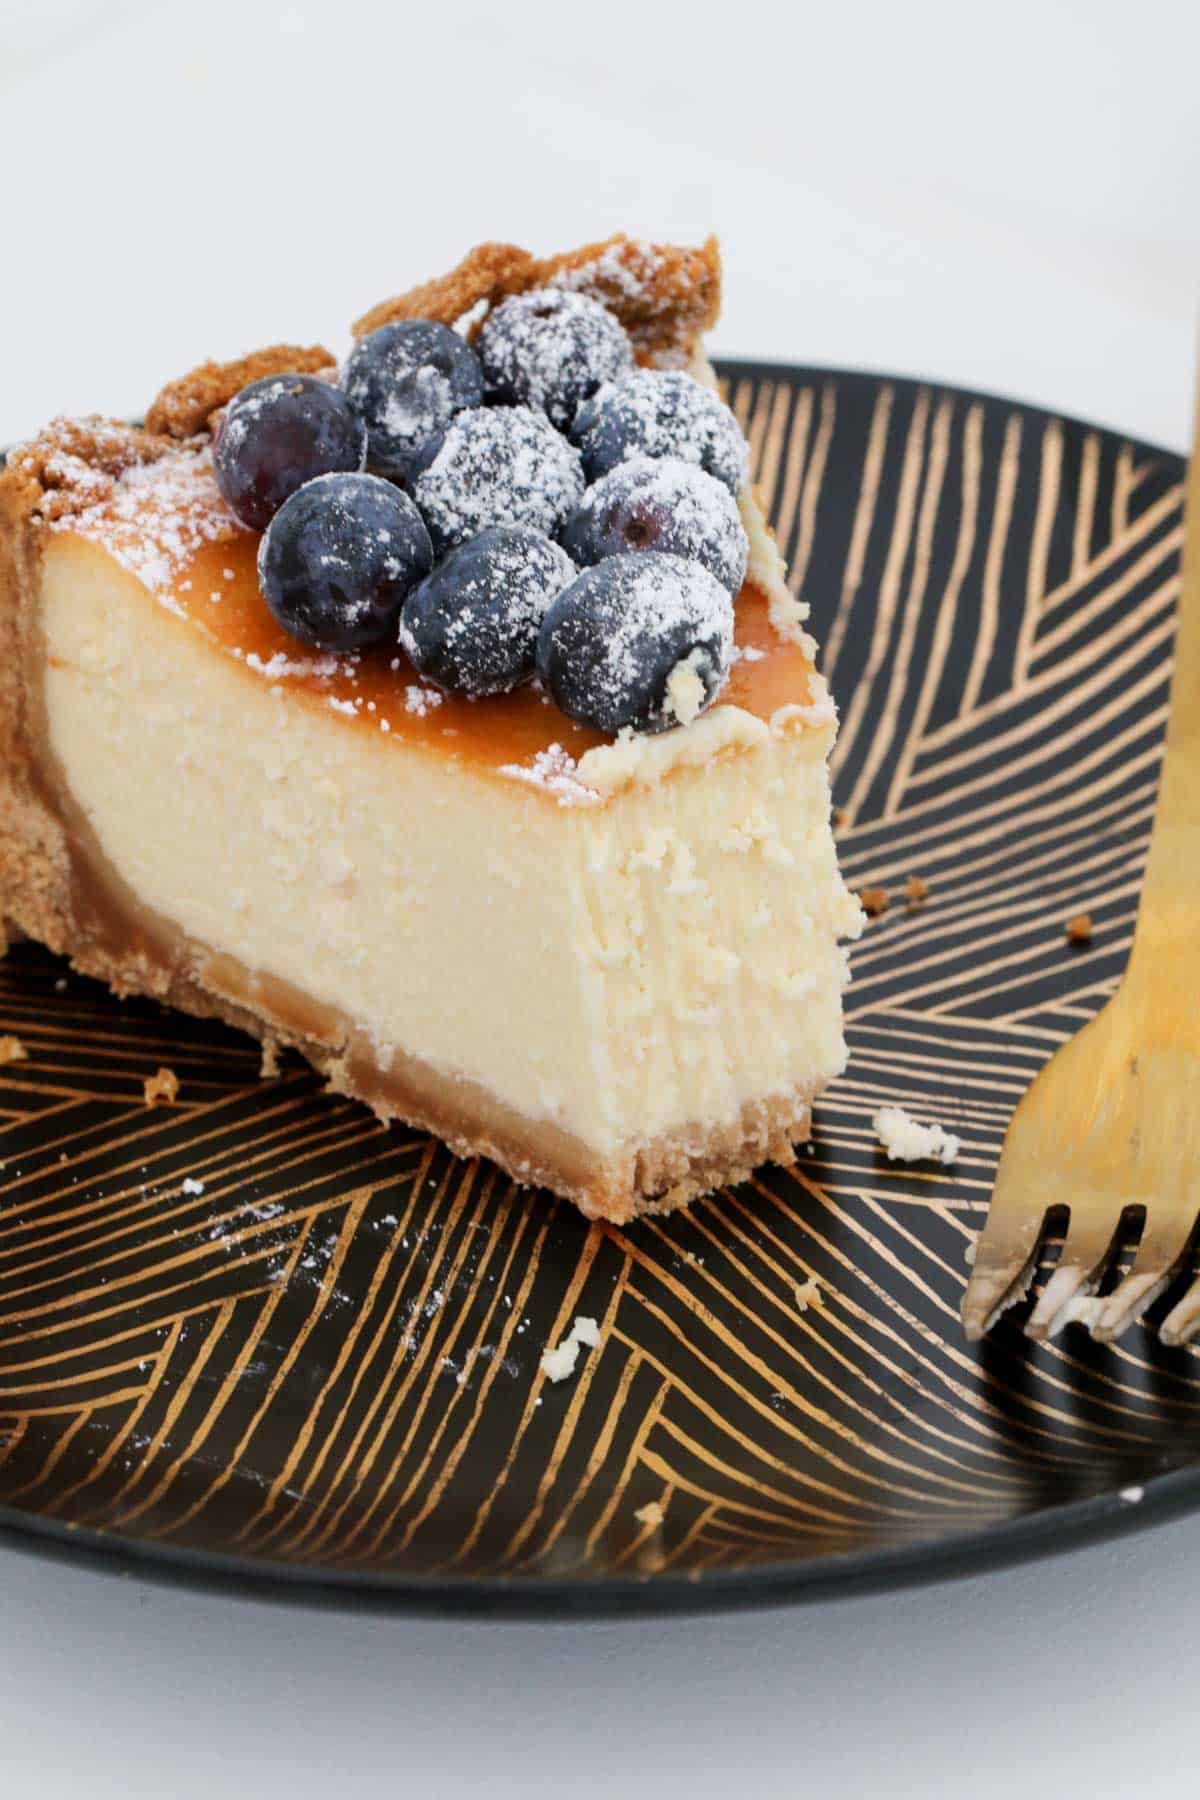
- Bring to room temperature to serve – an American baked cheesecake is at its ultimate best when served at room temperature. This is when the filling will be the most luscious and creamy.
- Storing – baked cheesecakes can be wrapped in plastic wrap and then placed into an airtight container in the fridge for up to 5 days
- Freezing – alternatively, it can be wrapped well and placed in an airtight container and frozen for up to 1 month.
More Cheesecake Recipes
Cheesecakes look impressive and taste delicious… what more could you want for your next dinner party, celebration or gathering?!
Follow us on Facebook at @CookGoodRecipes
Classic New York Baked Cheesecake
The very best Classic New York Baked Cheesecake recipe – rich, creamy and absolutely foolproof! Follow my simple tips for cooking a perfectly baked cheesecake every single time.
Course: Dessert
Cuisine: American, Cheesecake, western
Prep Time: 30 minutes minutes
Cook Time: 1 hour hour 15 minutes minutes
Chilling time: 6 hours hours
Total Time: 7 hours hours 45 minutes minutes
Servings: 16 serves
Calories: 498kcal
Ingredients
Prevent your screen from going dark
Instructions
Conventional Method
- Preheat oven to 140 degrees celsius or 285 degrees fahrenheit with a fan forced oven (160 degrees celsius or 320 degrees fahrenheit if using a conventional oven).
- Grease and then line the base and sides of a 23cm springform pan with non-stick baking paper (see recipe tips below).
- Finely crush the biscuits in a food processor and then place into a large bowl.
- Add the melted butter and mix thoroughly until well combined.
- Spoon half of the biscuit crumbs onto the base of the prepared tin. Use a glass to press the mixture down evenly (you will also need to use a spoon to press the edges down firmly).
- Press the remaining half of the mixture firmly up the sides of the pan (leaving a small 1cm gap near the top).
- Chill in the fridge for 30 minutes.
- Beat the cream cheese, sugar, vanilla, lemon juice and lemon rind with electric beaters until just combined (don’t over-beat).
- Gently beat in the flour followed by the eggs (1 at a time). Beat until just combined.
- Stir through the sour cream until combined.
- Gently pour the cheesecake mixture into the base of the tin.
- Place the the tin onto a baking tray and bake for 1 ¼ hours or until just set in the centre. Do not open the oven during the cooking time or the cheesecake will crack and sink (see recipe tips below).
- Turn the oven off and leave the cheesecake in the oven with the door closed for 2 hours.
- Place the cheesecake onto the bench until completely cooled before placing into the fridge (still in the baking tin).
- After a minimum of 4 hours in the fridge (preferably overnight), carefully remove the cheesecake from the baking tin and remove the baking paper.
- Allow to come to room temperature for 1 hour before serving and then top with fresh blueberries and icing sugar (optional).
Thermomix Method
- Preheat oven to 140 degrees celsius or 285 degrees fahrenheit with a fan forced oven (160 degrees celsius or 320 degrees fahrenheit if using a conventional oven).
- Grease and then line the base and sides of a 23cm springform pan with non-stick baking paper (see recipe tips below).
- Place the butter (chopped) into the Thermomix bowl and melt for 3 minutes on Speed 2, 80 degrees (or until melted).
- Add the biscuits and mix for 10 seconds on Speed 8, or until completely combined.
- Spoon half of the biscuit crumbs onto the base of the prepared tin. Use a glass to press the mixture down evenly (you will also need to use a spoon to press the edges down firmly).
- Press the remaining half of the mixture firmly up the sides of the pan (leaving a small 1cm gap near the top).
- Chill in the fridge for 30 minutes.
- In a clean and dry Thermomix bowl, set the Thermomix to 37 degrees, 25 minutes, Speed 3. Note: it will NOT take 25 minutes, but by setting the timer for this long will keep it at the right temperature while you add in the other ingredients). With the blades turning, place the cream cheese into the Thermomix bowl and mix until well combined.
- Slowly add in the caster sugar, followed by the flour and eggs and mix until just combined.
- Place the butterfly attachment into the bowl (with the cream cheese mixture in it). Still on Speed 3 slowly add in the grated lemon rind, lemon juice, vanilla extract and sour cream. Scrape down the sides of the bowl and mix until completely smooth (don’t over mix).
- Gently pour the cheesecake mixture into the base of the tin.
- Place the the tin onto a baking tray and bake for 1 ¼ hours or until just set in the centre. Do not open the oven during the cooking time or the cheesecake will crack and sink (see recipe tips below).
- Turn the oven off and leave the cheesecake in the oven with the door closed for 2 hours.
- Place the cheesecake onto the bench until completely cooled before placing into the fridge (still in the baking tin).
- After a minimum of 4 hours in the fridge (preferably overnight), carefully remove the cheesecake from the baking tin and remove the baking paper.
- Allow to come to room temperature for 1 hour before serving and then top with fresh blueberries and icing sugar (optional).
Notes
RECIPE TIPS & TRICKS
FOR THE PERFECT BAKED CHEESECAKE:
- Types of cookies to use – you can use any type of plain sweet cookies for the base (like Graham Crackers if you’re in the US, Arnott’s Nice or Marie biscuits if you’re in Australia or digestive biscuits).
- Use full fat ingredients – full fat cream cheese and full fat sour cream work best in cheesecakes and will give you the ultimate rich and creamy texture. If you’re going to do it, do it right and go the full fat version!
- Use room temperature ingredients – for best results, make sure all of your ingredients are at room temperature before mixing (cream cheese, eggs and sour cream).
- Grease and line a springform pan – prepare your springform pan by removing the bottom tray, greasing it, placing a sheet of baking paper over the top and then securing it with the clasps. This makes it easier to move the cheesecake onto a serving dish. Ensure that you also grease and line the sides of the pan with baking paper too.
- Preparing the base – use a round, flat glass to press the mixture down as firmly as you can on the base and sides of the springform pan. Chill in the fridge for at least 30 minutes.
- Don’t over-beat the mixture – over-beating will cause the cheesecake to crack when cooking. Mix with hand-held beaters or a stand-mixer on medium/low speed. It’s important to mix until only just combined – you don’t want to get too much air into your cheesecake mixture as it’s meant to be dense and firm when baked.
- Place the cheesecake tin onto a baking tray – avoid any mess or spills by placing your springform pan onto a baking tray before cooking. Because the cheesecake is cooked in a springform pan, some of the butter from the cookie base may escape through the small cracks – and your baking tray will be t to catch any drips!
- Add a pan of water to the oven when baking – if you want an extra luscious, moist and creamy cheesecake, place a tray of water in the oven on the lowest shelf and place the cheesecake on a middle shelf. This will also help to prevent cracking.
- Bake the cheesecake low and slow – make sure your oven isn’t too hot – if it is, the cheesecake may crack. Keep in mind that oven temperatures can vary, so if you think yours runs a little hot, turn it down slightly before baking.
- Do NOT open the oven – opening the door will change the temperature and cause the cheesecake to sink and crack.
- Leave the cheesecake in the oven after baking – once the cooking time has finished, still do NOT open the oven door. Leave it closed (with the oven turned off) for at least 2 hours with the door closed as this will help to prevent the cheesecake from cracking. Keeping the door closed the entire time throughout cooking and cooling will ensure a smooth and flat cheesecake.
- Chilling the cheesecake – when you remove the cheesecake from the oven (at least 2 hours after the cooking time has finished), leave it on the bench until it has cooled completely (still in the baking pan) and then place into the fridge for a minimum of 4 hours (preferably overnight).
- How to know if the cheesecake is cooked (without opening the oven door) – it’s very important NOT to open the oven door during and after cooking which means that you can’t physically check that the cheesecake is cooked. Firstly, trust that if you follow the recipe (and your oven temperature is correct), 1 hour and 15 minutes is enough to cook the cheesecake through. The cheesecake will continue to cook and set as it slowly cools in the oven. You don’t want to overcook it.
- Storing – place the cooled cheesecake (still in the baking tin) into the fridge for a minimum of 4 hours (preferably overnight). Then wrap in plastic wrap and place into an airtight container in the fridge for up to 5 days or in the freezer for up to 1 month.
- Serving – baked cheesecakes are best served at room temperature. Remove from the fridge 1 hour before slicing and serving. If decorating, do so immediately prior to serving.
- Serving suggestions – I love to serve this New York Baked Cheesecake with fresh blueberries and dusted with icing sugar, however some other suggestions include a drizzle of lemon curd, a berry coulis, whipped cream, finely grated lemon zest, or fresh mixed berries (strawberries, blackberries, bleberries and raspberries).
Recipe by CookGoodRecipes.com
Nutrition
Calories: 498kcal | Carbohydrates: 33g | Protein: 6g | Fat: 39g | Saturated Fat: 21g | Cholesterol: 140mg | Sodium: 298mg | Potassium: 138mg | Fiber: 1g | Sugar: 21g | Vitamin A: 1220IU | Vitamin C: 1.4mg | Calcium: 84mg | Iron: 1.1mg


