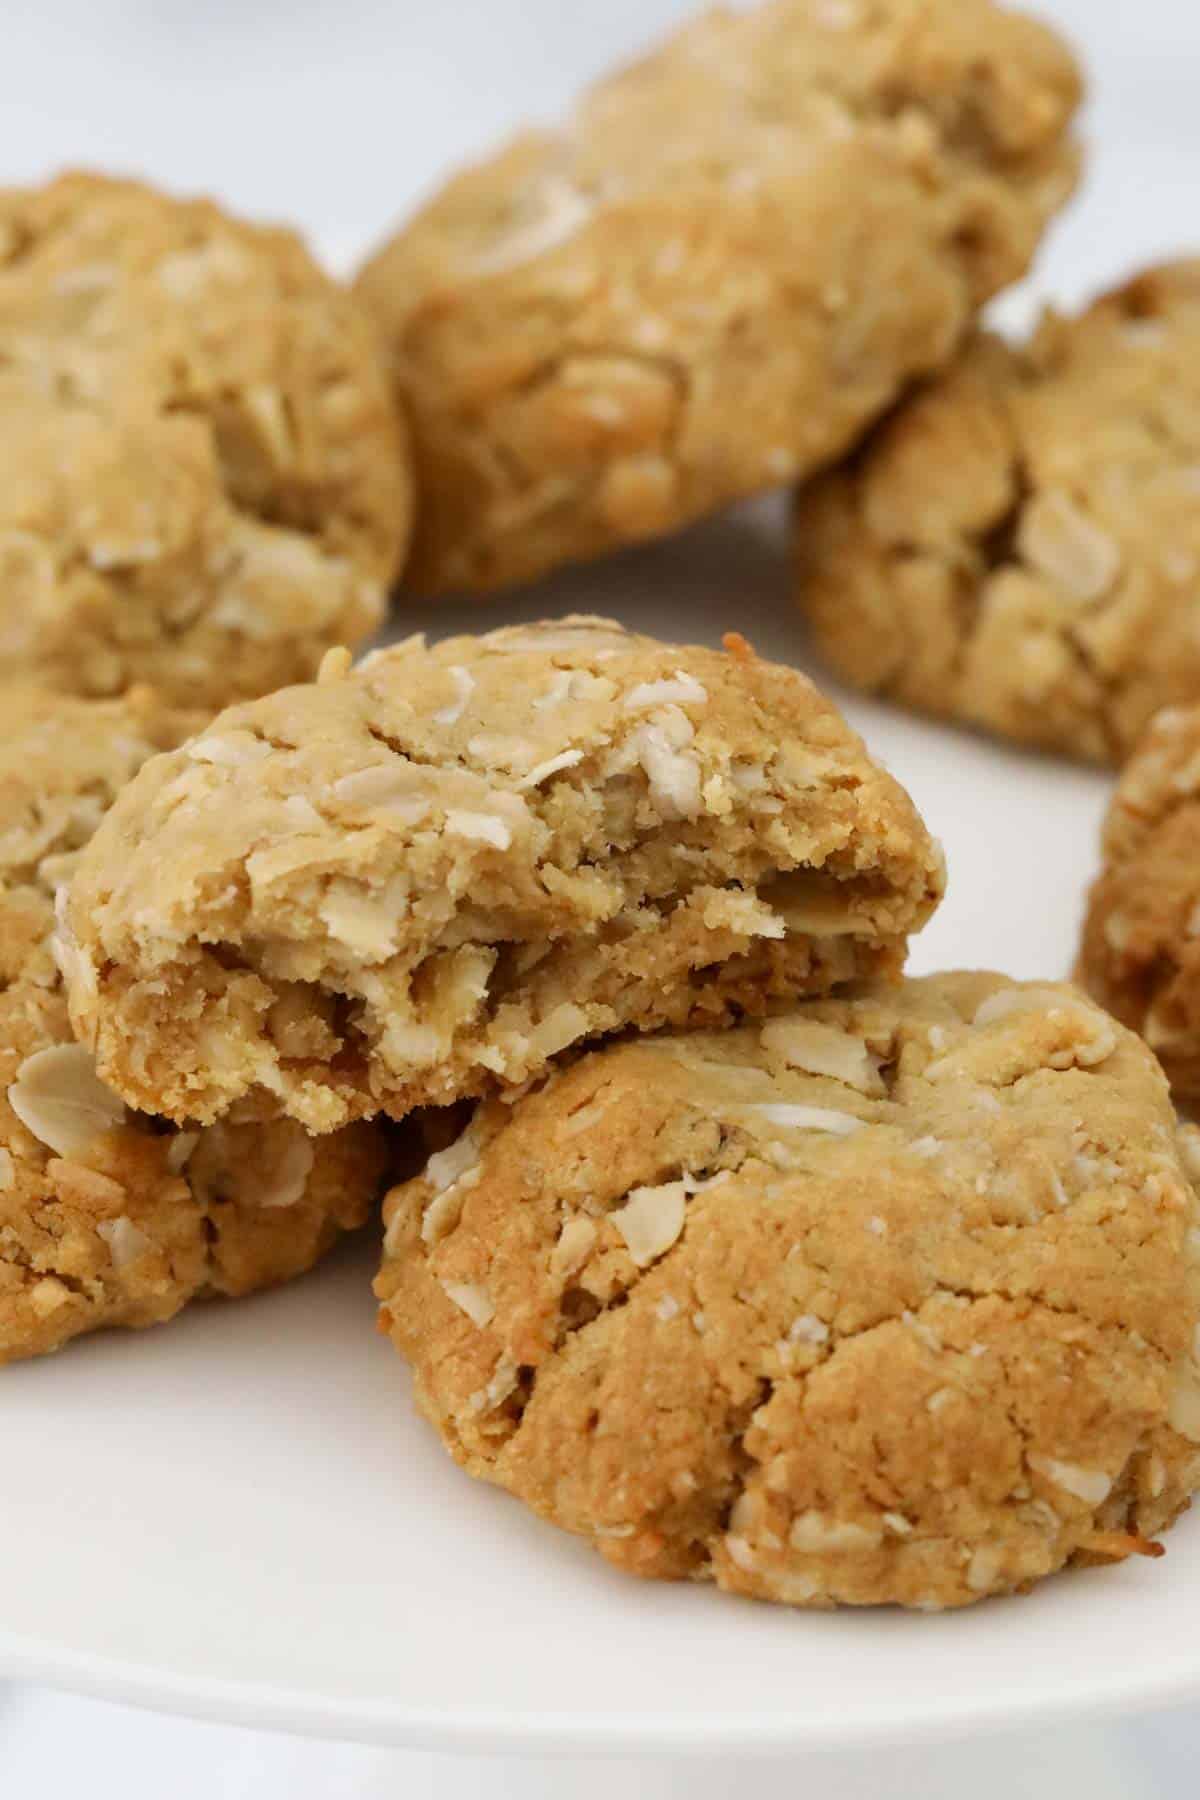
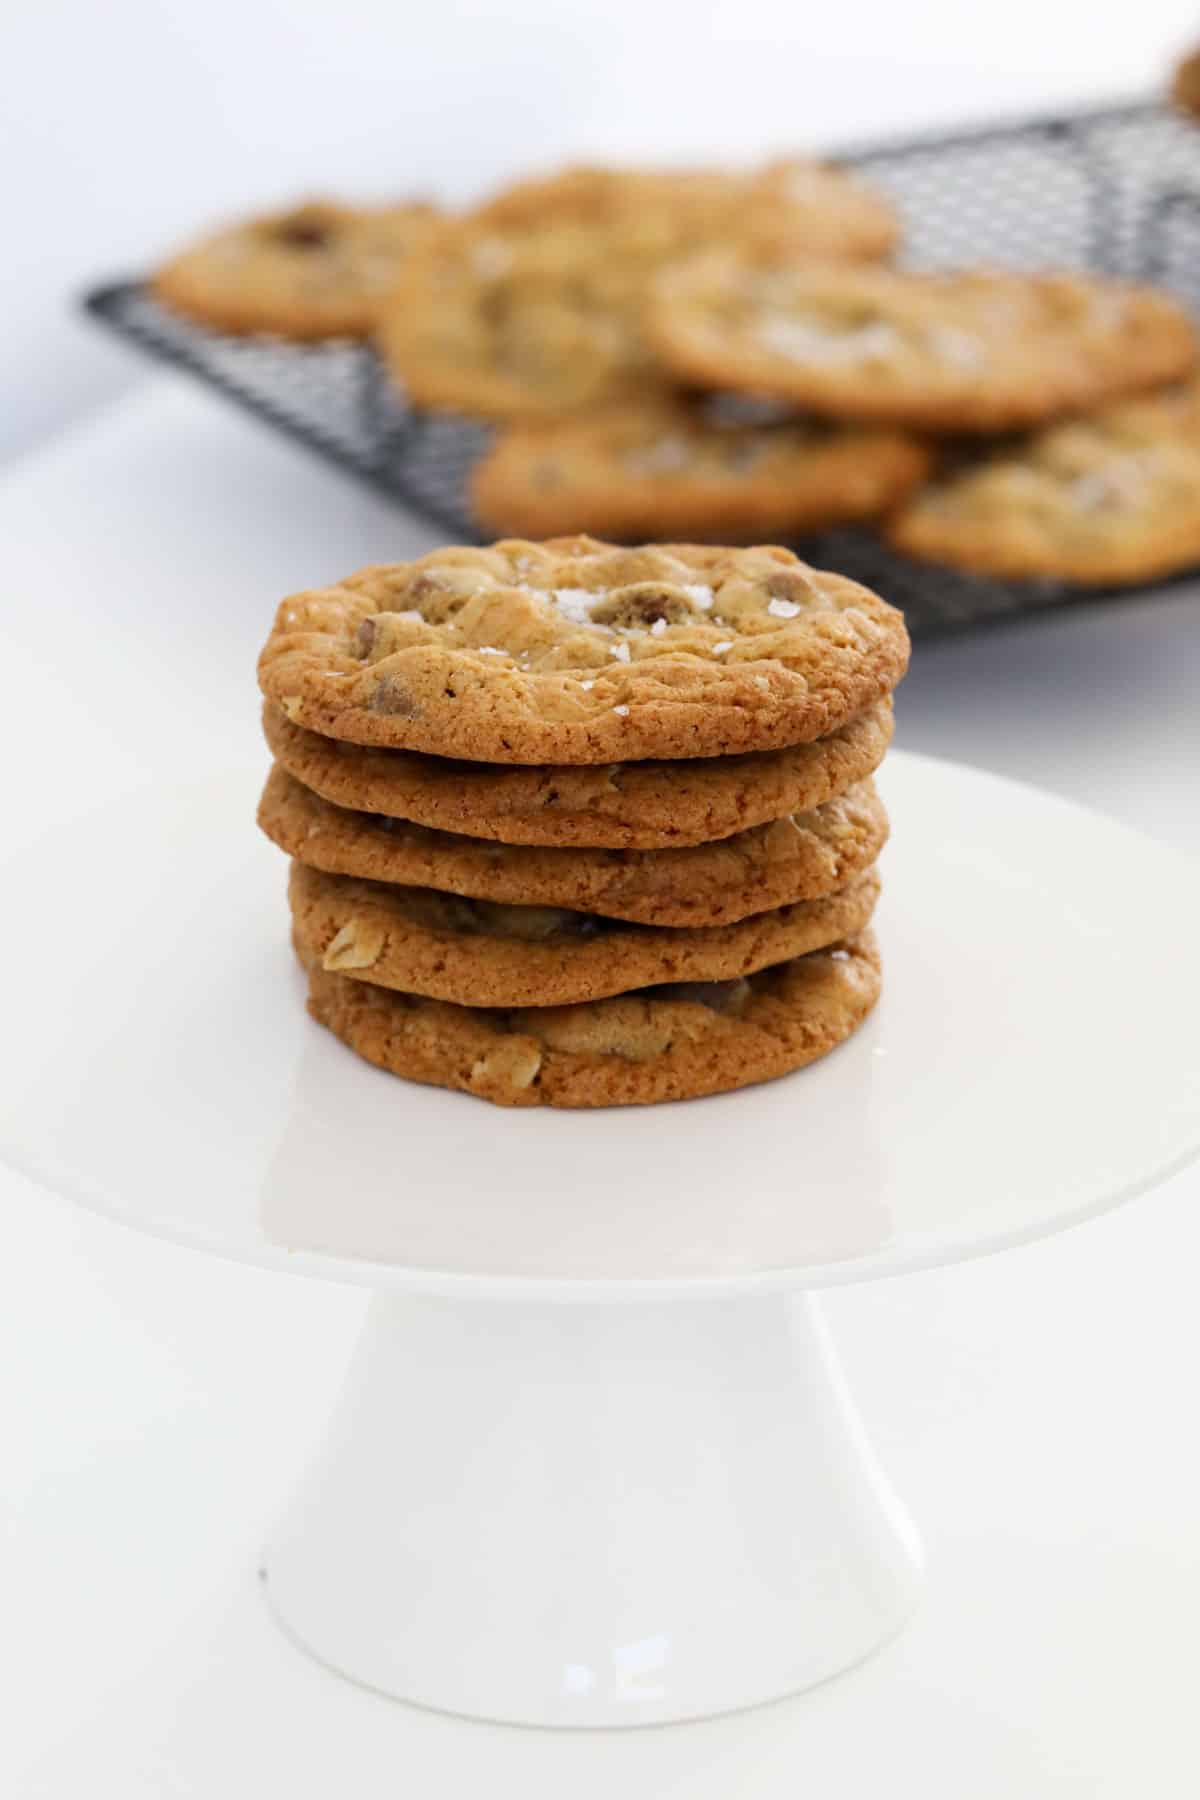
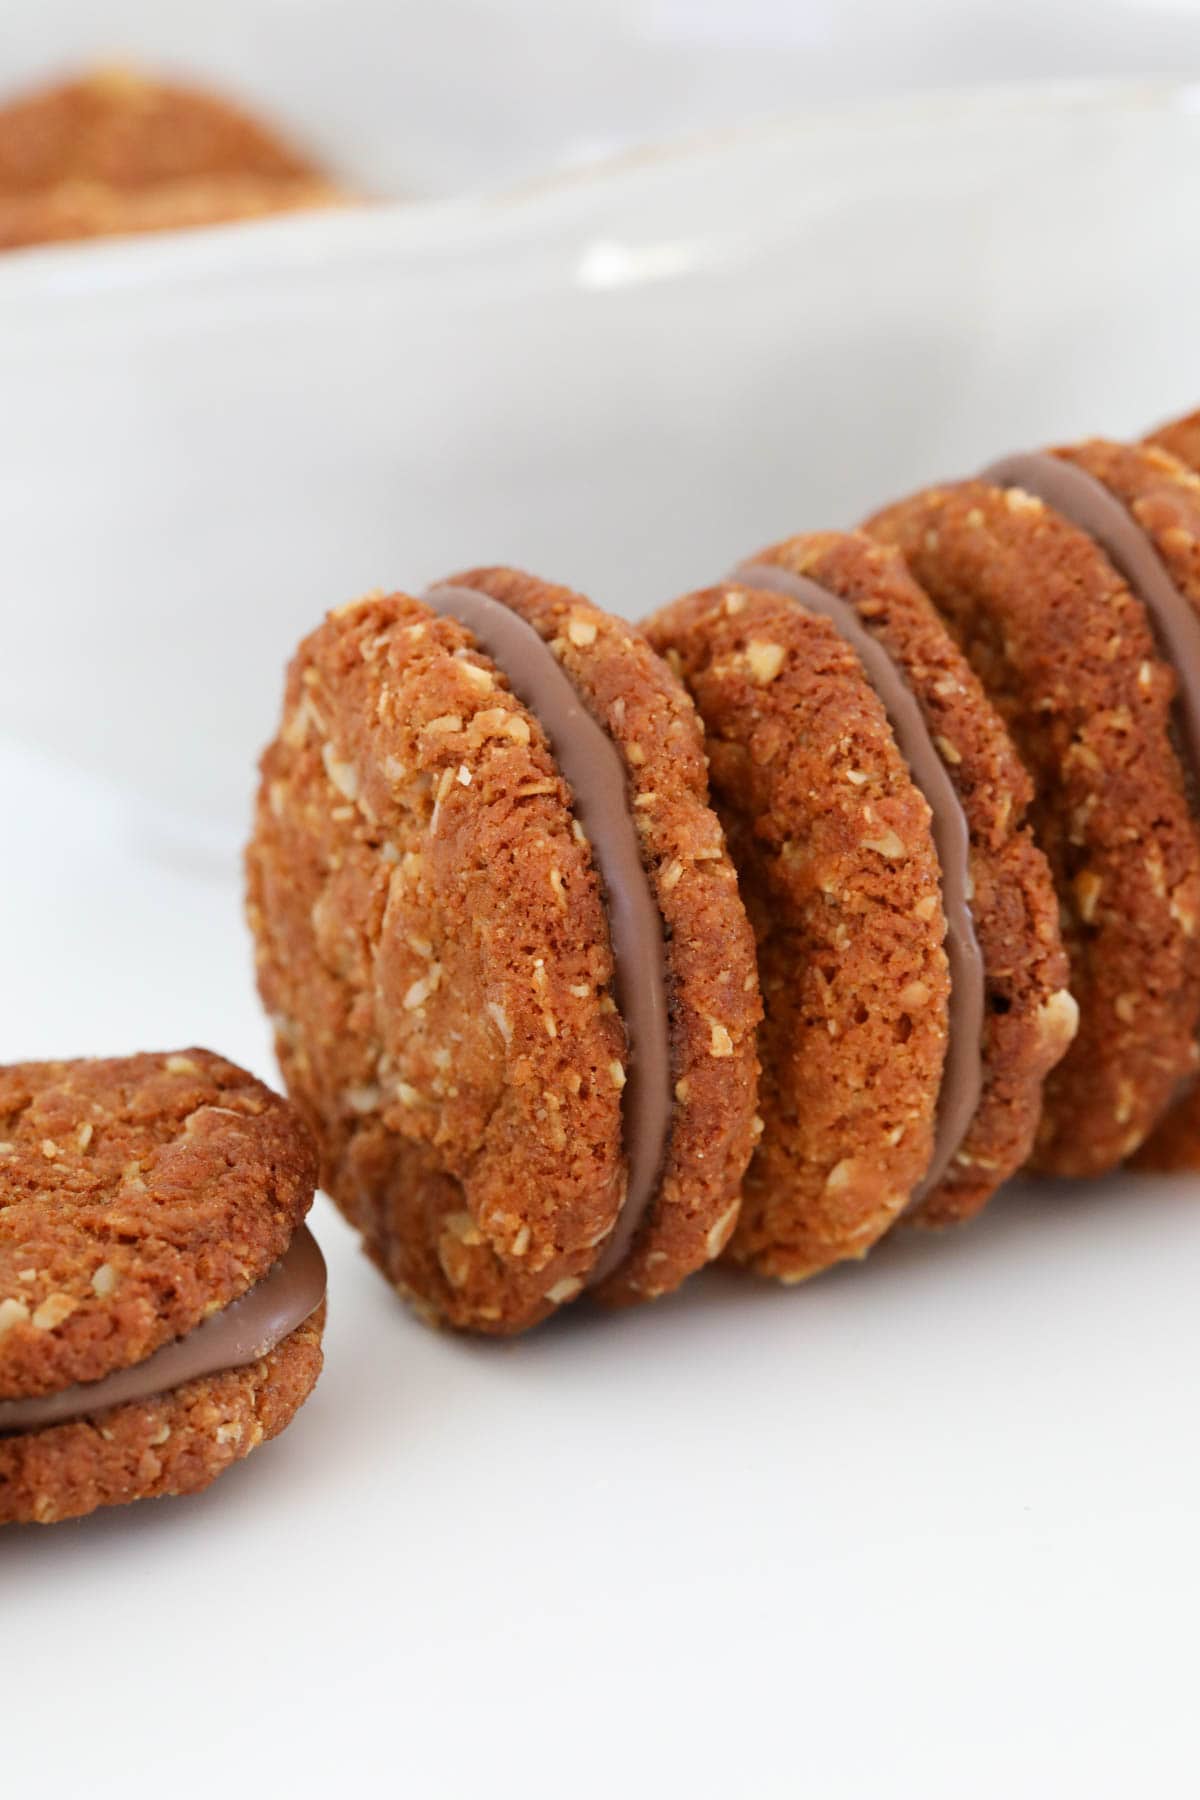
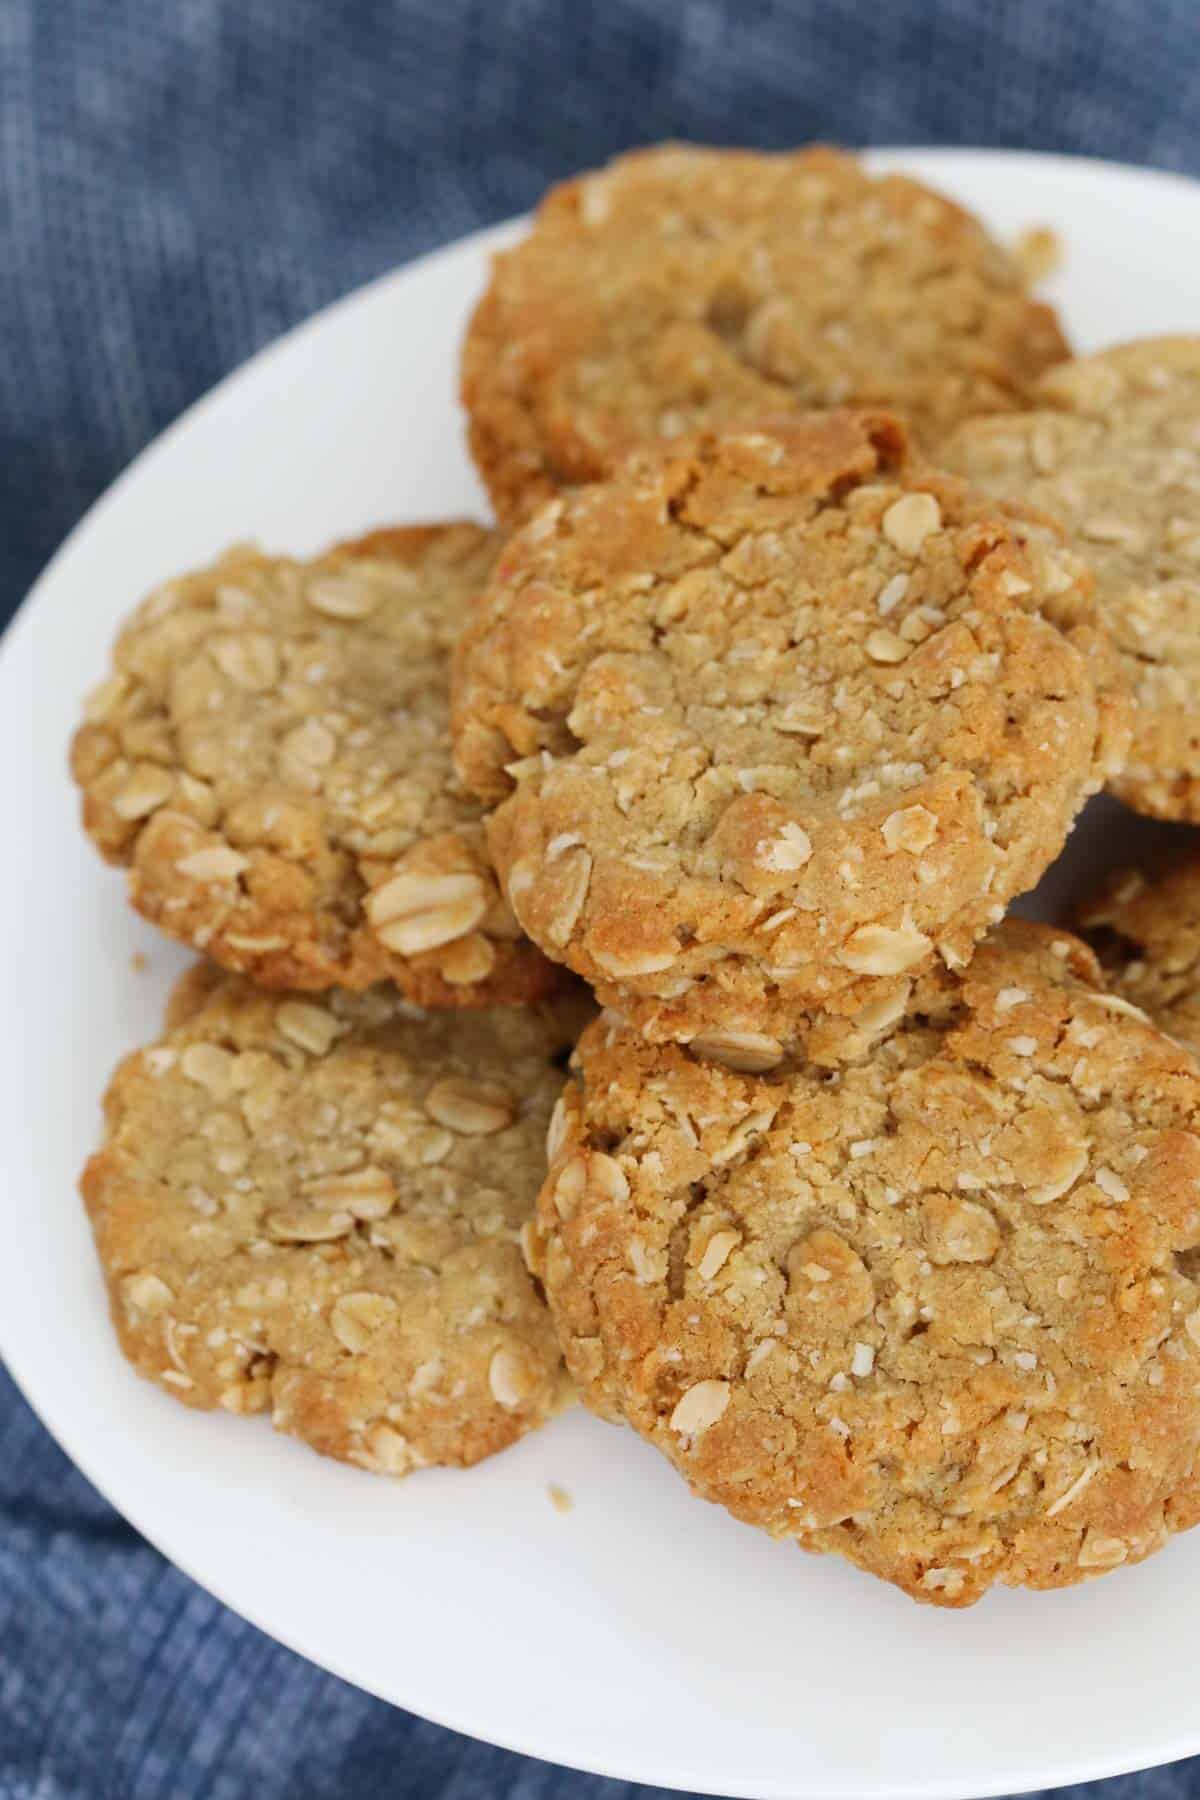
Crunchy and caramelised on the edges and deliciously chewy in the middle, these easy ANZAC biscuits are everyone’s favourite Aussie treat! Made in just one bowl with rolled oats and sweetened with golden syrup, they are perfect for dunking into a cuppa and can be prepped and ready to eat in just 20 minutes.
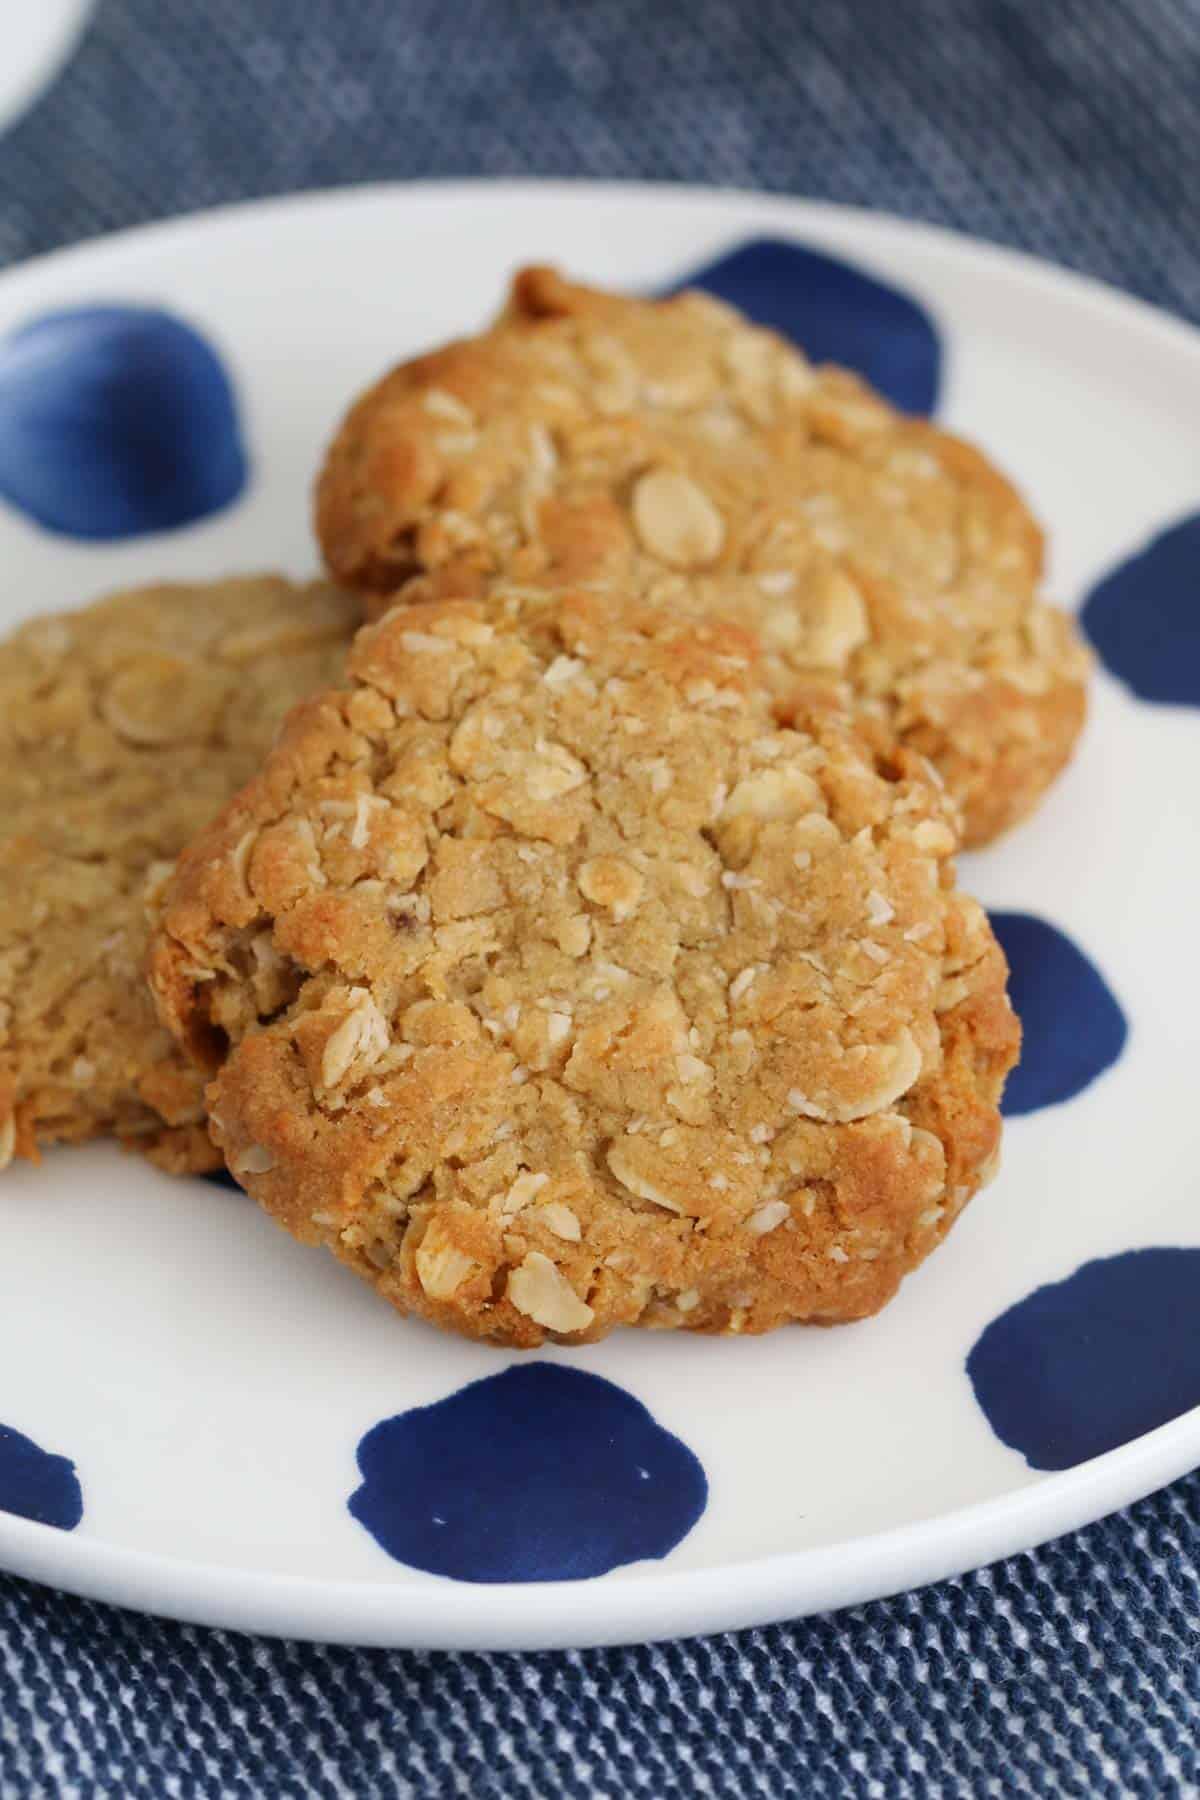
T’s nothing better than a batch of freshly baked biscuits, straight from the oven. And t is something so special about ANZAC biscuits. With their crisp, golden edges combined with a chewy, oaty centre, it’s not hard to see why they are Australia’s number one biscuit!
They are gloriously crunchy and chewy at the same time and have the most AMAZING buttery caramel flavour that makes them impossible to resist. It’s such an easy recipe and the perfect way to celebrate ANZAC Day.
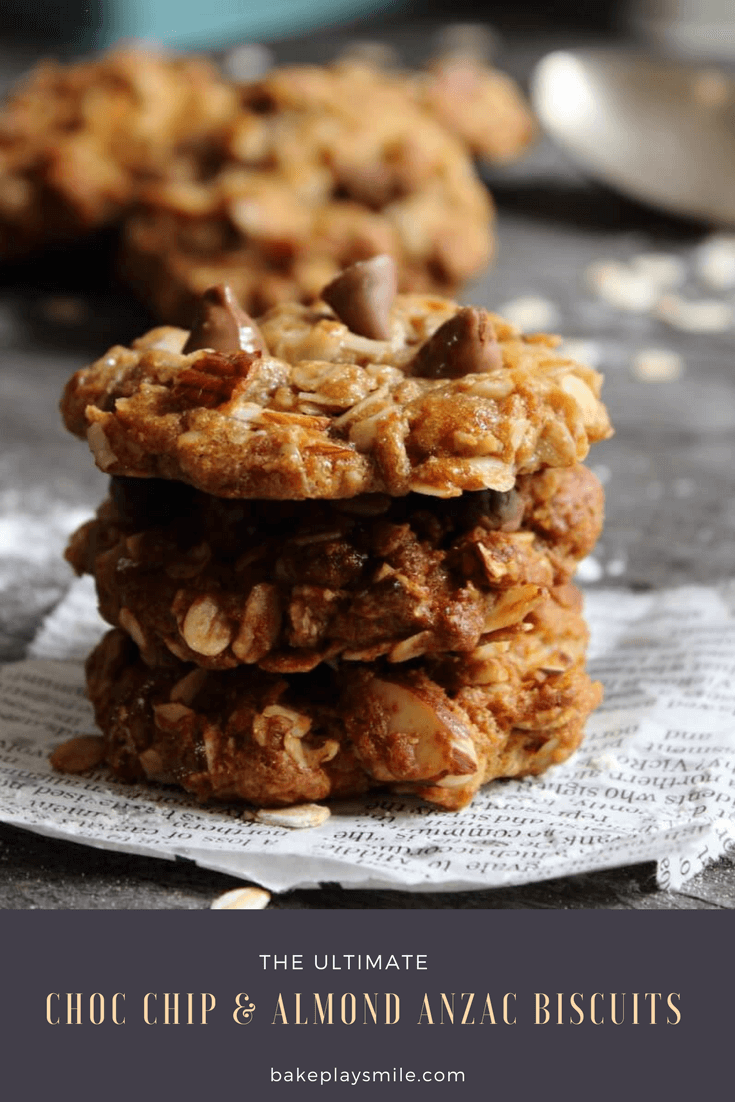
If you LOVE this traditional version (I promise, you will!) then check out these delicious variations – choc chip ANZAC slice, almond and choc chip ANZAC biscuits and ANZAC slice.
** This recipe has been approved for publishing by the Australian Department of Veterans Affairs.
Table Of Contents
- Why You’re Going To Love This Recipe
- ANZAC Biscuits History
- What You Need
- Golden Syrup
- Step By Step Instructions
- Step 1 – Combine The Dry Ingredients
- Step 2 – Stir Through The Wet Ingredients
- Step 3 – Bake ANZAC Biscuits
- Chewy Or Crunchy?
- Expert Tips & FAQs
- Related Recipes
Why You’re Going To Love This Recipe
- Quick and easy – you can mix the dough together in just one bowl. No mixers or chilling time, and only simple ingredients required.
- Team Crunchy or Team Chewy? – this recipe can be adjusted to make them chewier or crunchier, depending on your preference! See my helpful notes below.
- Budget-friendly ingredients – being a wartime recipe, these biscuits had to be made from pantry staple ingredients that were cheap to buy and easy to come by. An entire batch of cookies will only cost you a dollar or two.
- Taste just like grandma’s – they have an unbelievable texture and flavour that will transport you right back to your childhood!
- Long lasting – a batch of these cookies will keep for several weeks (if they last that long!)
- Conventional and Thermomix – this recipe can be made conventionally or in a Thermomix.
ANZAC Biscuits History
ANZAC Day is an annual day of remembrance to honour the members of the Australian and New Zealand Army Corps (ANZAC). It marks the anniversary of the first major military action fought by ANZAC forces in the First World War. And now it is also a day to celebrate all Australian and New Zealand personnel who serve in wars and conflicts. Lest we forget.
ANZAC biscuits originated in Australia and New Zealand after 1915 when the term ‘ANZAC’ first came to be. They are enjoyed year-round, but are traditionally eaten to commemorate ANZAC Day every year.
The exact origins of these biscuits are unclear. A variation of them, called “hardtack biscuits” (which were much harder and less palatable!) were commonly sent to soldiers during the First World War.
They were a popular item to send in care packages, because they were made from basic pantry ingredients and did not contain any eggs, which were hard to come by at the time. They also stayed fresh for the long weeks it took for them to travel overseas. And they were so hard, that one way to eat them was to grind them up and soak them in tea or water as a porridge!
A few years later, the recipe evolved to include oats, golden syrup and coconut, making the signature taste and texture that we now know and love. And they were much more flavoursome and enjoyable too! Aside from being completely delicious, this is also such a special, sentimental recipe that connects us to our past.
What You Need
Note: Please scroll to the recipe card at the bottom for ingredient quantities and the full detailed method.
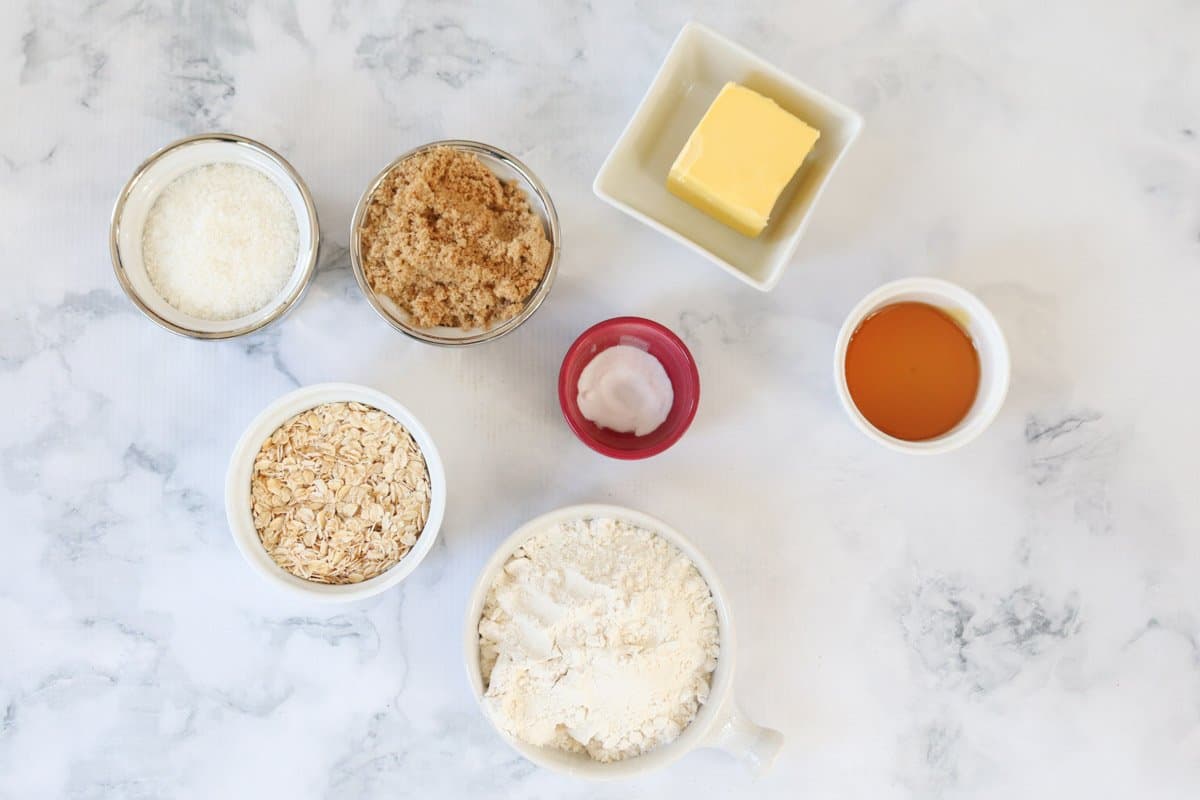
- Rolled oats – provide the fabulously chewy texture that ANZAC biscuits are famous for. Be sure to use whole, rolled oats for the perfect texture. Instant or quick oats are thinner and have a powdery consistency, which will cook differently and create an entirely different texture.
- Plain flour – use regular, all-purpose flour for the structure of the cookies.
- Brown sugar – for that rich caramel-like flavour.
- Desiccated coconut – fine, desiccated coconut rather than shredded coconut is recommended.
- Butter – for the famous texture and rich buttery taste, use regular butter rather than margarine or butter substitutes. Salted or unsalted butter can be used.
- Golden syrup – the (not so) secret ingredient that binds the biscuits together and enhances all of the wonderful flavours. I don’t recommend swapping this ingredient! See notes below to see why.
- Water
- Bicarbonate of soda – also called bicarb soda or baking soda, bicarbonate of soda is the leavening agent that gives the cookies a chewy, coarse texture and encourages spreading. Don’t skip this ingredient – and check that your bicarb soda is in-date and correctly stored. If it has expired, it won’t work as effectively.
Golden Syrup
Also known as ‘light treacle’, golden syrup is a thick, amber coloured syrup with a similar consistency and nature (but a different taste) to honey. It has a rich, warm toffee-like flavour and is a common baking ingredient in Australia and New Zealand.
In this recipe, golden syrup gives the biscuits their signature butterscotch flavour and also helps to bind the biscuits, in place of eggs. And it is a key ingredient in traditional ANZAC biscuits. So, it shouldn’t be skipped if you want them to taste just right!
I highly recommend using real golden syrup w possible. If it isn’t available in your location, it can be purchased online, or you can substitute it for rice malt syrup or light corn syrup, although the biscuits won’t be quite the same. Alternatively, you can also make your own.
I don’t recommend substituting golden syrup for honey in this recipe, as they each have a completely different flavour.
Step By Step Instructions
Note: Please scroll to the recipe card at the bottom for ingredient quantities and the full detailed method
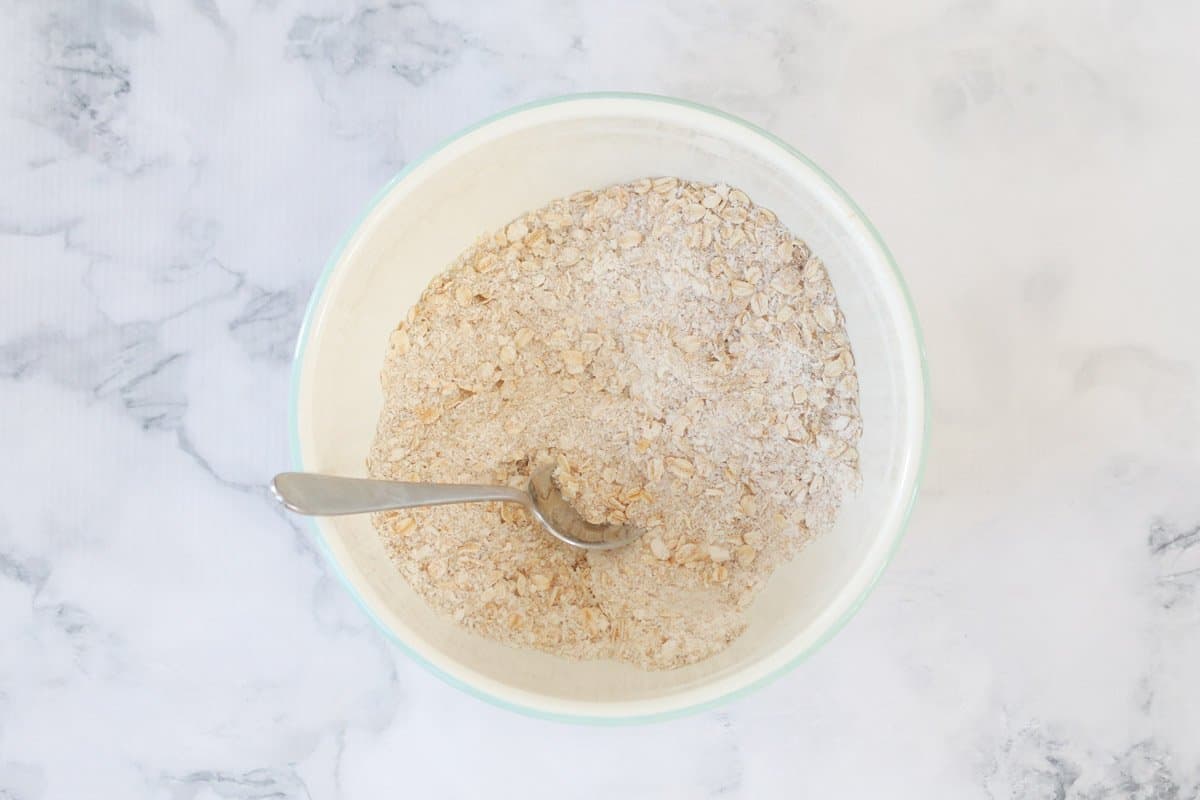
Step 1 – Combine The Dry Ingredients
Combine the rolled oats, flour, brown sugar and coconut in a bowl. Mix together until well combined.
Step 2 – Stir Through The Wet Ingredients
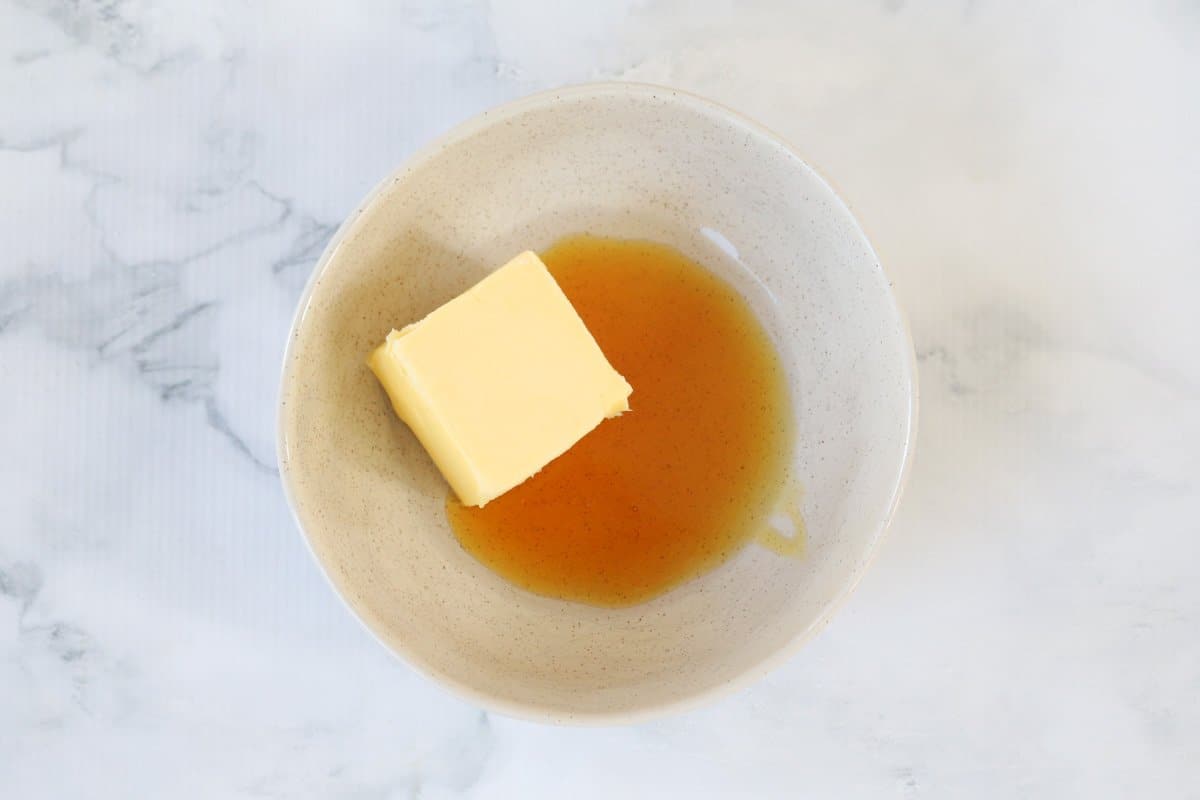
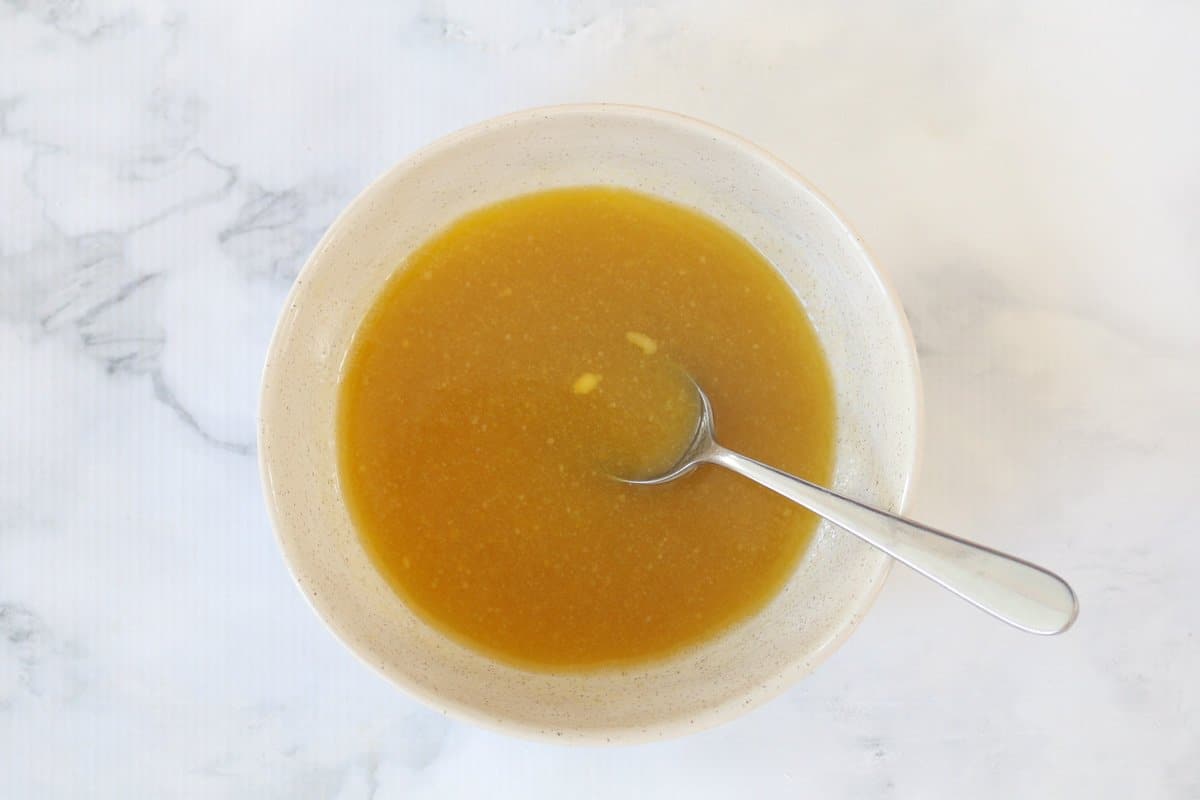
Melt the butter, golden syrup and water in the microwave and then mix through the bicarbonate soda. The mixture may froth up a little.
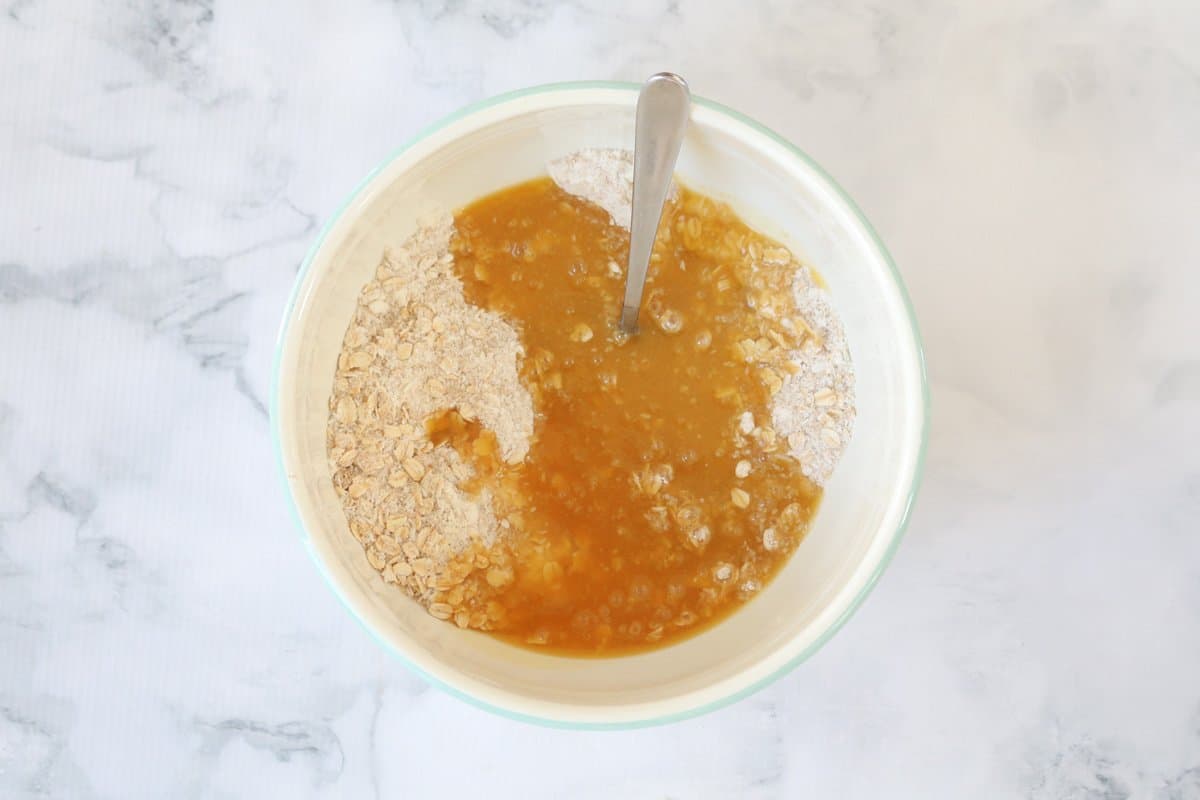
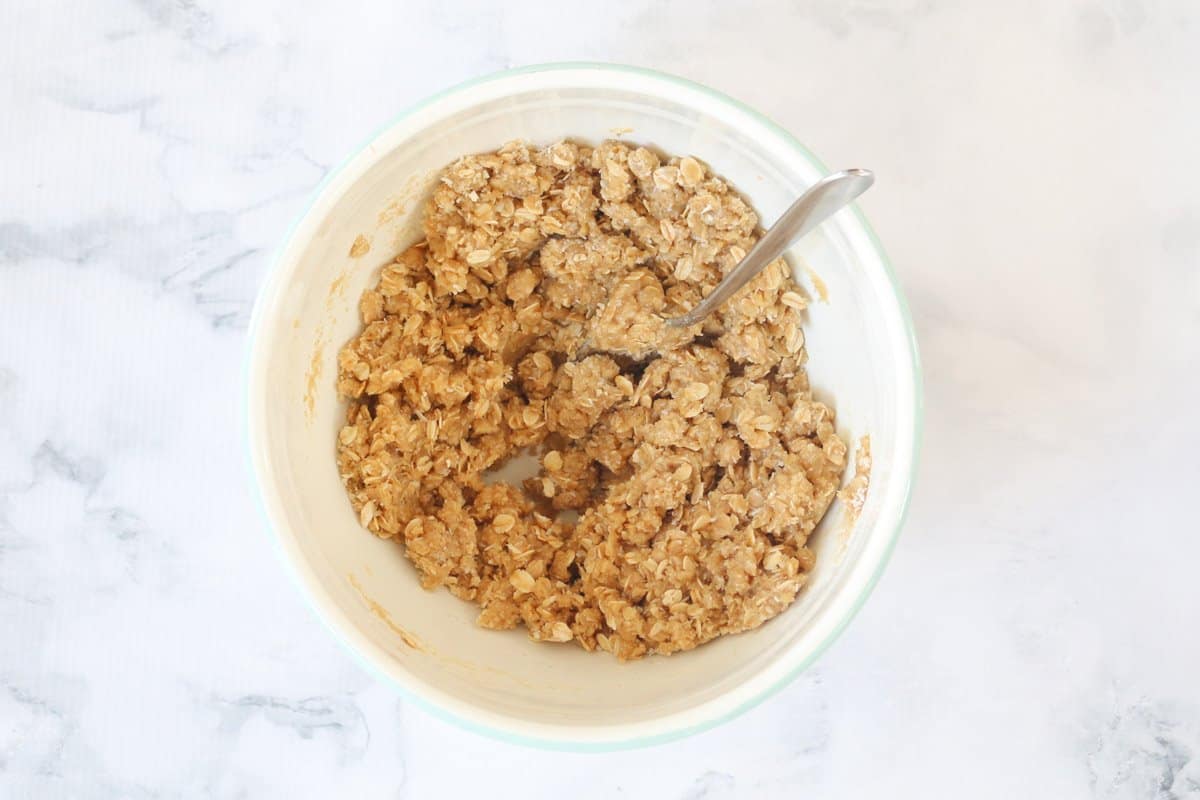
Pour the melted butter mixture over the dry ingredients and mix until well combined.
Step 3 – Bake ANZAC Biscuits
Roll the mixture into tablespoon-sized balls and place onto prepared baking paper lined trays.
Bake in the oven for 10-12 minutes for chewy ANZACS or 12-15 minutes for crunchy ANZACS.
Chewy Or Crunchy?
T is an age-old debate about whether an ANZAC biscuit should be crunchy or chewy! Luckily, this recipe has got both teams covered. Simply bake them a little longer for a crispier, crunchy biscuit.
To make them chewy:
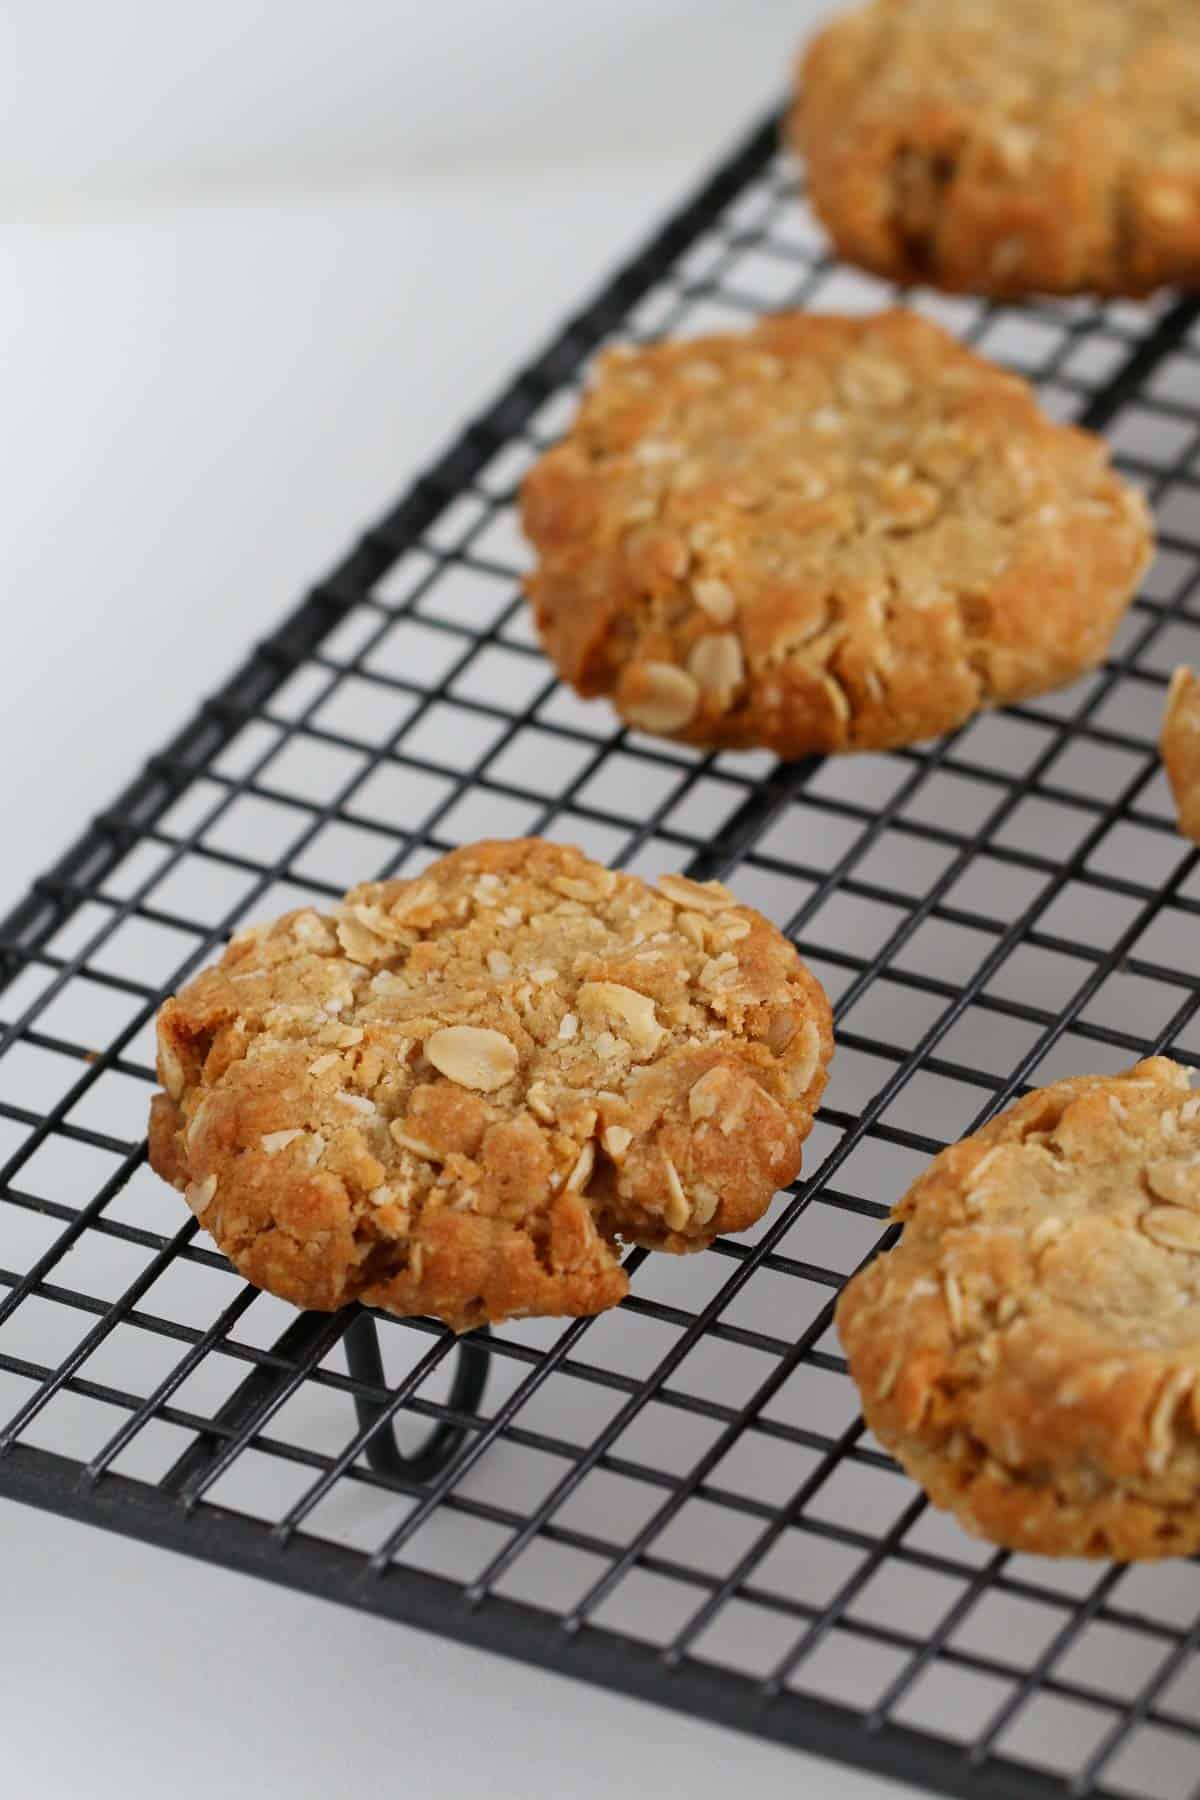
I am totally “Team Chewy”, all the way! T’s nothing better than a chewy oat cookie with lovely, crispy edges. For chewy ANZAC’s, bake in a 160-degree Celsius oven for 10-12 minutes. The biscuits will be soft when you take them out of the oven, but will firm on cooling. Allow to cool for 5 minutes on the tray before transferring to a wire rack to cool completely.
To make them crunchy:
If you prefer them crunchy, it’s so easy to do that without even changing the recipe! Cook for a further 3-5 minutes than the chewy recipe (a total of 12-15 minutes). Again, the biscuits will be soft straight out of the oven but will turn nice and crunchy as they cool.
Expert Tips & FAQs
Weigh your ingredients
With this recipe, accuracy is important. I have included weights of each ingredient, for best results. It is important to carefully weigh each ingredient, as a little extra or not enough of a certain ingredient can alter the dough and affect the final result. This recipe is made with Australian cup and spoon measurements. Due to cup sizes varying from country to country, I advise adjusting if necessary.
How long will ANZAC biscuits keep?
ANZAC biscuits can be stored for several weeks in an airtight container at room temperature. They will soften after a few days (but are still absolutely delicious!)
Can ANZAC biscuits be frozen?
Both cooked ANZAC biscuits and the uncooked dough can be frozen.
To store the dough, wrap it in clingfilm and store in a bag or container in the freezer for up to 3 months. Thaw in the fridge overnight and then bake as normal. If the mixture is cold, it may need an extra minute or two in the oven.
Alternatively, freeze the baked cookies in an airtight container for up to 1 month and thaw in the fridge or at room temperature before eating.
Follow us on Facebook at @CookGoodRecipes
ANZAC Biscuits
Crunchy and caramelised on the edges and deliciously chewy in the middle, these easy ANZAC biscuits everyone’s favourite Aussie treat!
Course: Biscuits
Cuisine: Australian recipe, Biscuits/Cookies
Prep Time: 10 minutes minutes
Cook Time: 10 minutes minutes0 minutes minutes
Total Time: 20 minutes minutes
Servings: 20 cookies
Calories: 137kcal
Ingredients
Prevent your screen from going dark
Instructions
- Preheat oven to 160 degrees celsius (fan-forced). Grease and line three flat baking trays with baking paper.
- Combine the rolled oats, flour, brown sugar and coconut in a bowl.
- Place butter, golden syrup and 2 tablespoons cold water into a microwave-safe bowl and heat for 3 minutes, 50% power or until melted.
- Stir through the bicarbonate of soda.
- Pour the butter mixture over the oat mixture and stir to combine.
- Roll level tablespoons of mixture into balls.
- Place on trays, 5cm apart and flatten slightly.
- For chewy ANZACS, bake for 10 to 12 minutes or until light golden. For crunchy ANZACS, increase cooking time to 12-15 minutes.
- Leave on the baking trays for 5 minutes before transferring to a wire rack to cool completely.
- Thermomix recipe – Click the link in the Recipe Notes section below for my Thermomix ANZAC biscuit recipe.
Notes
RECIPE NOTES & TIPS:
Thermomix ANZAC Biscuits – Click for my Thermomix ANZAC Biscuit recipe.
INGREDIENTS:
- Golden syrup – in this recipe, golden syrup gives the biscuits their signature butterscotch flavour and also helps to bind the biscuits, in place of eggs. It is a key ingredient in traditional ANZAC biscuits and tfore it shouldn’t be skipped if you want them to taste just right! In a pinch, you could substitute it for rice malt syrup or light corn syrup, although the biscuits won’t be quite the same. Golden syrup can be purchased from supermarkets in Australia and New Zealand and also purchased online.
- Bicarbonate of soda – check the expiry date of your bicarbonate soda. Expired bicarb soda won’t work as effectively.
- Weigh your ingredients – with this recipe, accuracy is important. I have included weights of each ingredient, for best results. It is important to carefully weigh each ingredient, as a little extra or not enough of a certain ingredient can alter the dough and affect the final result. This recipe is made with Australian cup and spoon measurements. Due to cup sizes varying from country to country, I advise adjusting if necessary.
OTHER TIPS:
- For chewy ANZACs – bake in a 160-degree Celsius oven for 10-12 minutes. The biscuits will be soft when you take them out of the oven, but will firm on cooling. Allow to cool for 5 minutes on the tray before transferring to a wire rack to cool completely.
- To make them crunchy – if you prefer your ANZAC’s crunchy, it’s so easy to do that without even changing the recipe! Cook for a further 3-5 minutes than the chewy recipe (a total of 12-15 minutes).Again, the biscuits will be soft straight out of the oven but will go crunchy as they cool.
- Storage – ANZAC biscuits can be stored for several weeks in an airtight container at room temperature. They will soften after a few days (but are still absolutely delicious!).
- Freezing – both cooked ANZAC biscuits and the uncooked dough can be frozen. To store the dough, wrap it in clingfilm and store in a bag or container in the freezer for up to 3 months. Thaw in the fridge overnight and then bake as normal. If the mixture is cold, it may need an extra minute or two in the oven. Alternatively, freeze the baked cookies in an airtight container for up to 1 month and thaw in the fridge or at room temperature before eating.
Recipe by CookGoodRecipes.com
Nutrition
Calories: 137kcal | Carbohydrates: 17g | Protein: 1g | Fat: 7g | Saturated Fat: 5g | Cholesterol: 13mg | Sodium: 75mg | Potassium: 46mg | Fiber: 1g | Sugar: 9g | Vitamin A: 155IU | Vitamin C: 0.1mg | Calcium: 11mg | Iron: 0.6mg


