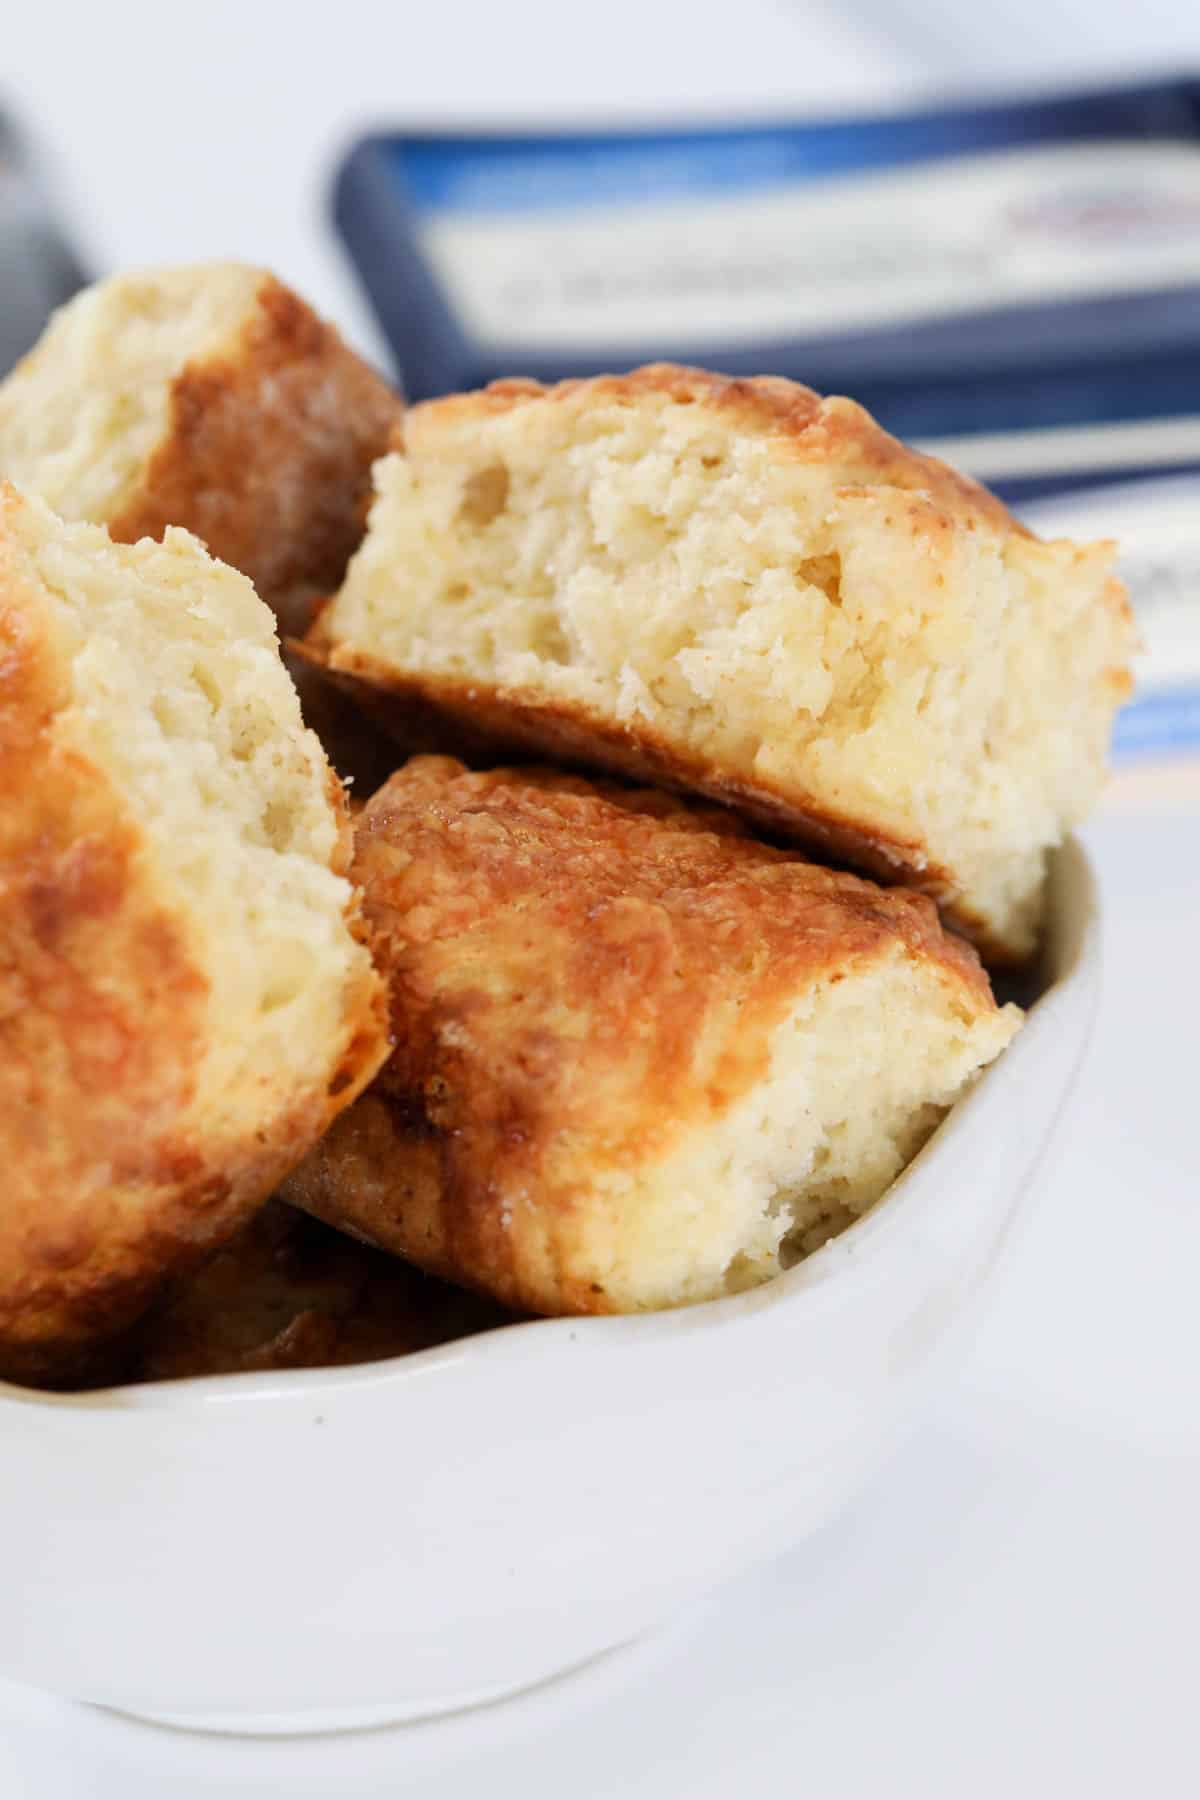
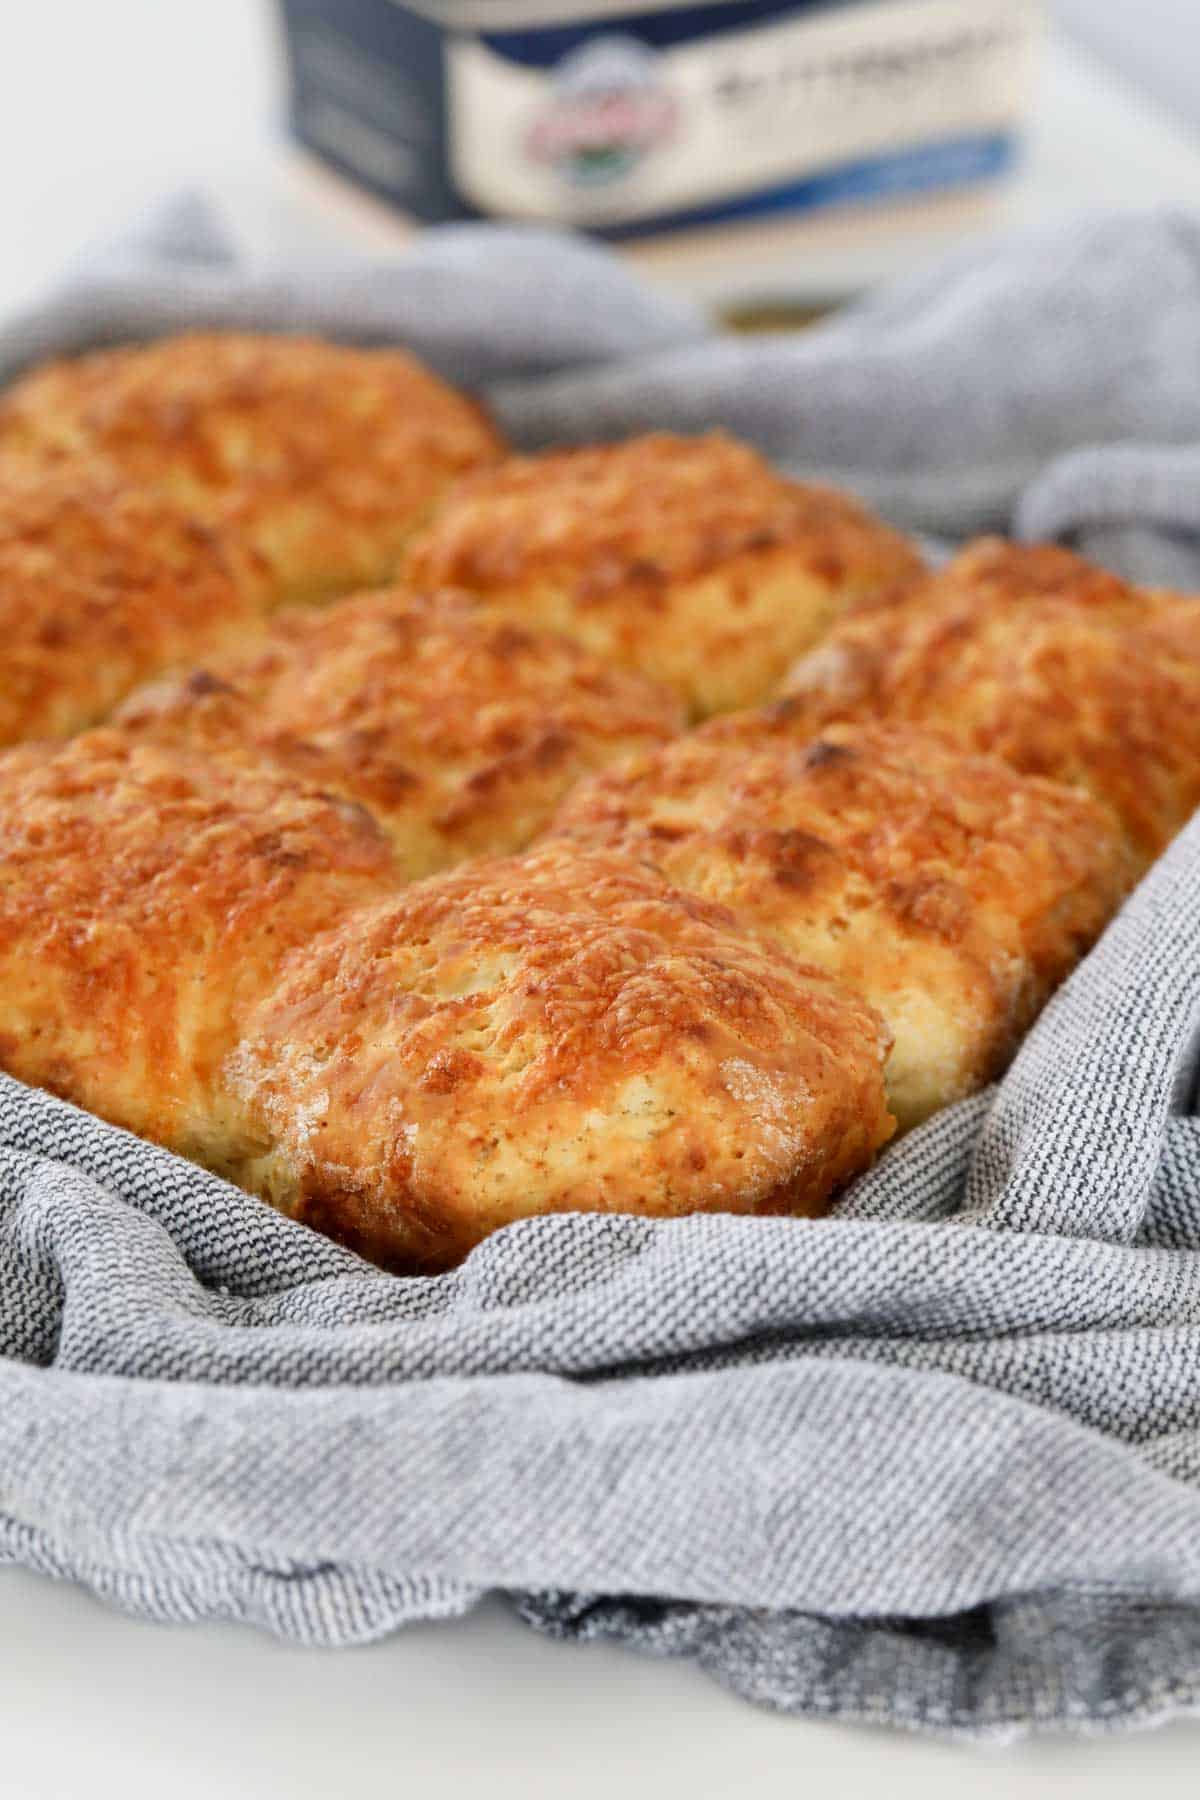
Classic, old fashioned Cheese Scones made from 7 basic pantry ingredients and ready to enjoy in under 25 minutes!
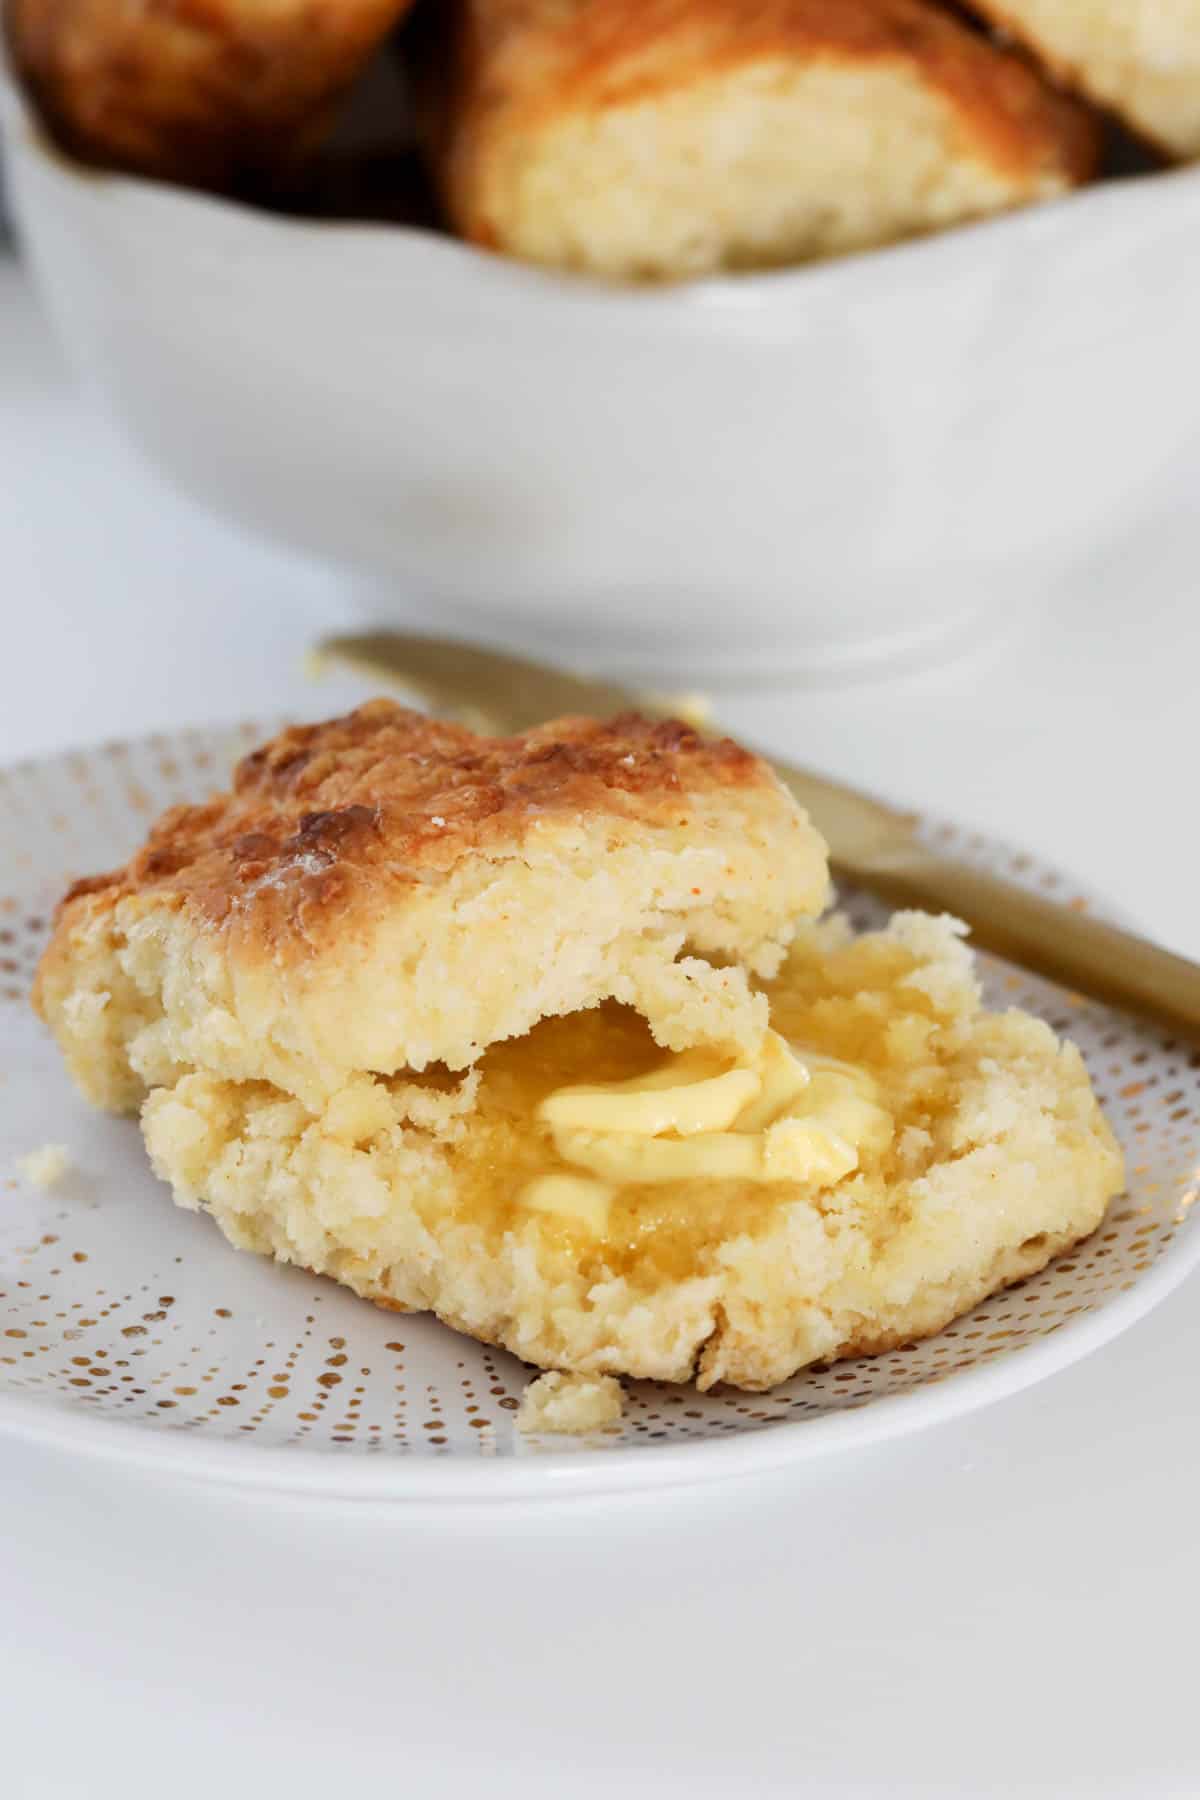
T’s nothing more delicious than a soft and fluffy cheesy scone, fresh from the oven and slatd with butter, and they’re so very simple to make from scratch!

Using the most basic ingredients, this cheese scone recipe is one to have on hand. Whether you make a batch and serve them as is, just warmed and with a good lashing of butter for a family weekend breakfast/brunch or lunch, or you serve them on the side of a bowl of steaming soup for a light meal, cheese scones make a really satisfying and tasty snack.
However you serve them, the smell of freshly baked cheese scones is as tempting as a batch of savoury muffins or bacon and cheese muffins – you simply can’t say ‘no’!
Often scones from a café or bakery may look great, but are a disappointment by being dry and dense, however with a few simple tips, my homemade savoury and sweet scones, including my fruit scones or famous lemonade scones, can be soft, fluffy and irresistible!
Why You’re Going To Love This Recipe
These tasty cheese scones are a classic morning tea item too!
- Perfect for toddlers – who are learning the art of feeding themselves, these cheese scones are a tasty treat to pull apart.
- Budget friendly – a batch of fresh homemade scones is certainly a lot cheaper than a trip to the bakery.
- They freeze well – pop a few extras in the freezer for a ‘grab and go’ lunch box addition.
- Substantial snack – filled with tasty cheddar, these cheesy scones make a great after-school snack, or side to your favourite soup.
- Conventional and Thermomix – both simple methods are included in the recipe card below.
What You Need
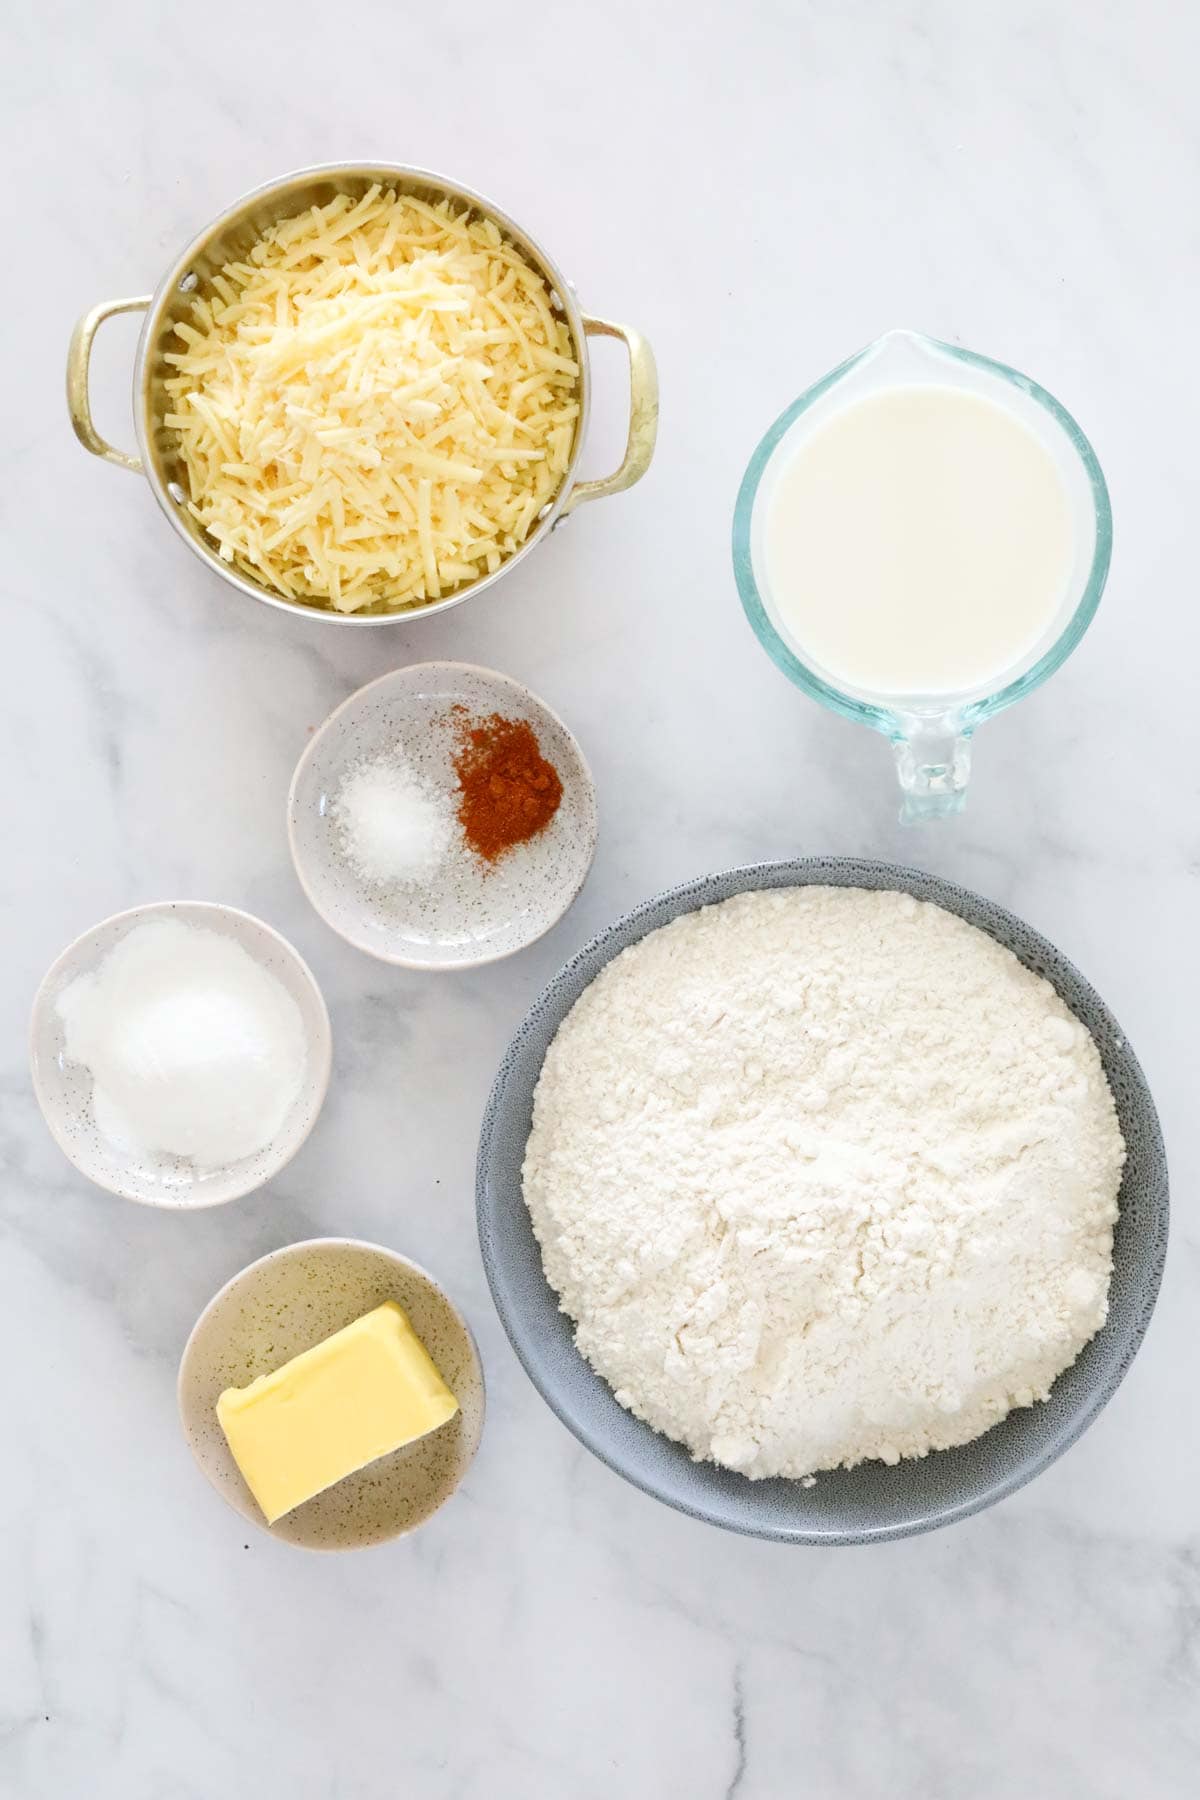
Ready in less than 30 minutes and using basic baking ingredients – you may find that you already have everything on hand!
Note: Scroll to the recipe card at the bottom for the ingredients quantities and full detailed method.
- Plain flour – also referred to as all purpose flour.
- Baking powder – this is the raising agent in cheese scones. It’s important to check the expiry on your baking powder and make sure that it is in-date for the lightest scones!
- Cheese – grated. Use your favorite cheddar or tasty cheese. I recommend freshly grating your cheese for best results, rather than using pre-shredded cheese which contains anti-caking agents.
- Cayenne pepper – is described as mildly hot and a little fruity, which lends itself to complement the savoury cheese flavours.
- Salt – just a pinch.
- Butter – use cold butter in this recipe.
- Milk – I recommend using a full fat rather than a low fat or skim milk in these cheese scones.
Equipment Required
Cheese scones are so very easy to make from scratch, t’s no special equipment required.
- Large mixing bowl – or Thermomix (optional).
- Wooden board – lightly floured, or you can just use your benchtop.
- Round scone cutter – I use a 6cm scone cutter for these cheese scones.
- Cake baking tin or dish – place the scones together in a cake tin. That way they help each other to rise, and the sides stay soft and fluffy, rather than hard and dry.
- Oven – I use fan-forced oven temperatures in my recipes, so if you have a conventional oven, just increase the temperature by between 10 and 20 degrees Celsius.
Step By Step Instructions
Mix these tasty cheese scones all in one bowl, and then bake!
Note: Scroll to the recipe card at the bottom for the ingredients quantities and full detailed method.
Step 1 – Sift The Flour And Baking Powder
Firstly, preheat oven to 200 degrees celsius (fan-forced). Lightly flour a 20cm square cake tin and set aside.
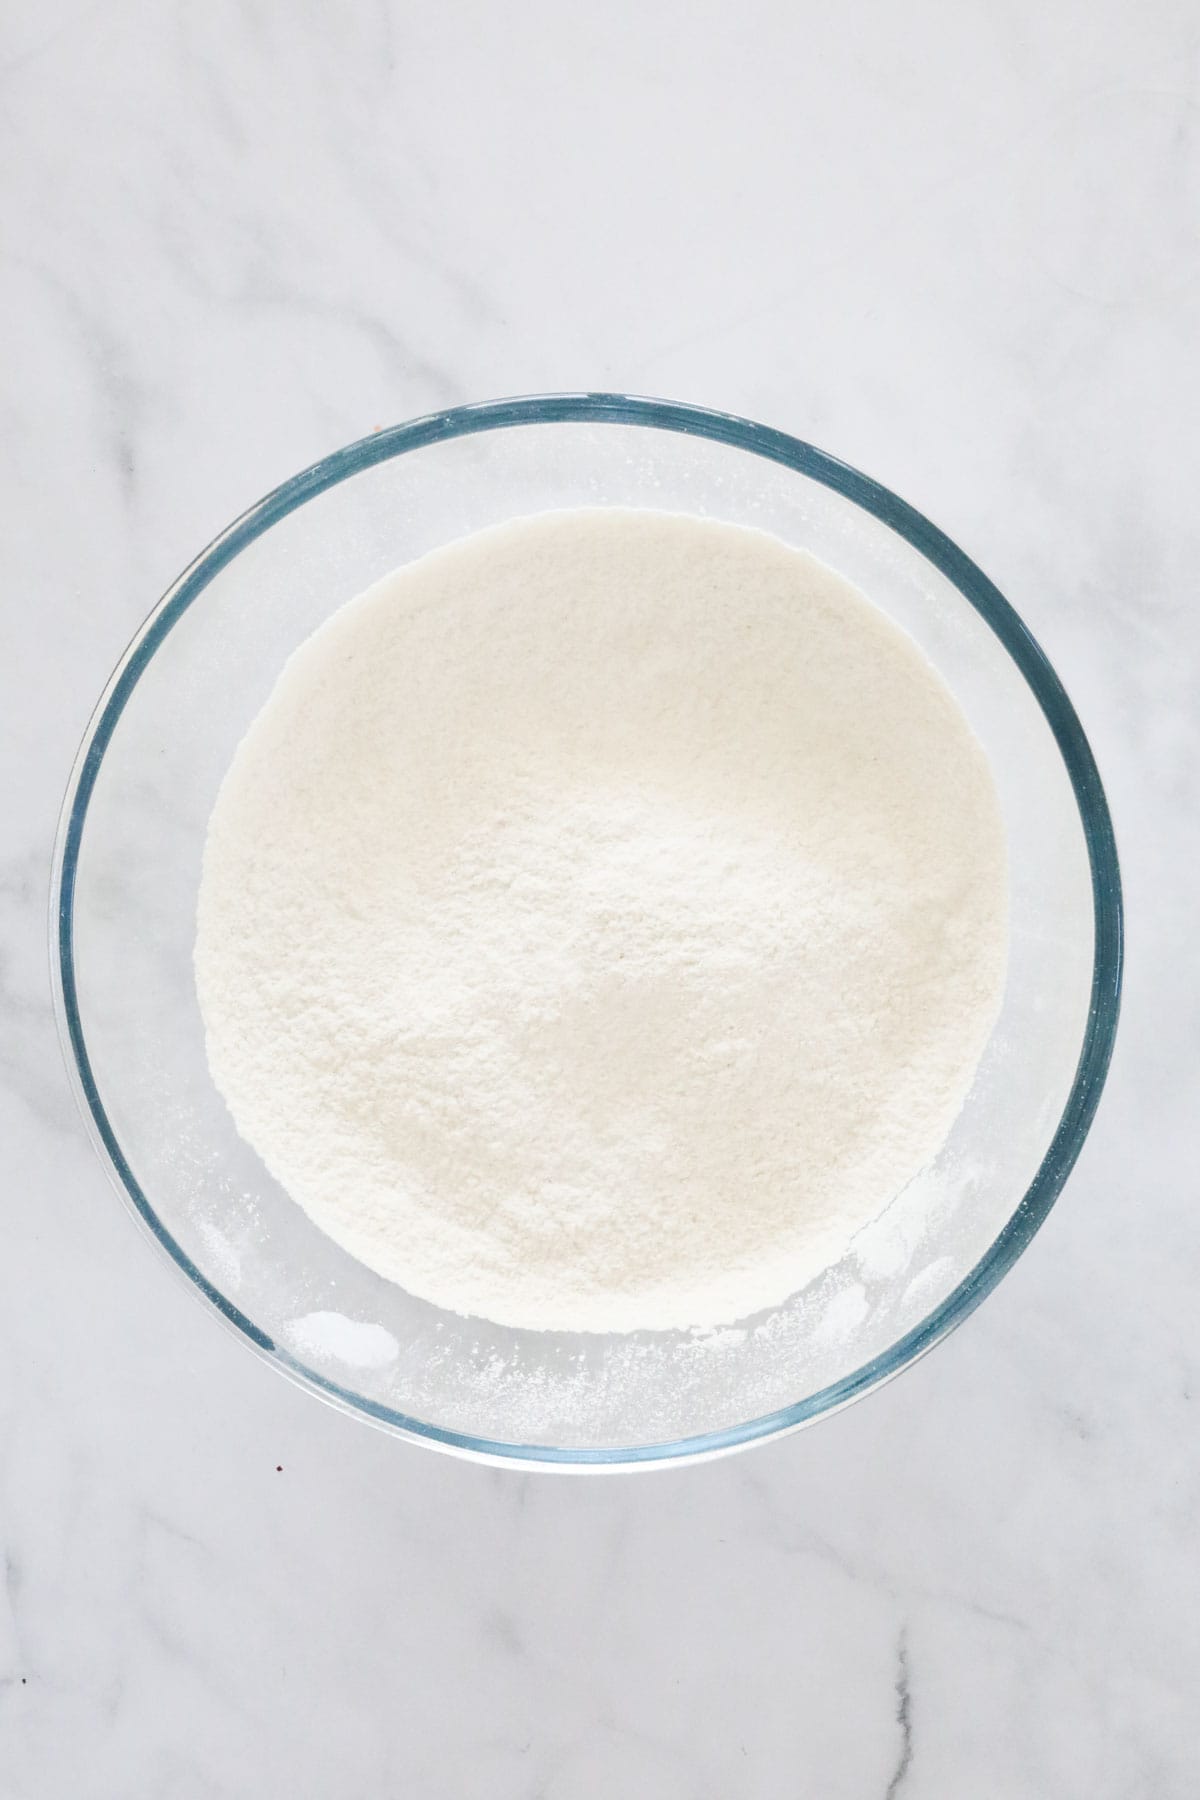
Sift the plain flour and baking powder into a large bowl.
Step 2 – Add The Remaining Dry Ingredients
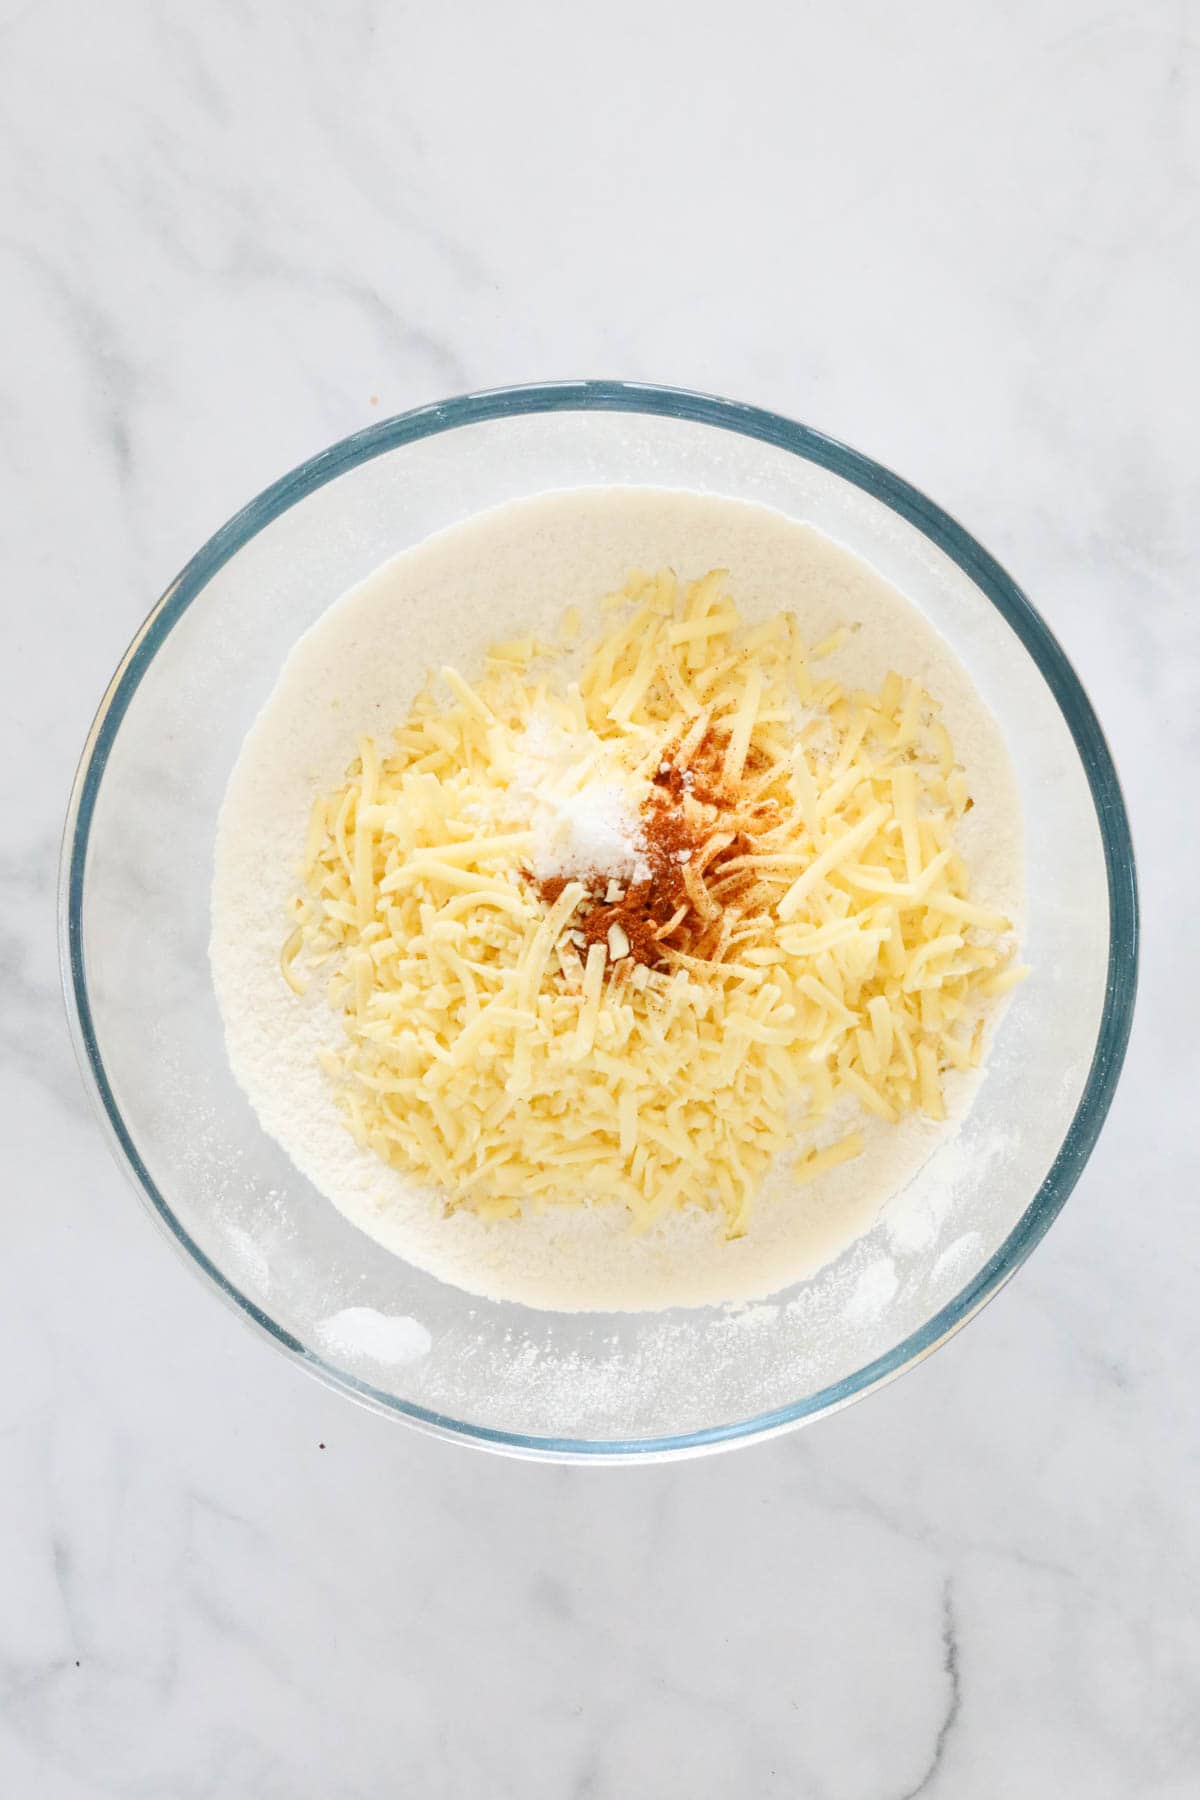
Add the grated cheese, cayenne pepper and a pinch of salt to the sifted flour. Mix to combine.
Step 3 – Rub Through The Butter
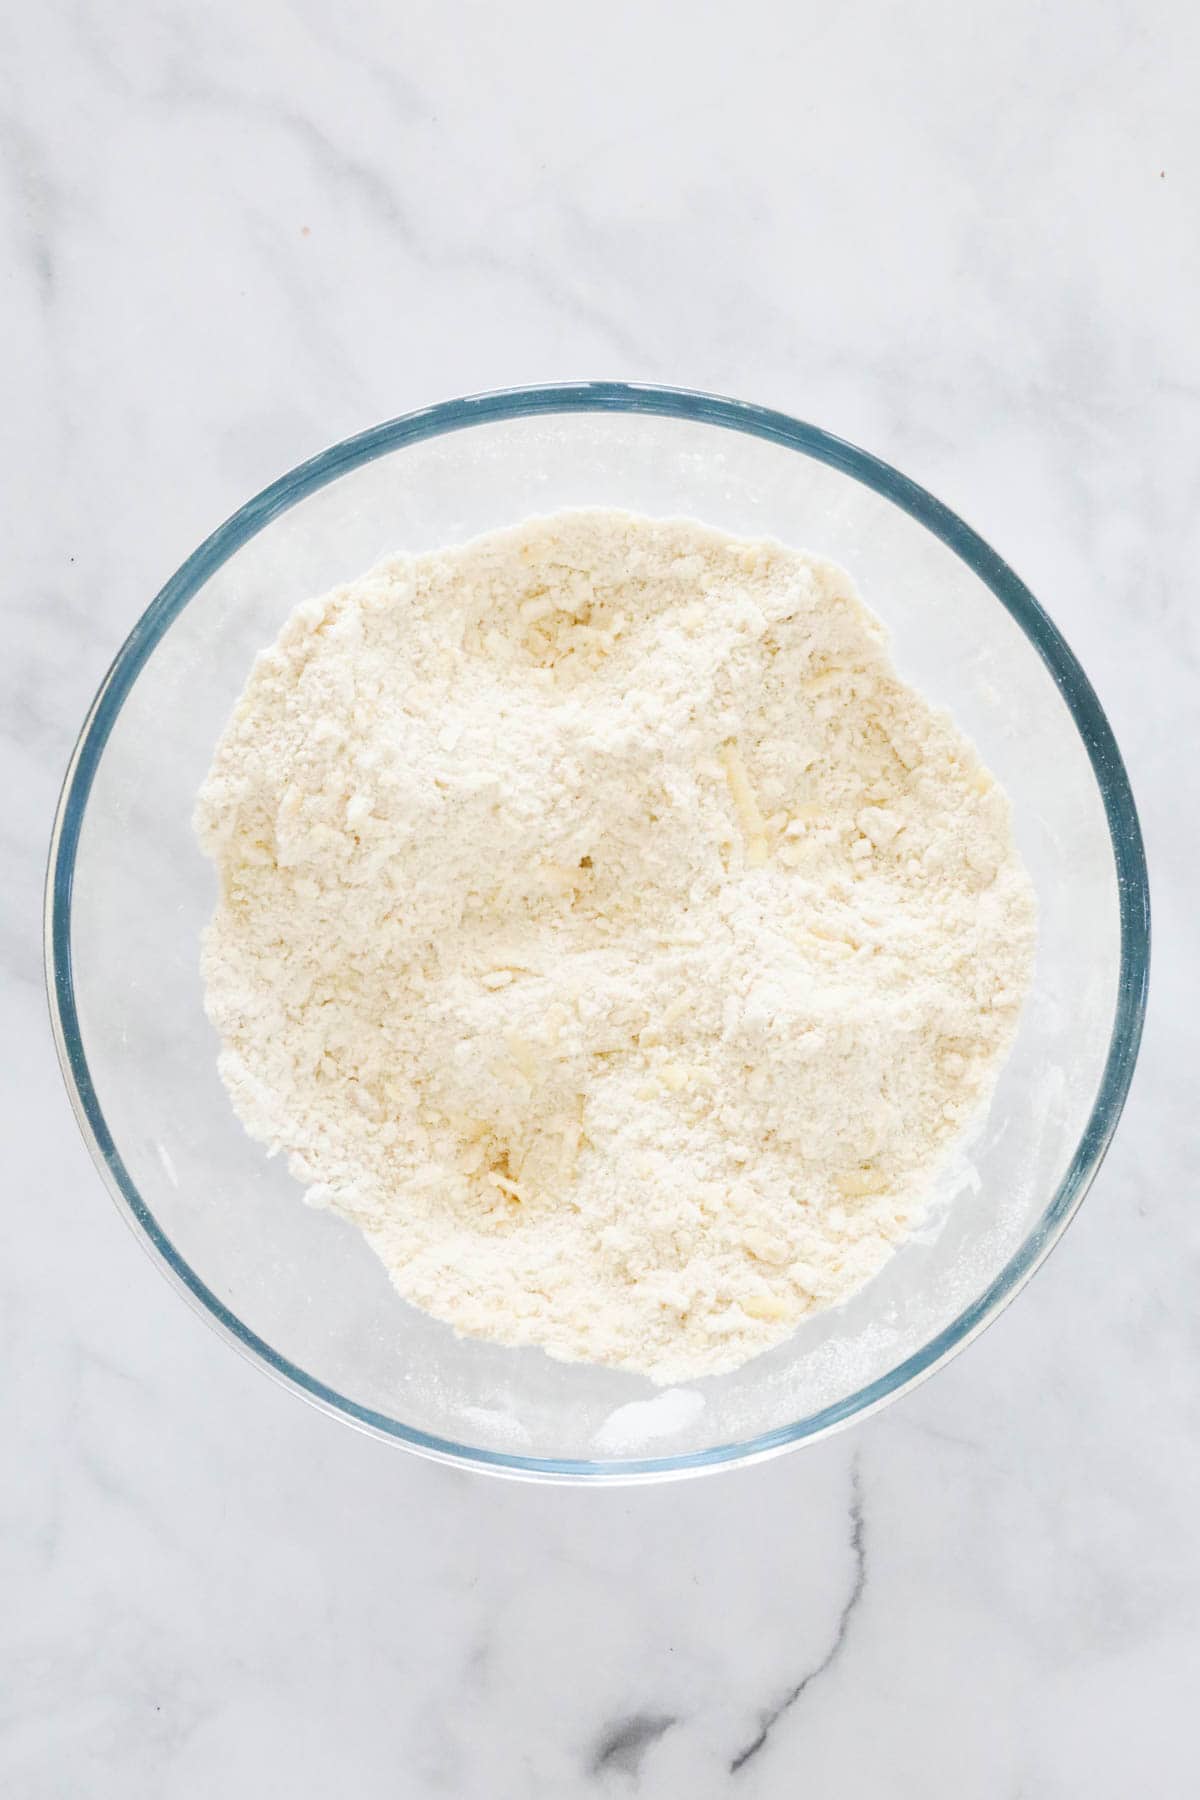
Chop the butter into smaller pieces and add to the flour and cheese mix. Rub the butter through the mixture using your fingertips, until it resembles breadcrumbs.
Step 4 – Add The Milk
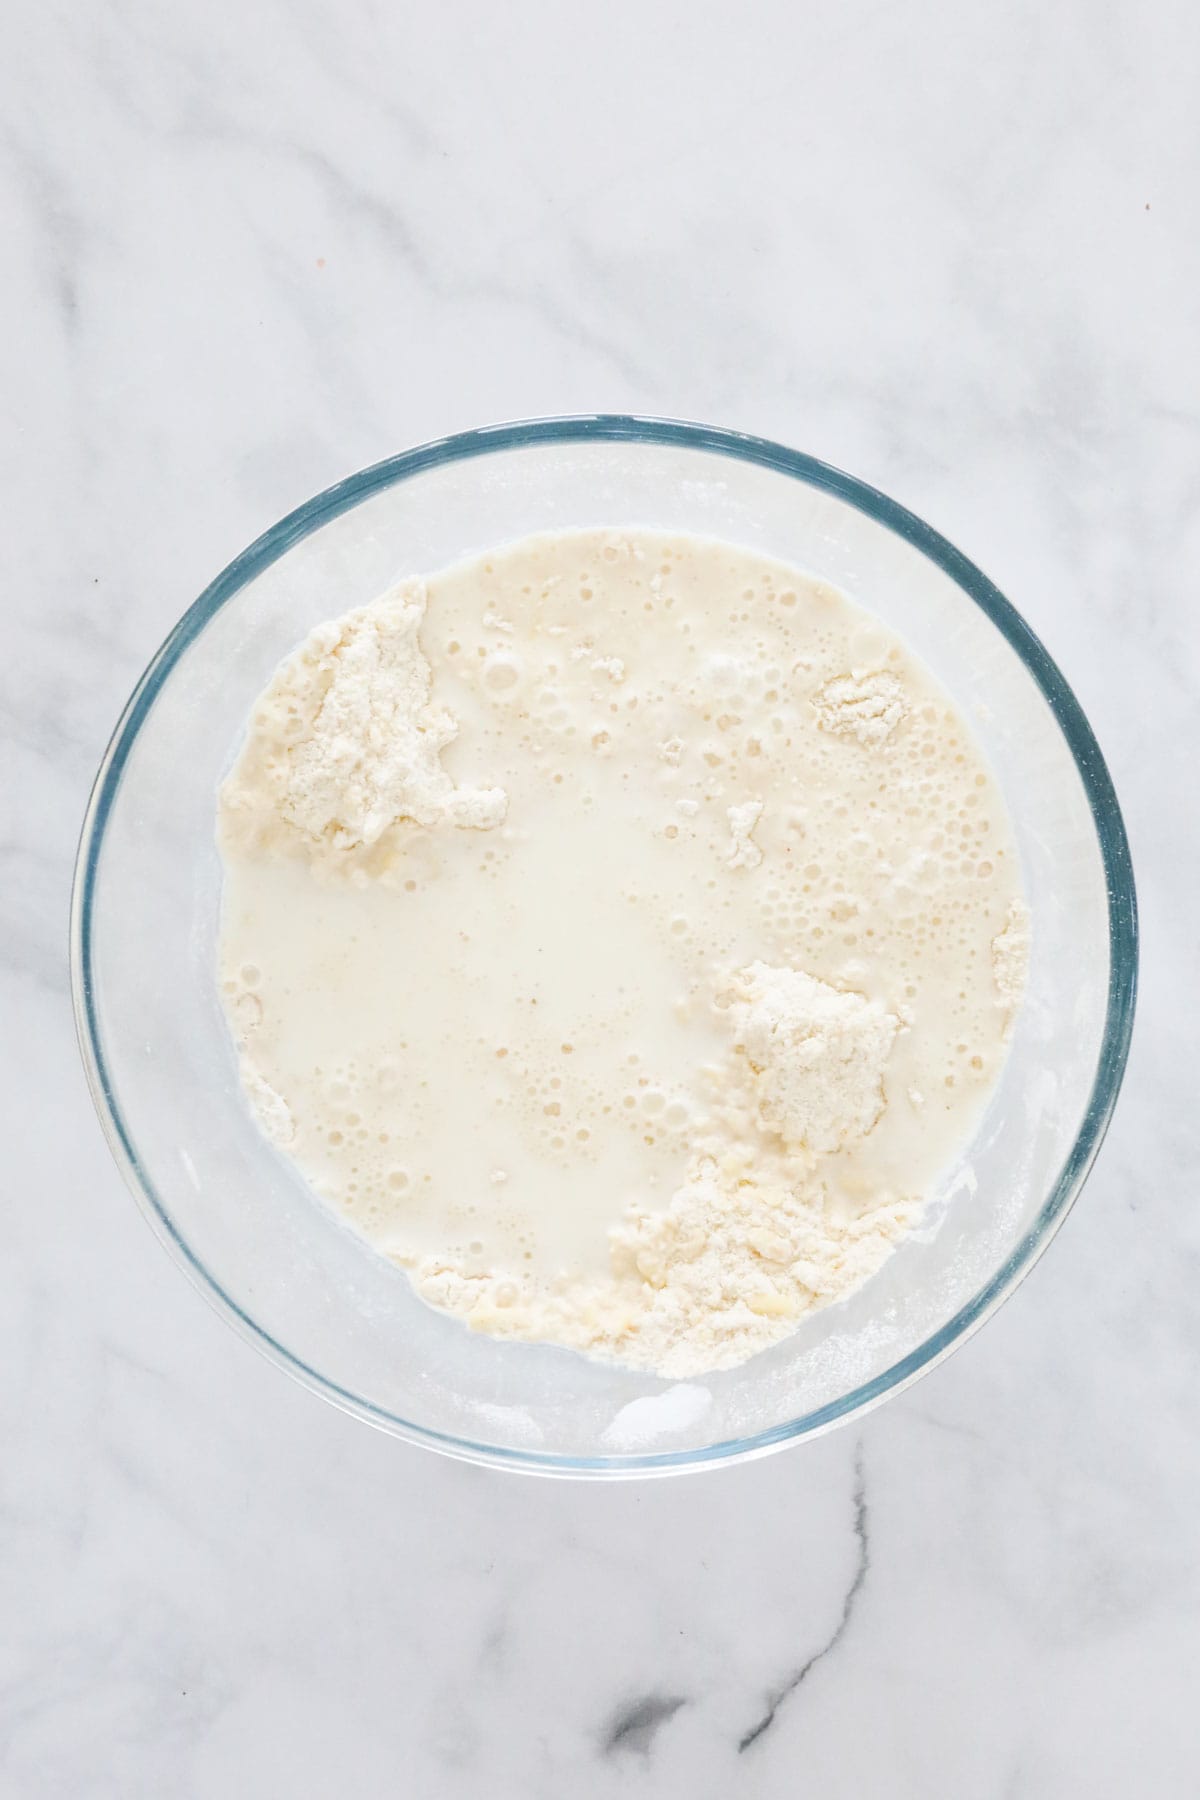
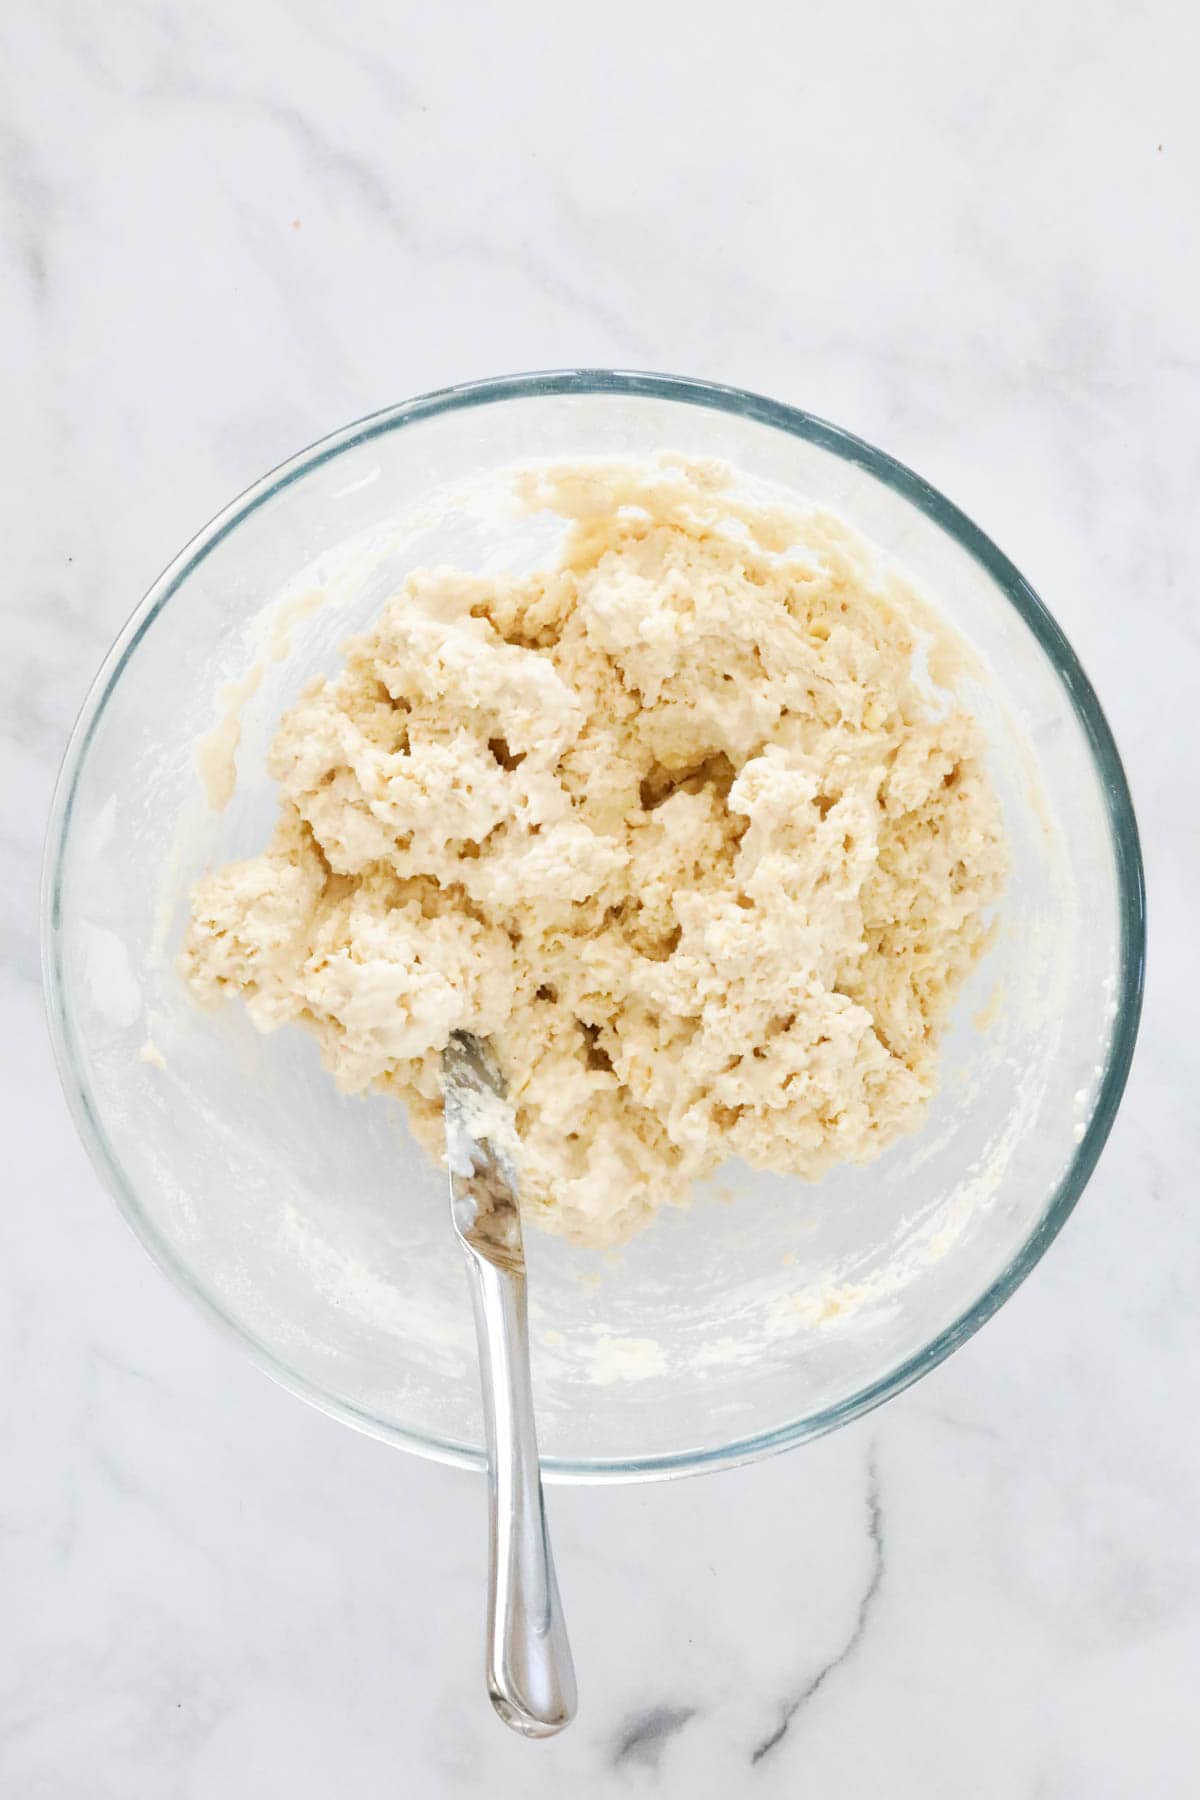
Pour in the milk and using a knife, fold the milk through until only just combined (the mixture will be very sticky).
Place the dough onto a lightly floured board.
Step 5 – Cut And Bake
Lightly flour your fingertips and then gently pat the mixture down to a thickness of 3cm (do not over-work the dough).
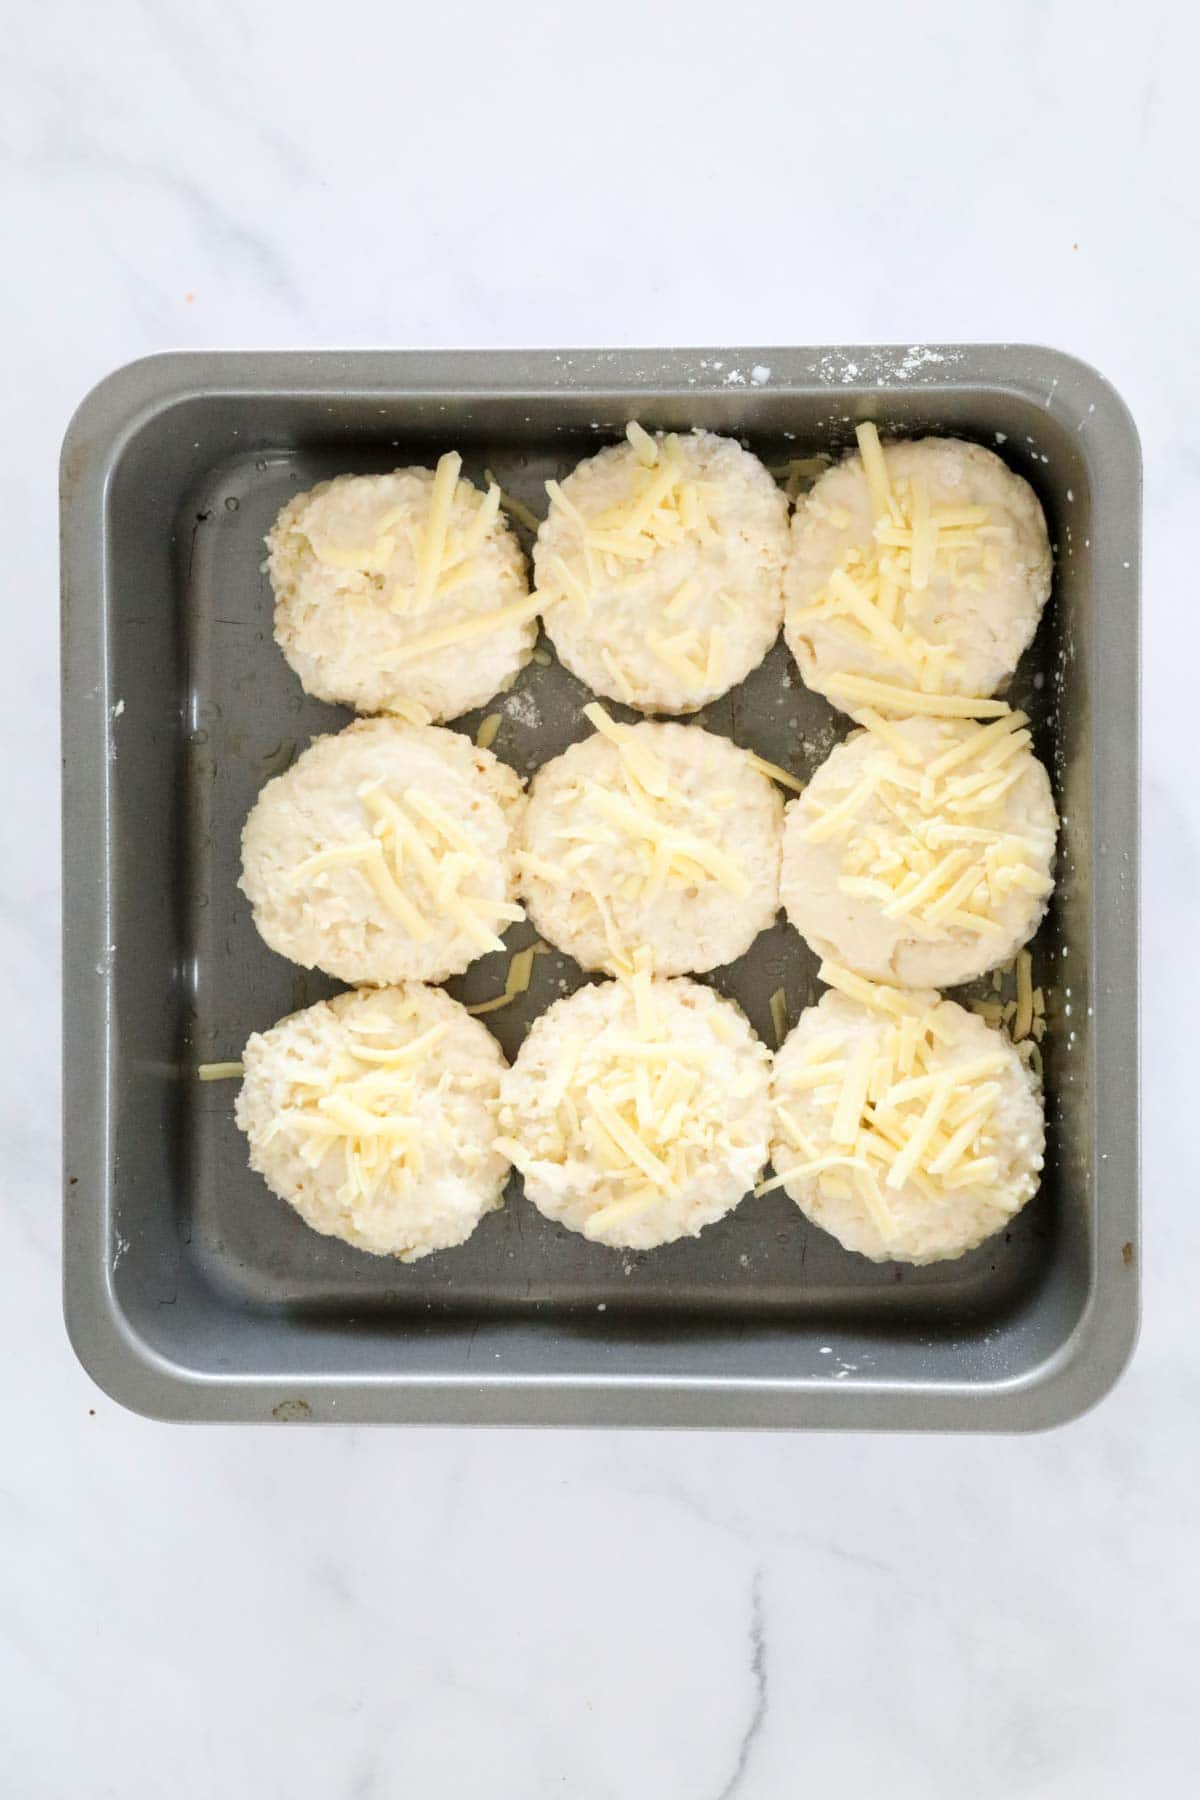
Using a 6cm scone cutter, cut rounds from the middle working outwards, and place each scone into the lightly floured cake tin (make sure that your scones are just pressing up against one another as this will help them to rise).
Lightly pat the remaining dough together to cut out more scones.
When you’ve used all of the dough, brush the tops of the scones with the extra milk and place into the hot oven for 12-15 minutes.
Note: I like to sprinkle a little extra grated cheese on top before baking, but this is optional.
Expert Tips
Here’s a few simple steps which will help to make your cheese scones the very best!
- Serves – 12 large 6cm scones or 18 small 3cm scones (if making smaller scones, reduce the cooking time accordingly).
- Don’t over-mix the dough – over-mixed dough leads to hard and tough scones. I recommend using a knife rather than a spoon to fold the mixture through.
- Cutting the scones – the less you touch the dough, the softer and fluffier your scones will be. Just pat the dough down gently with your fingertips and then cut rounds using a scone cutter. Once you’ve cut as many rounds as you can, gently push the dough together and cut the remaining rounds.
- Flour your cutter – dip your scone cutter lightly in flour between cuts to prevent the mixture sticking. If you don’t have a cutter, you can always just cut the dough with a knife.
- Use a hot oven – make sure your oven is pre-heated before cooking your scones. As they only take a few minutes to cook, you need that high temperature to give a golden crumbly crust on the top, while keeping the inside beautifully soft and fluffy.
- Brush the scones with milk – this gives them a beautiful golden top.
- Place the scones slightly touching in the tin – this helps them to rise.
- Storing scones – scones are best served on the day that they’re cooked but will last up to 2-3 days (you might like to reheat them slightly if you’re not serving them on the day). Alternatively you can freeze cheese scones for up to 3 months.
FAQs
How can I avoid dry and dense scones?
Using cold butter, minimal handling of the dough, placing the scones together to bake, and using a hot oven all help to make light and fluffy scones – see my Expert Tips above.
Can you freeze cheese scones?
Yes, cheese scones freeze really well! Just wrap them in plastic wrap and place in an airtight container for up to 3 months. This way you can take out scones individually for an easy snack – just thaw and then heat until warm for best results.
How long do they last?
Cheese scones, like all homemade scones, muffins and bread rolls, are their very best freshly baked and straight from the oven.
Having no preservatives added like store bought bakery goods, try to bake your scones just prior to when you want to serve them – and they take no time to cook!
However, you can store scones in an airtight container at room temperature for 2-3 days (you may like to slightly reheat them to serve).
Serving suggestions
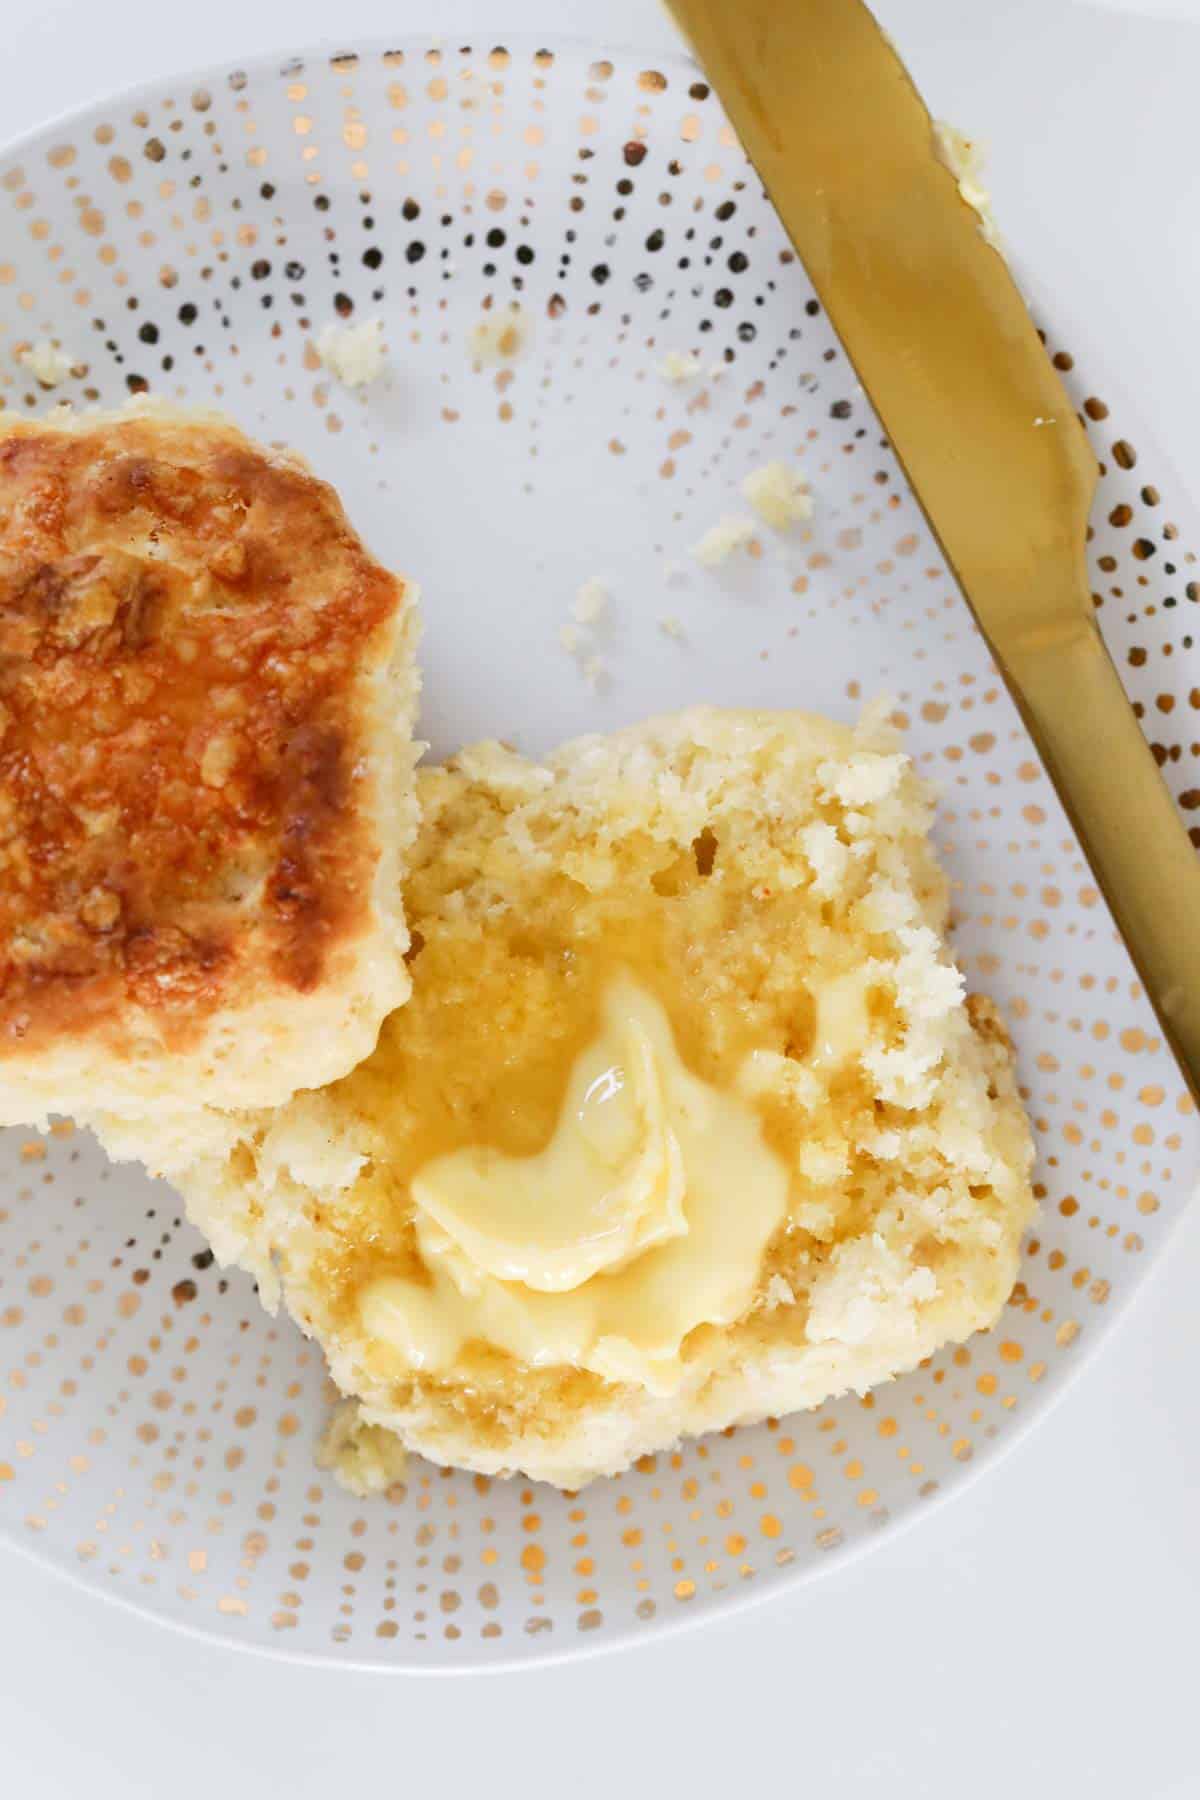
Warm and straight from the oven, with butter, is the classic way to serve cheese scones.
Although you can also add any favourite savoury fillings if you want to serve them like a mini bun. Sliced ham, sliced tomato, smashed avocado, and a little chutney or relish make cheese scones great for a picnic lunch!
Savoury scones, breads and muffins are very easy to make at home, and certainly much more economical for a family.
Why not try some of these other simple savoury recipes?

Follow us on Facebook at @CookGoodRecipes
Cheese Scones
Classic, old fashioned Cheese Scones made from 7 basic pantry ingredients and ready to enjoy in under 25 minutes!
Course: Breads and Scrolls, Snacks
Cuisine: Scones
Prep Time: 10 minutes minutes
Cook Time: 12 minutes minutes
Total Time: 22 minutes minutes
Servings: 12 scones
Calories: 315kcal
Ingredients
Prevent your screen from going dark
Instructions
- Preheat oven to 200 degrees celsius (fan-forced). Lightly flour a 20cm square cake tin and set aside.
- Sift the plain flour and baking powder into a large bowl. If using a Thermomix: Place the plain flour and baking powder into the Thermomix bowl – mix for 5 seconds, Speed 8.
- Add the grated cheese, cayenne pepper and salt and mix to combine. Add the butter and rub it through with your fingers until the mixture resembles breadcrumbs. If using a Thermomix: Add the butter, grated cheese, cayenne pepper and salt and mix for 8 seconds, Speed 6.
- Pour in the milk and use a knife to fold it through until only just combined (the mixture will be very sticky).If using a Thermomix: Pour in the milk and knead for 20 seconds. Scrape down the sides of the bowl and mix for a further 5 seconds.
- Place the dough onto a lightly floured board.With lightly floured fingers, press the mixture down to a thickness of 3cm (do not over-work the dough).
- Using a 6cm scone cutter, cut rounds from the middle working outwards and place into the lightly floured cake tin (make sure that your scones are gently pressing up against one another as it will help them to rise).
- Gently move the remaining dough together and cut out extra scones.
- When you’ve used all of the dough, brush the tops of the scones with the extra milk.Sprinkle with a little extra grated cheese (optional). Place into the oven for 12-15 minutes.
- The scones will be ready when they’re golden on top. Serve warm with butter.
Notes
RECIPE NOTES
- Serves – 12 large 6cm scones or 18 small 3cm scones (if making smaller scones, reduce the cooking time accordingly).
- Don’t over-mix the dough – over-mixed dough leads to hard and tough scones. I recommend using a knife rather than a spoon to fold the mixture through.
- Cutting the scones – the less you touch the dough, the softer and fluffier your scones will be. Just pat the dough down gently with your fingertips and then cut rounds using a scone cutter. Once you’ve cut as many rounds as you can, gently push the dough together and cut the remaining rounds.
- Flour your cutter – dip your scone cutter lightly in flour between cuts to prevent the mixture sticking. If you don’t have a cutter, you can just cut the dough with a knife.
- Use a hot oven – make sure your oven is pre-heated before cooking your scones. As they only take a few minutes to cook, you need that high temperature to give a golden crumbly crust on the outside, while keeping the inside beautifully soft and fluffy.
- Brush the scones with milk – this helps give them a beautiful golden top.
- Place the scones slightly touching in the tin – this helps them to rise.
- Storing scones – scones are best served on the day that they’re cooked but will last up to 2-3 days (you might like to reheat them slightly if you’re not serving them on the day). Alternatively you can freeze them for up to 3 months.
Recipe by CookGoodRecipes.com
Nutrition
Calories: 315kcal | Carbohydrates: 47g | Protein: 9g | Fat: 10g | Saturated Fat: 6g | Polyunsaturated Fat: 1g | Monounsaturated Fat: 2g | Trans Fat: 0.2g | Cholesterol: 26mg | Sodium: 114mg | Potassium: 245mg | Fiber: 2g | Sugar: 1g | Vitamin A: 308IU | Vitamin C: 0.03mg | Calcium: 165mg | Iron: 3mg


