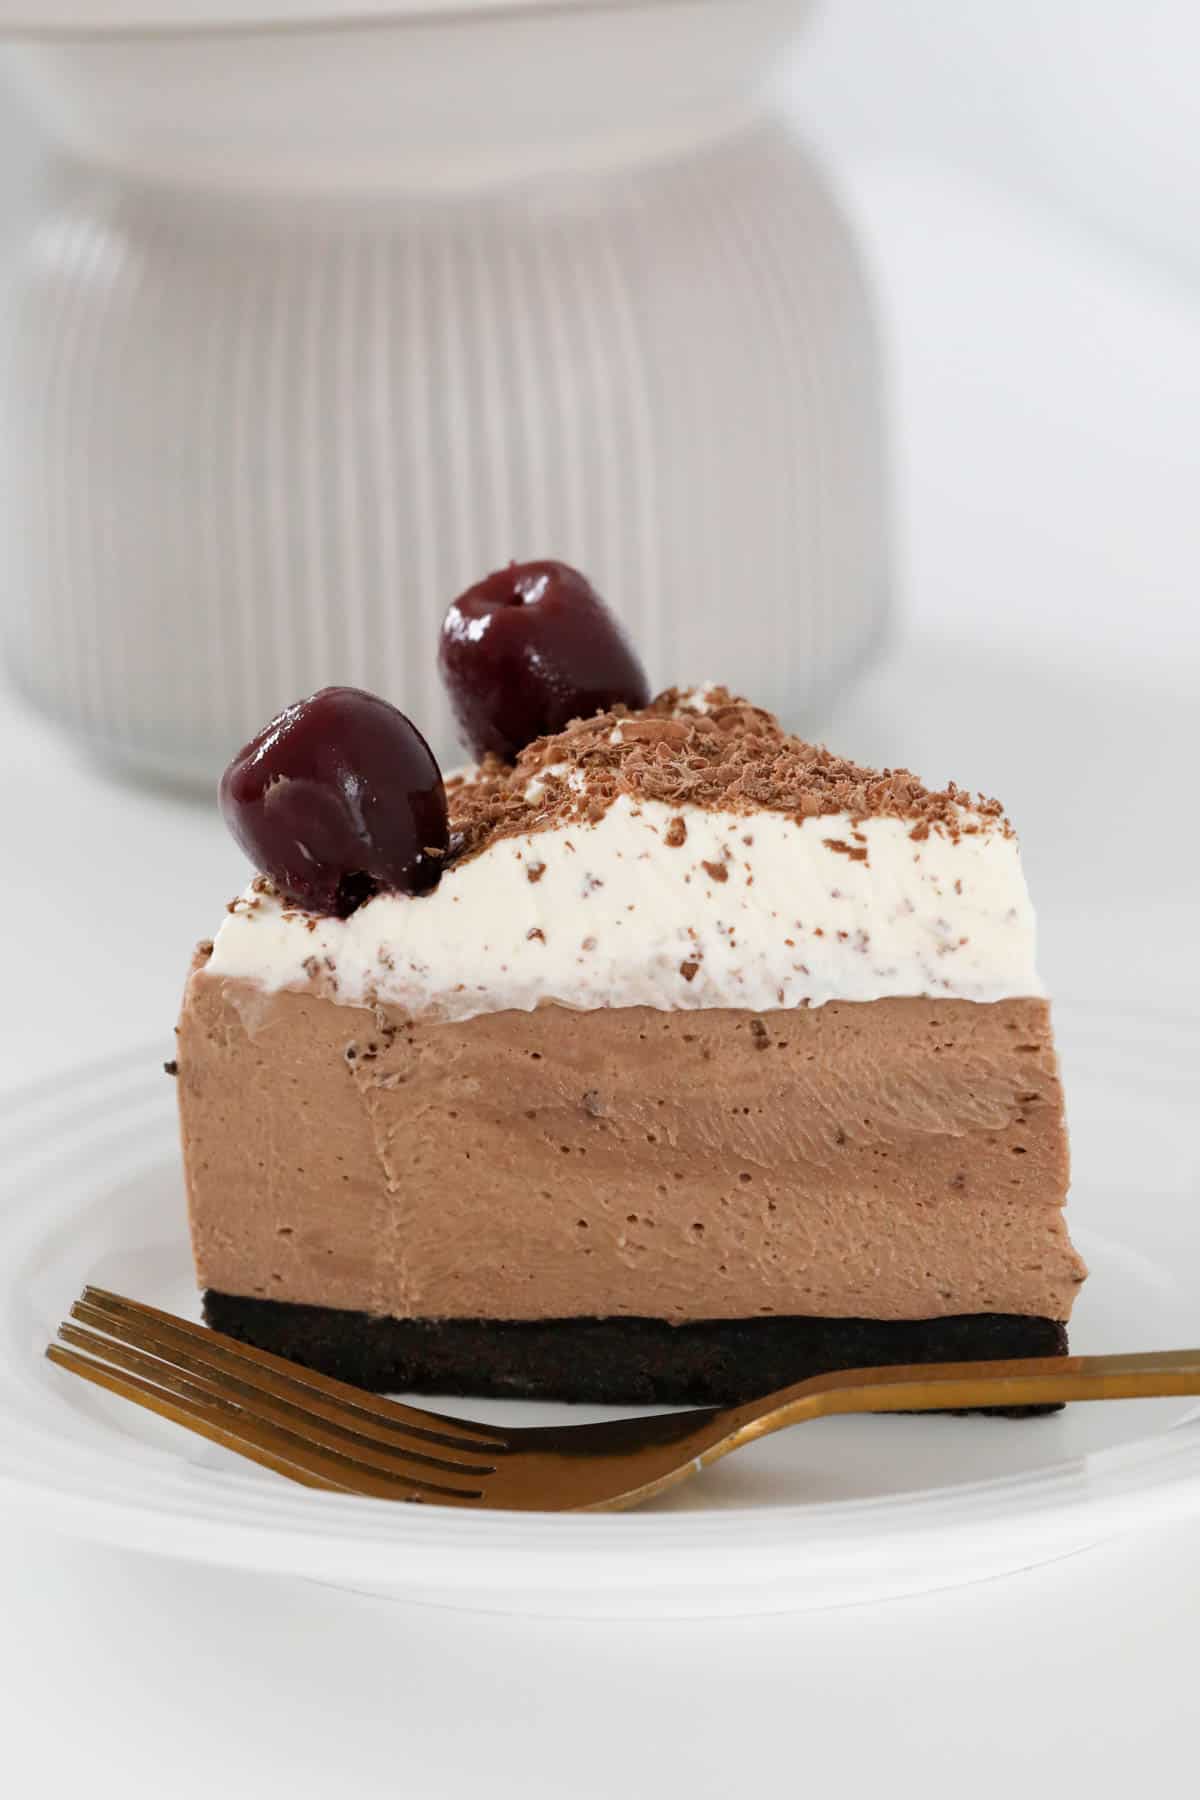
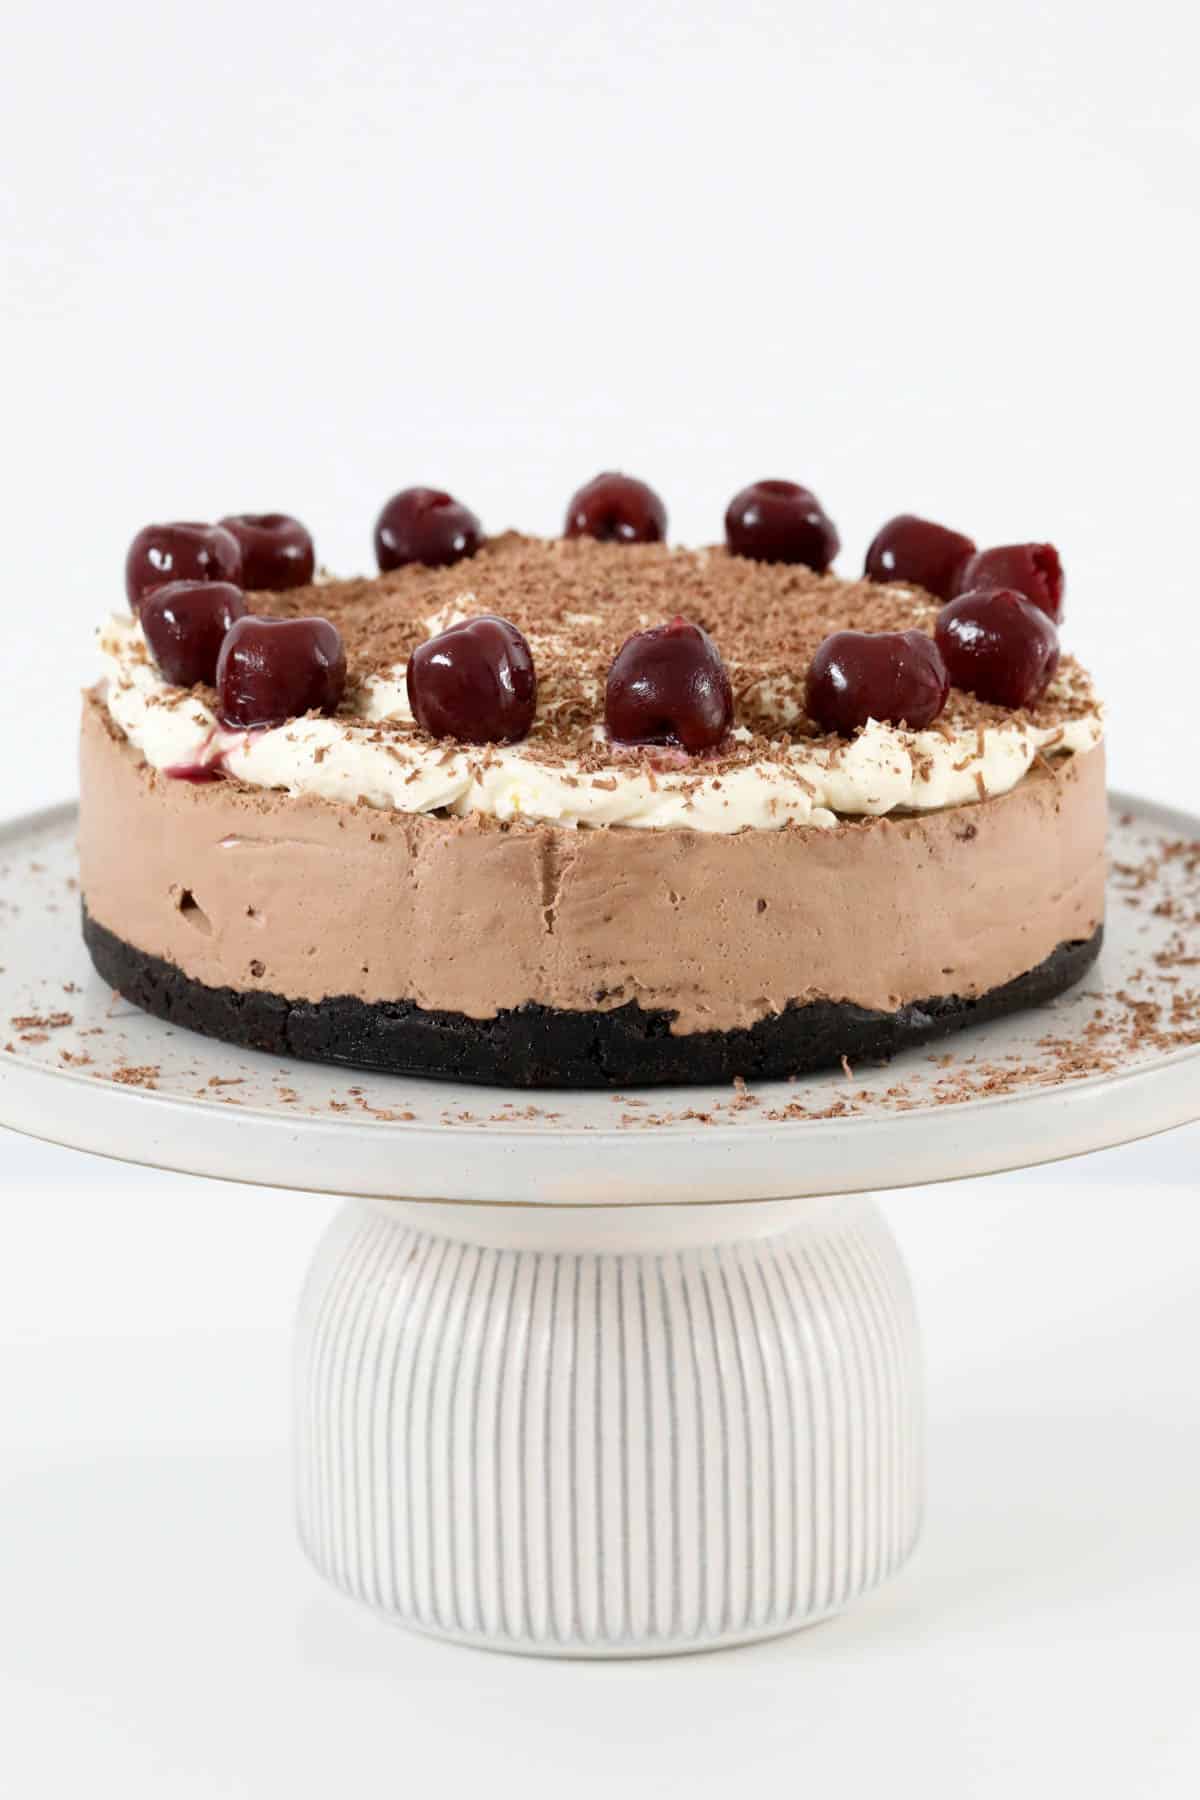
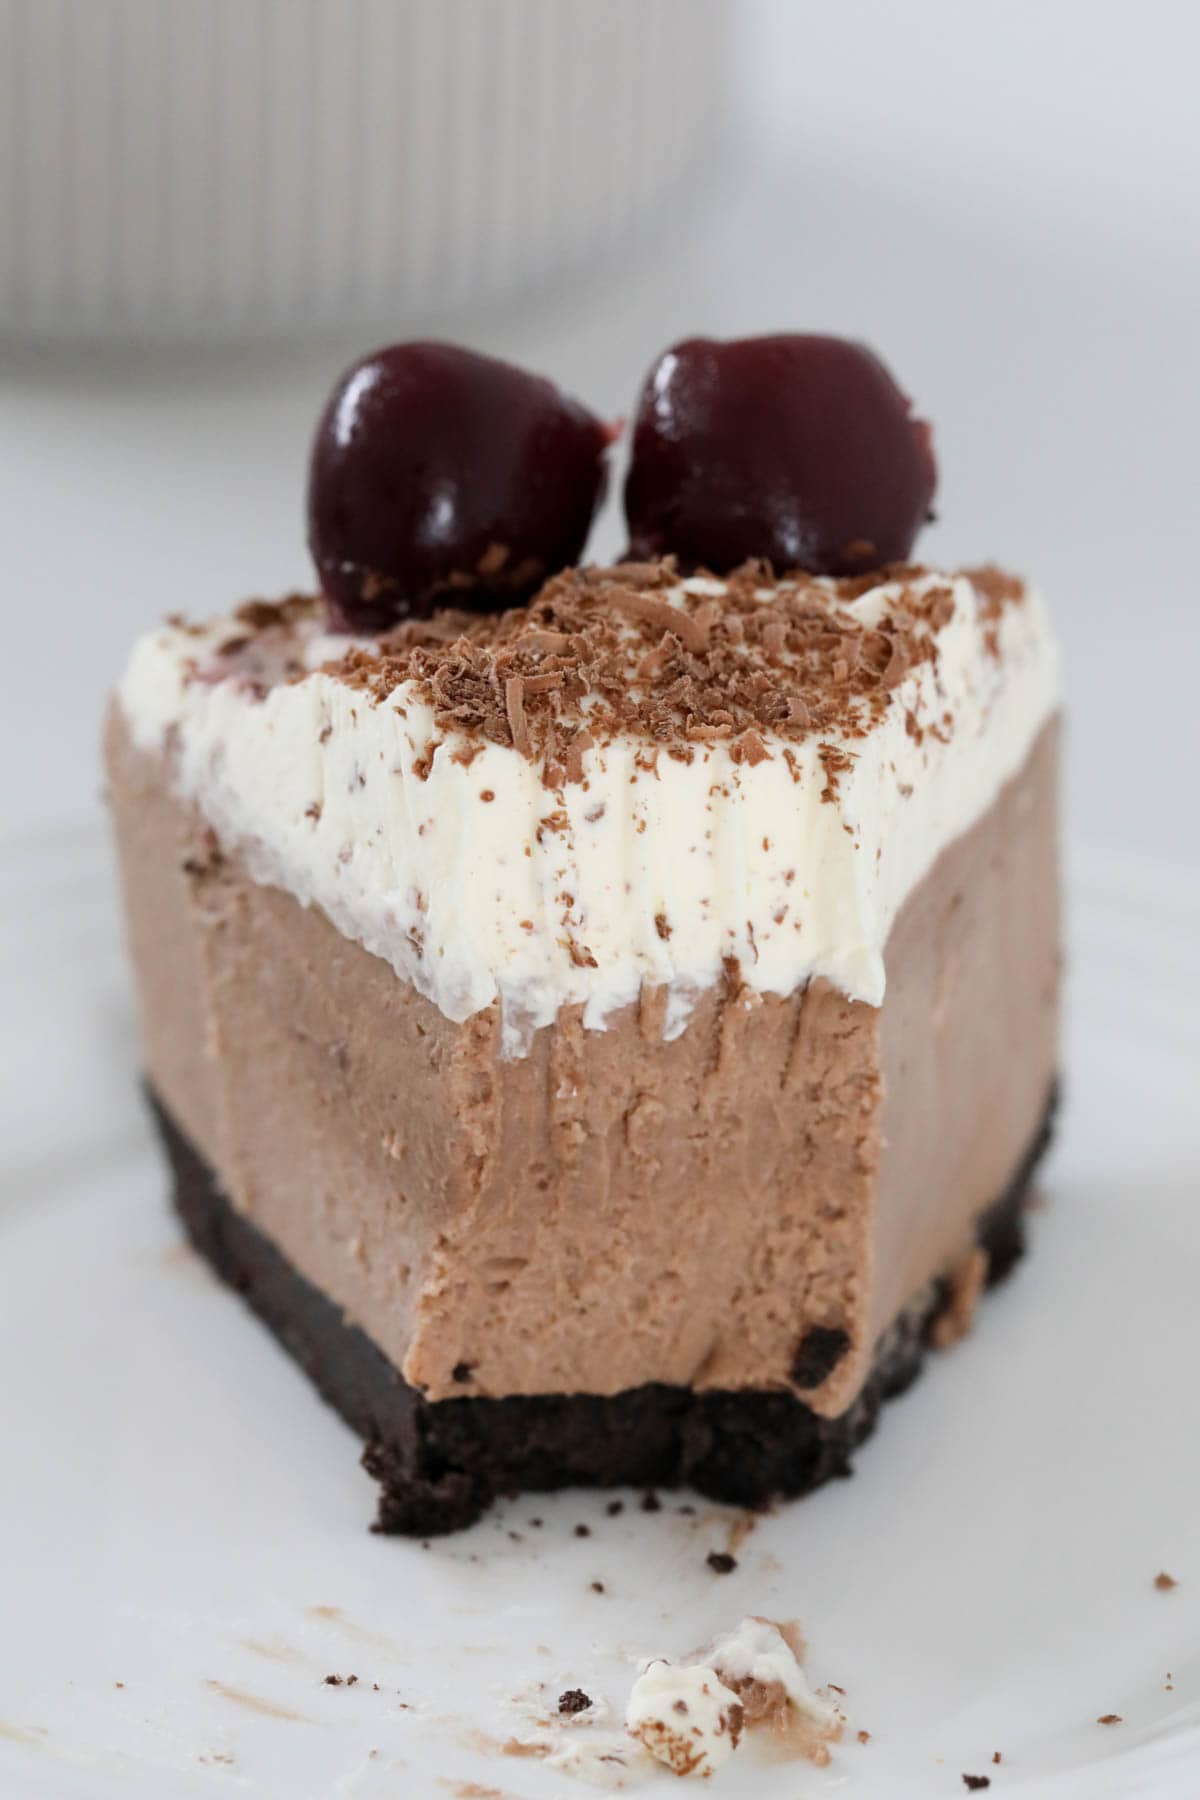
A simple no-bake Black Forest Cheesecake topped with whipped cream, grated chocolate and cherries.
This chocolate cherry cheesecake with its luscious cherry topping is so simple to prepare, and makes a stand-out dessert for a birthday or special occasion.
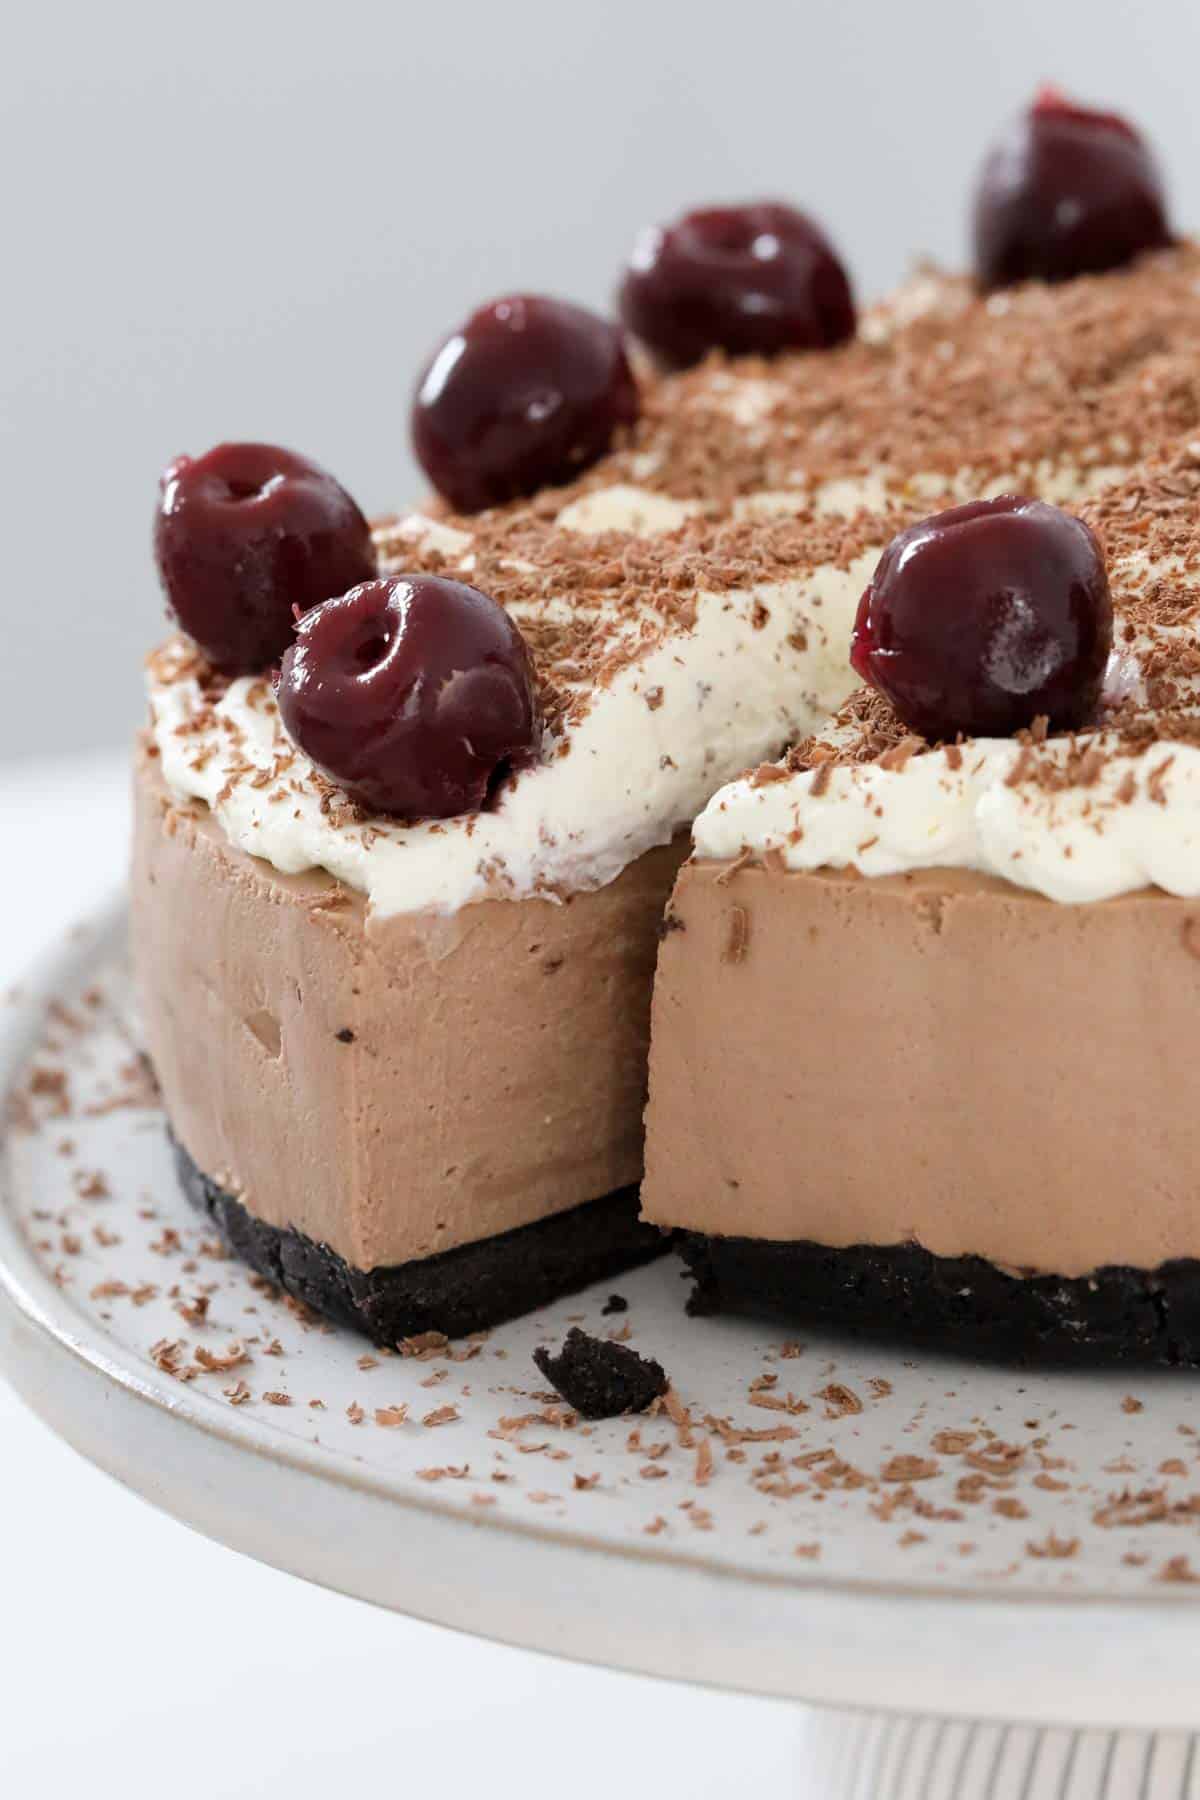
Black Forest Cake has always been a favourite in our home as a special birthday dessert, but with this simple no-bake chocolate cheesecake, smotd in whipped cream and cherries, it’s easy enough to enjoy anytime!
Cheesecakes are known for being intensely rich and creamy, and this Black Forest chocolate cheesecake is no exception, making it a great dessert to share when t’s a crowd, as you only need a small(ish) serve.
Whilst fresh cherries come into season just prior to Christmas in Australia, this cherry chocolate cheesecake can be made all year round using a can of sweet pitted cherries.
And for those who love that chocolate cherry flavour combo, why not try my Cherry Ripe slice or Cherry Ripe balls – both are easy no-bake recipes!
Why You’re Going To Love This Recipe
Using store bought pitted sweet cherries in a can, means that this Black Forest cheesecake can be enjoyed all year round, not just when fresh cherries are available!
- Perfect for a special occasion – with its cherries and whipped cream topping, this chocolate cheesecake looks extra special, so it’s perfect to serve for any special celebration.
- Serves a crowd – a cheesecake like this can be cut into many serves. Being rich and creamy, you only need a small serve (or maybe seconds as well!)
- Make ahead of time – it takes only 20 minutes to prepare this no-bake cheesecake, and then you can leave it to chill, so it’s ideal for making a day ahead to be super organised.
- Conventional and Thermomix – I have included instructions for Black Forest cheesecake using both methods in the recipe card below.
What You Need
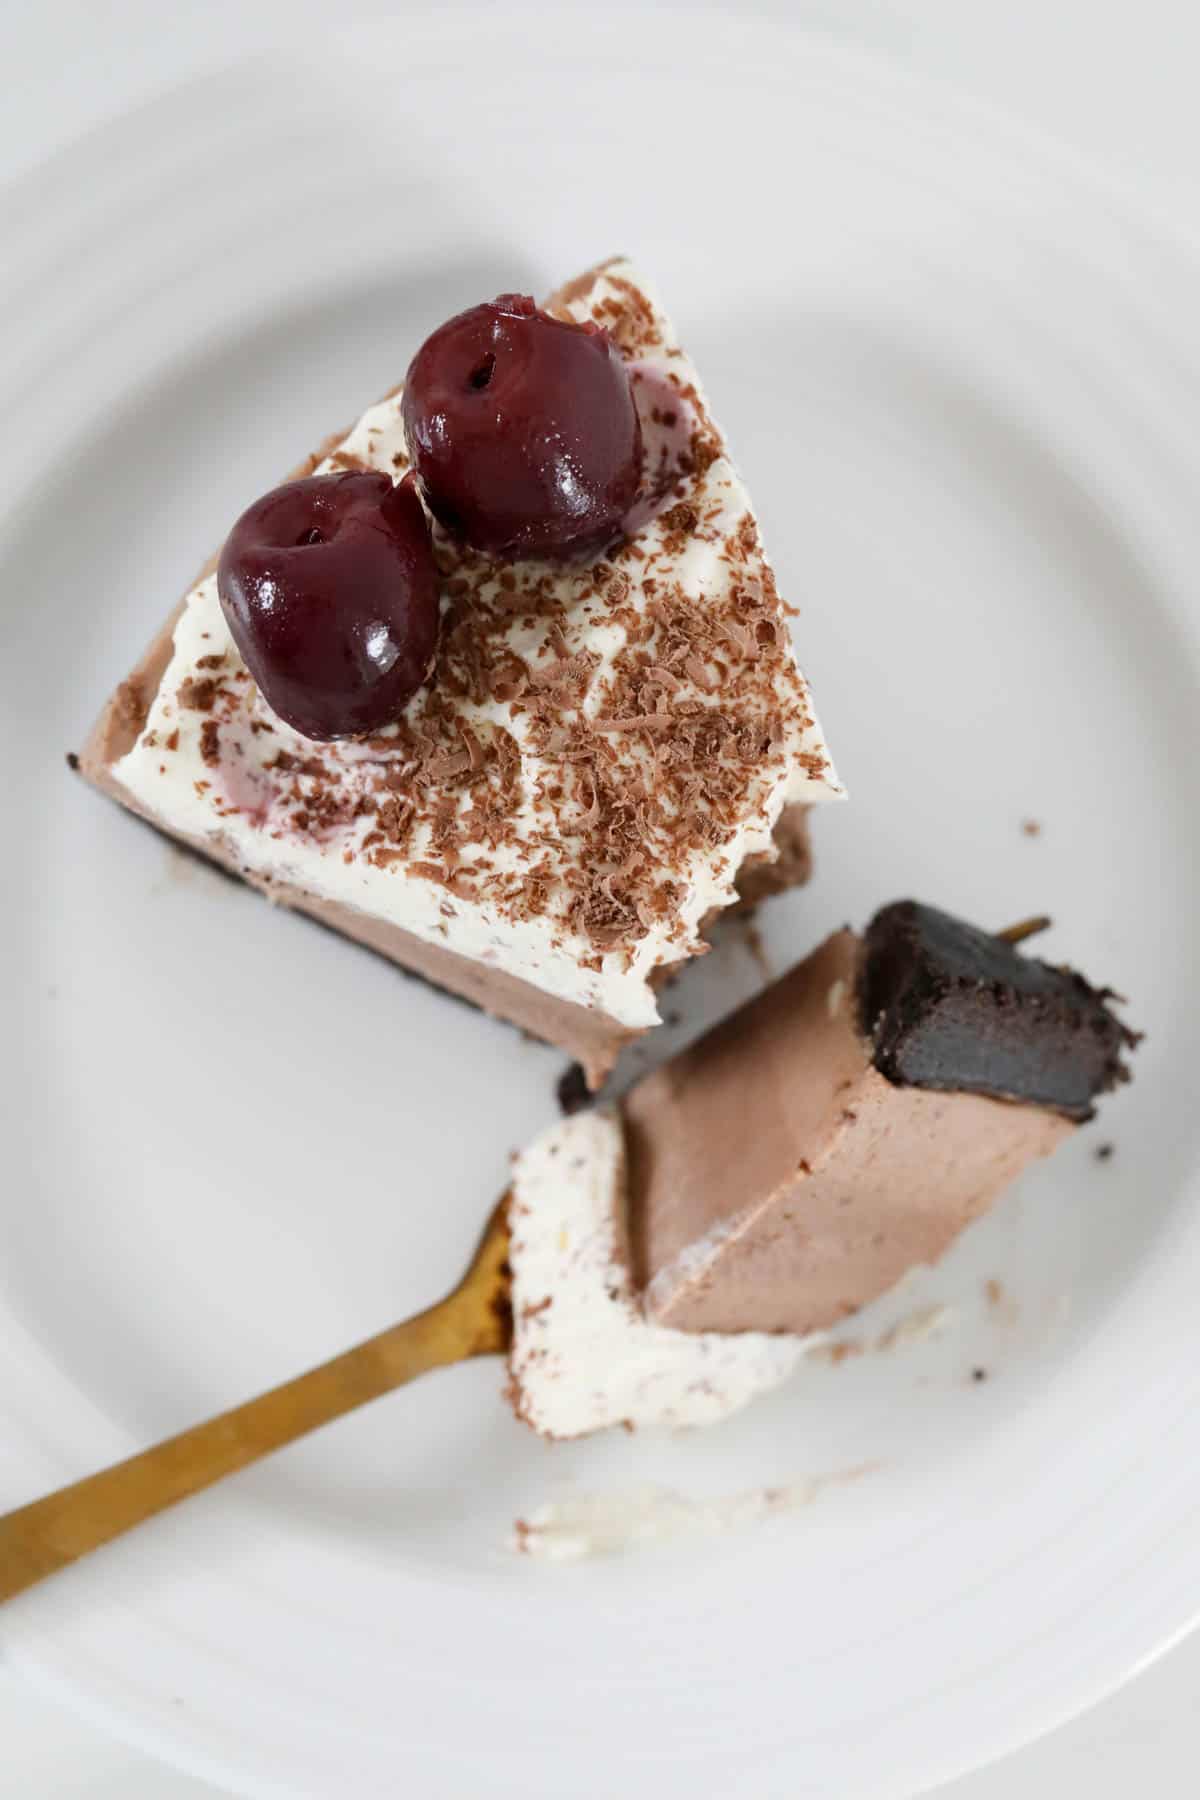
This chocolate cherry cheesecake is luscious enough to be called sinful!
Note: Scroll to the recipe card at the bottom for the ingredients quantities and full detailed method.
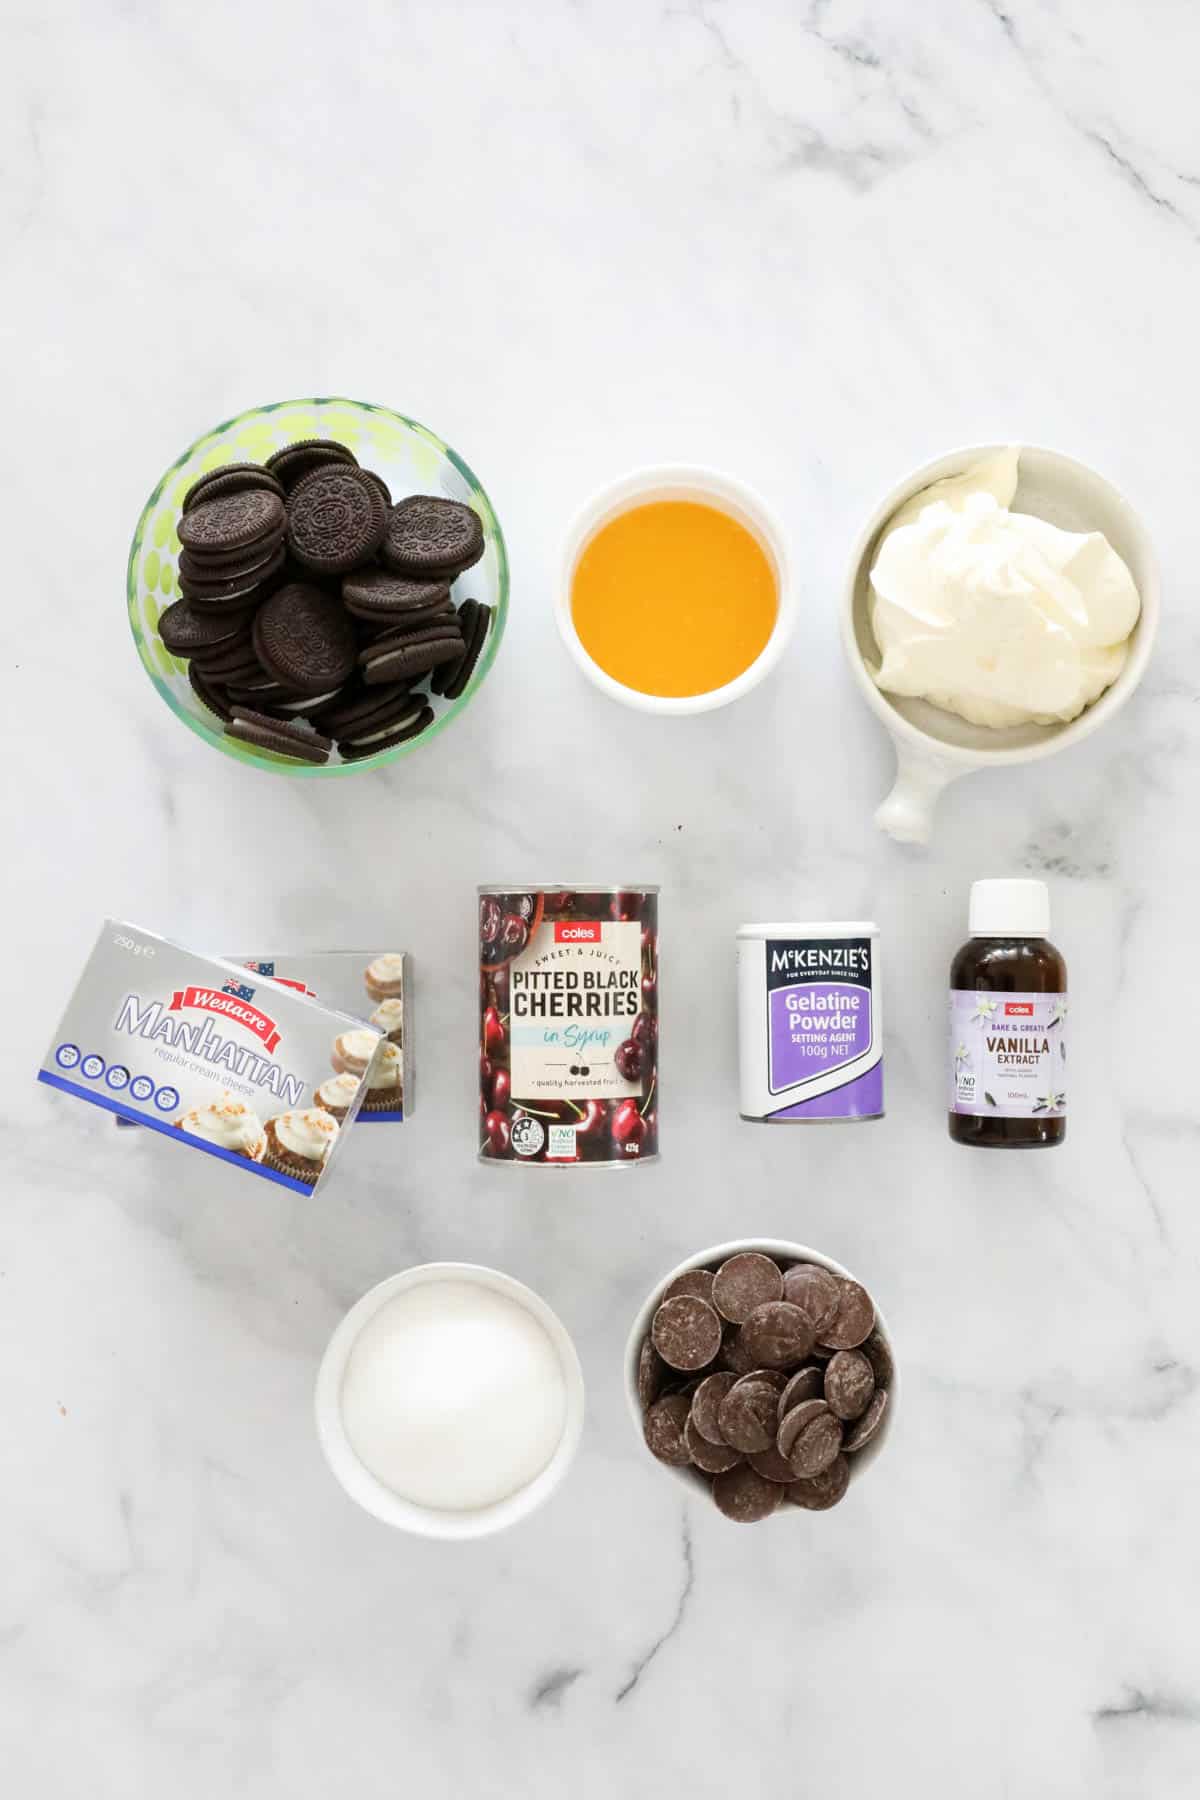
For The Base And Filling
- Oreo’s, or any chocolate cookies – crush the Oreo’s with the cream filling as well, for a cookies and cream base.
- Butter – melted.
- Cream – lightly whipped.
- Milk chocolate melts – a good quality chocolate brand, such as Cadbury or Nestle, will make a difference in the final flavour.
- Gelatine powder – dissolved in boiling water. This helps the cheesecake to set and hold it’s shape when served. See FAQs.
- Cream cheese – use regular, full-fat cream cheese for best results, and have this at room temperature for smooth mixing, avoiding any lumps.
- Vanilla bean paste – or vanilla extract.
- Caster sugar – also called superfine or casting sugar. I use caster sugar as it mixes easily with the cream cheese mixture.
To Decorate
- Thickened cream – I recommend using a full-fat cream as it whips up better than a light version.
- Dark chocolate – grated.
- Pitted cherries – I used a can of pitted sweet black cherries, not Morello cherries which are sour cherries. See FAQs.
Equipment Required
Basic baking equipment is all that’s required for this Black Forest cheesecake.
- Mixing bowls and a grater (to grate the chocolate).
- 23cm springform tin – greased and lined with baking paper.
- Food processor or Thermomix – to crush the cookies, mix the filling and whip the cream, but you could also use a rolling pin to crush the biscuits and a hand held beater or stand mixer.
- Microwave or stove-top – to melt the butter and chocolate melts.
Step By Step Instructions
Make this no-bake Black Forest cheesecake a day ahead, and then you can just add whipped cream, cherries and grated chocolate on the day, prior to serving.
To ensure a smooth cheesecake, ensure the cream cheese is at room temperature.
Note: Scroll to the recipe card at the bottom for the ingredients quantities and full detailed method.
Step 1 – Prepare The Base
Grease and line the base and sides of a 23cm springform pan with baking paper and set aside.
Finely crush the Oreo cookies (including the cream filling) in a food processor and place into a bowl. Add the melted butter and mix until well combined.
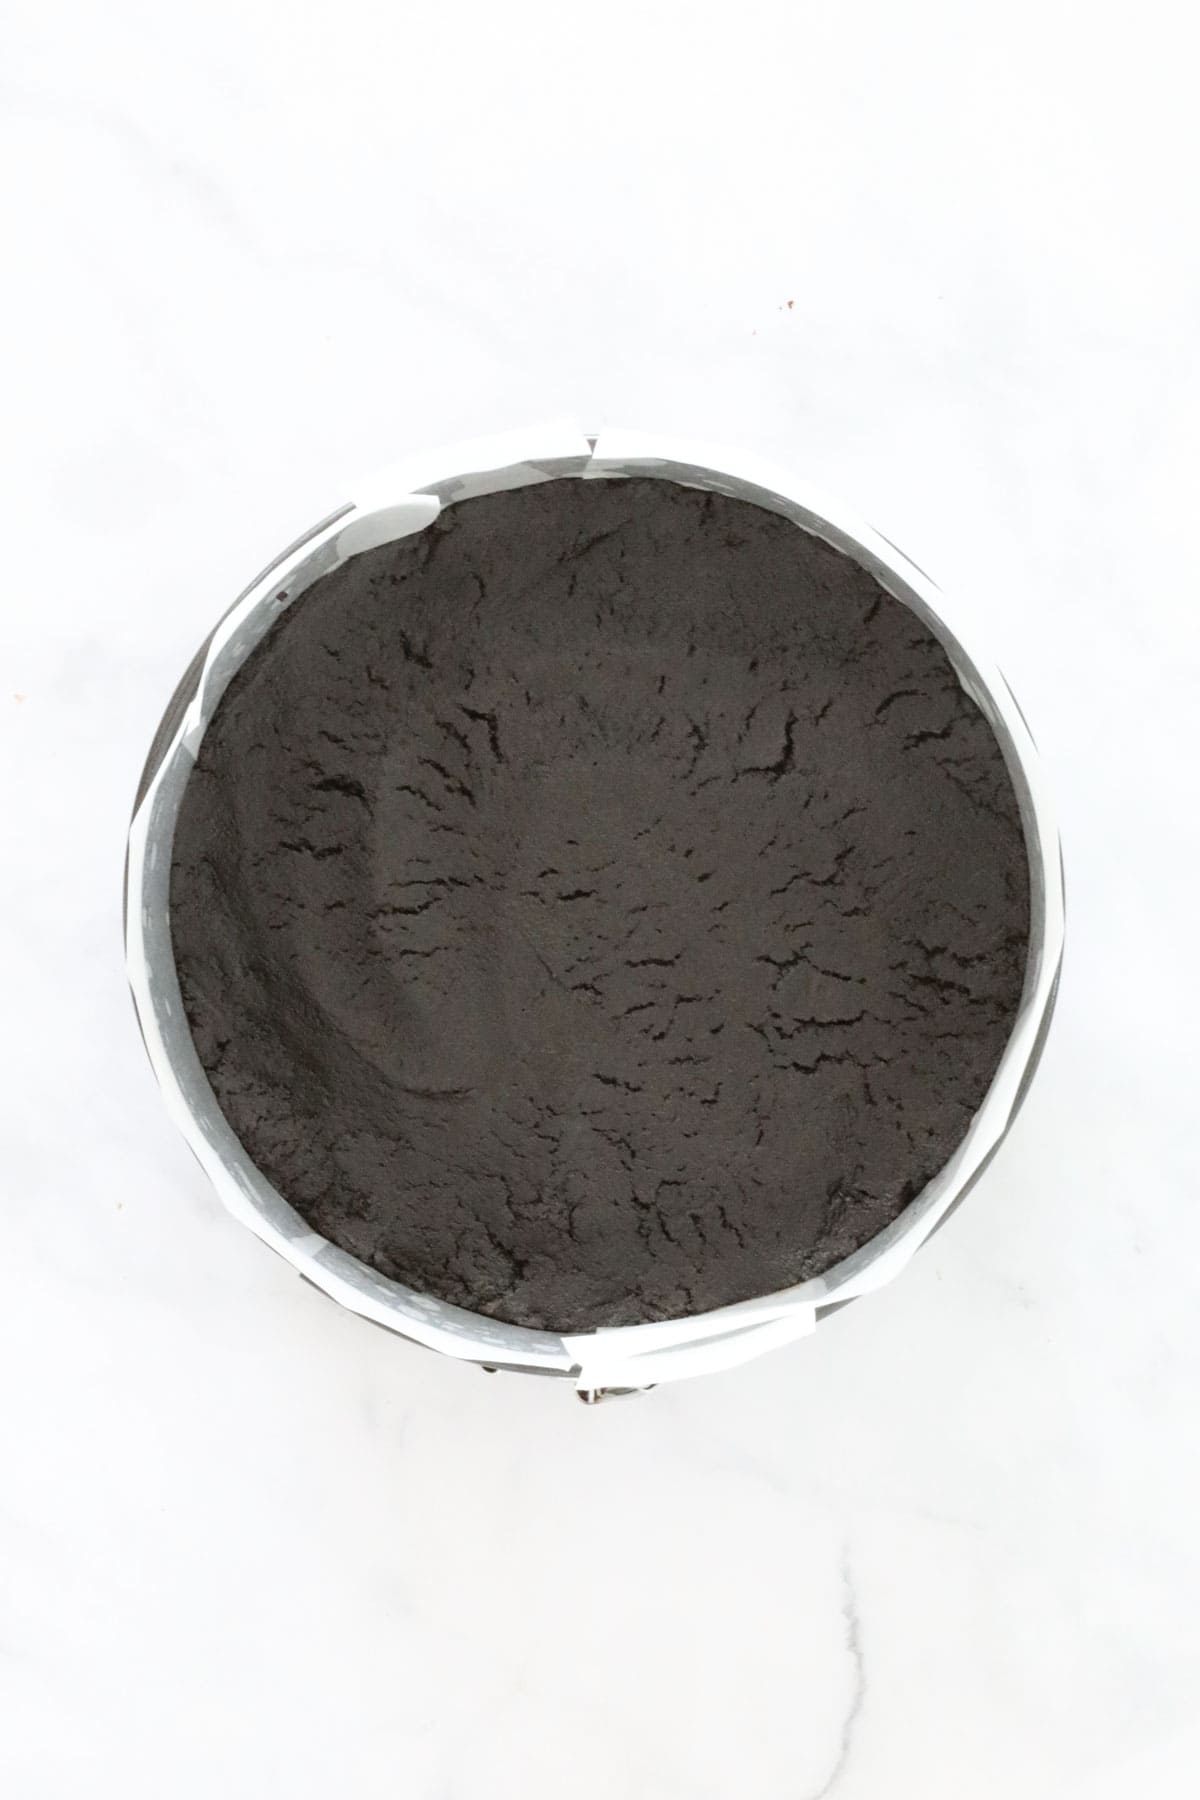
Press the mixture firmly into the base of the pan and place into the fridge.
Step 2 – Prepare The Filling Ingredients
Whip the cream lightly and set aside.
Melt the milk chocolate in the microwave (or stove-top) and set aside to cool slightly.
Pour ¼ cup of boiling water into a cup, sprinkle over the gelatine and stir until dissolved (see FAQs). Allow this to cool.
Step 3 – Combine The Filling Ingredients
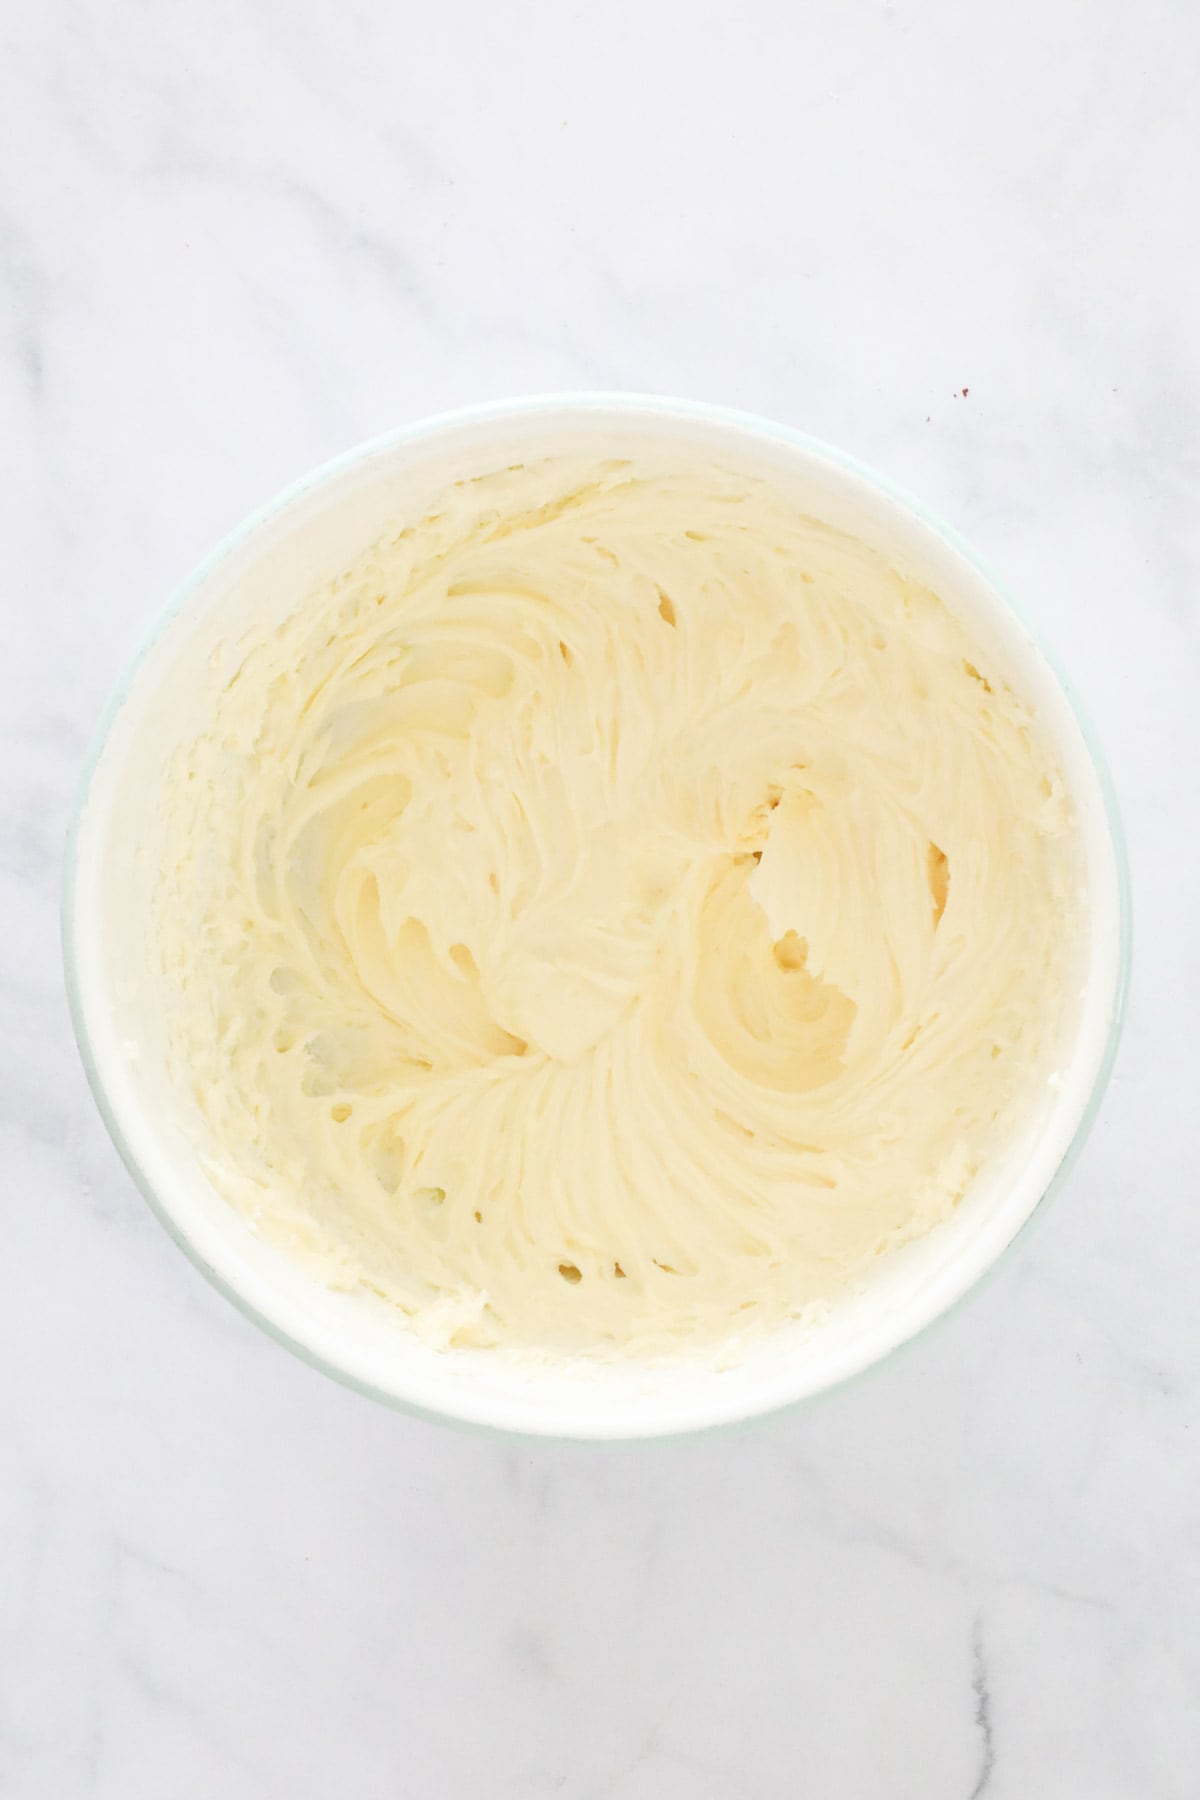
Beat the cream cheese, vanilla bean paste and caster sugar until smooth and creamy.
Add the cooled, dissolved gelatine and the cooled melted chocolate to the mixture and beat until well combined.
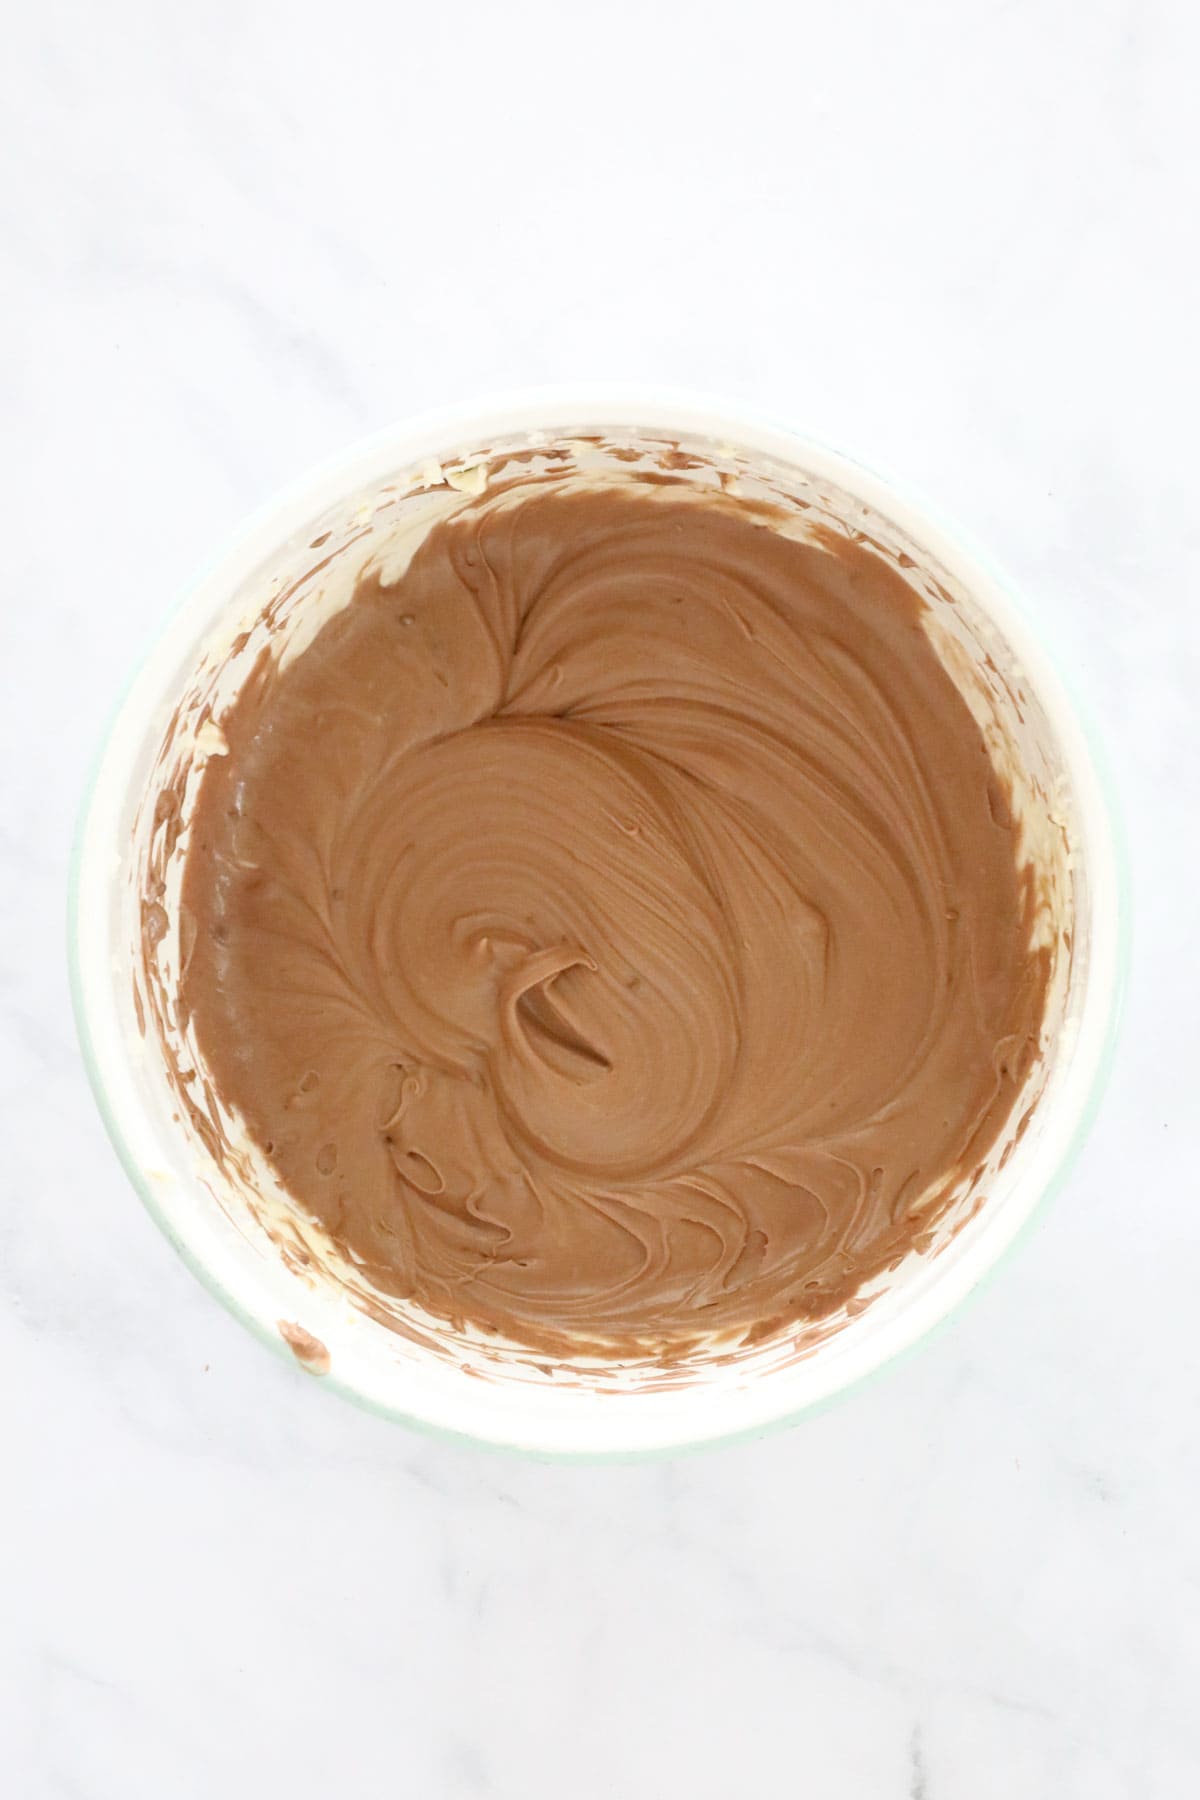
Add the whipped cream to the bowl.
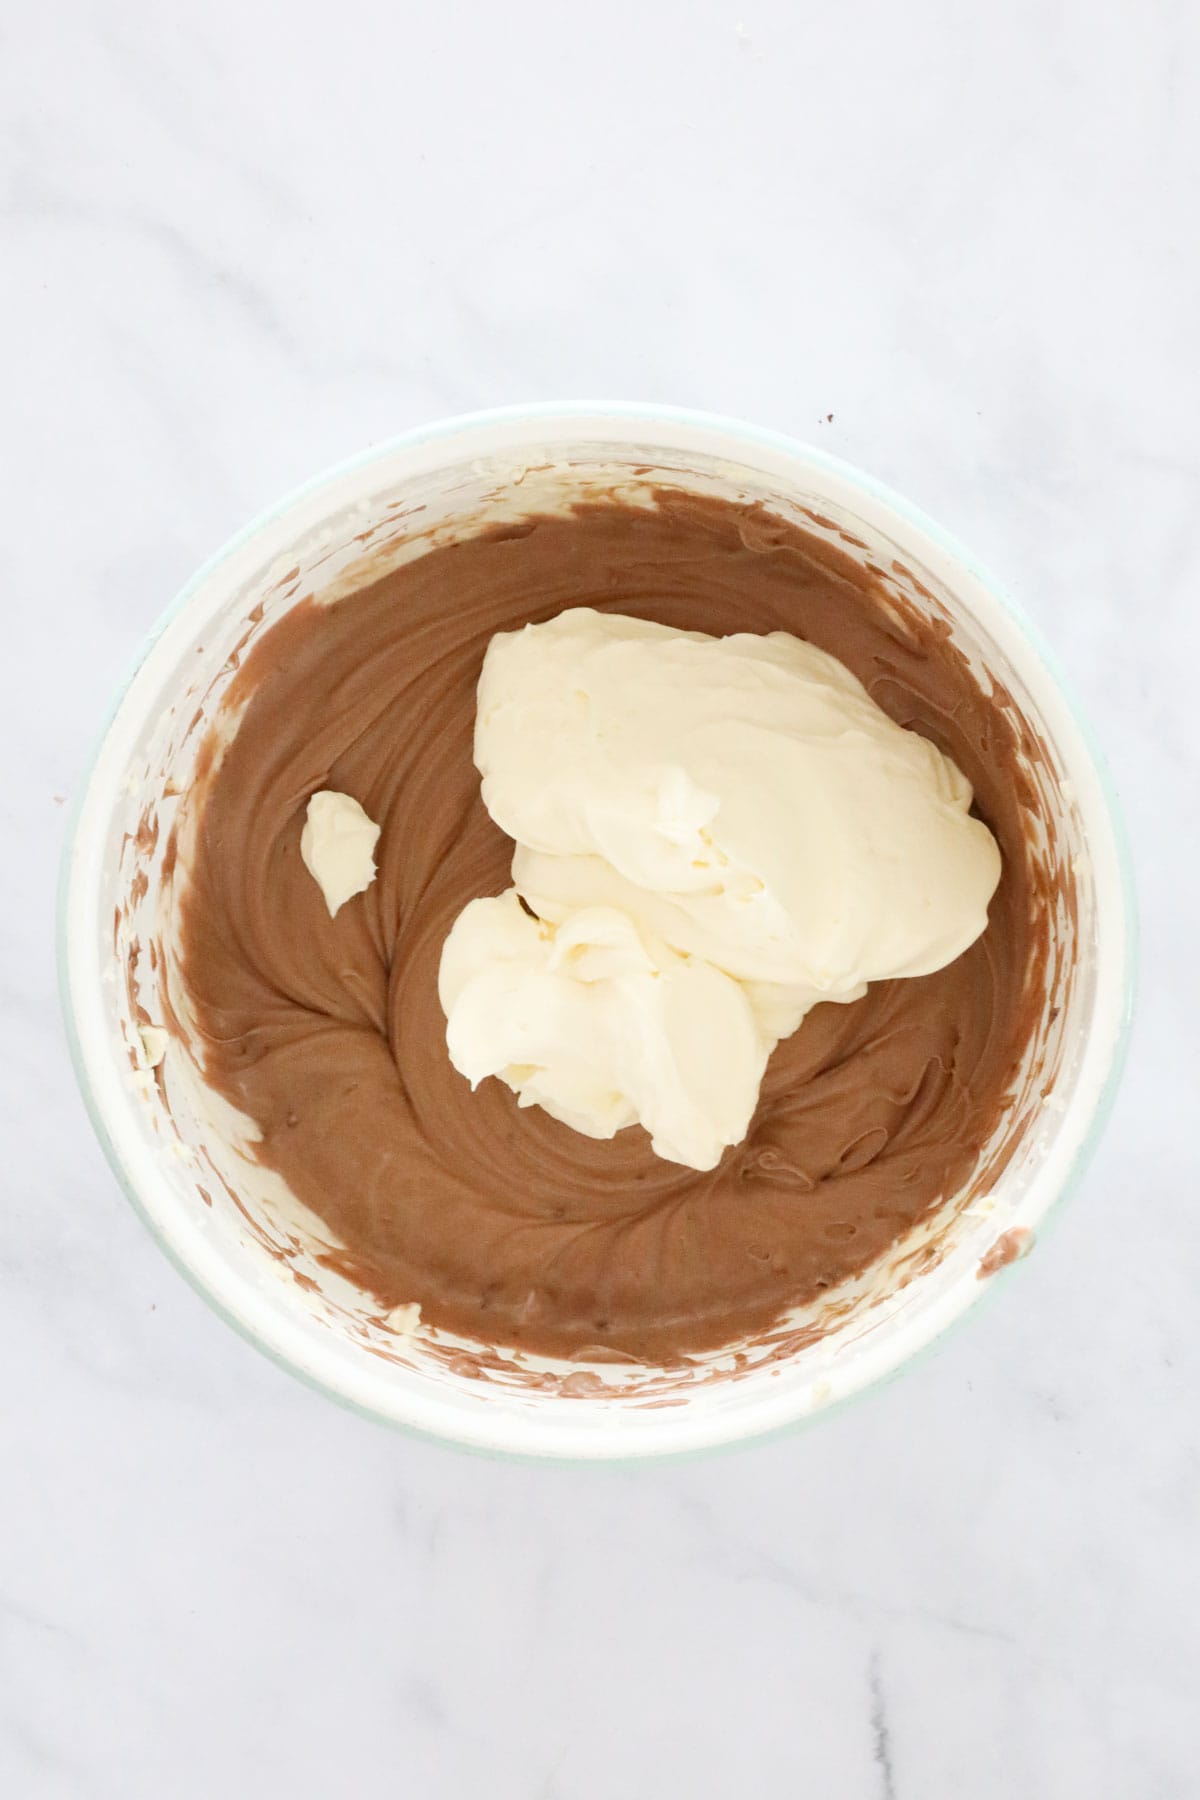
Gently combine the filling ingredients using a spatula.
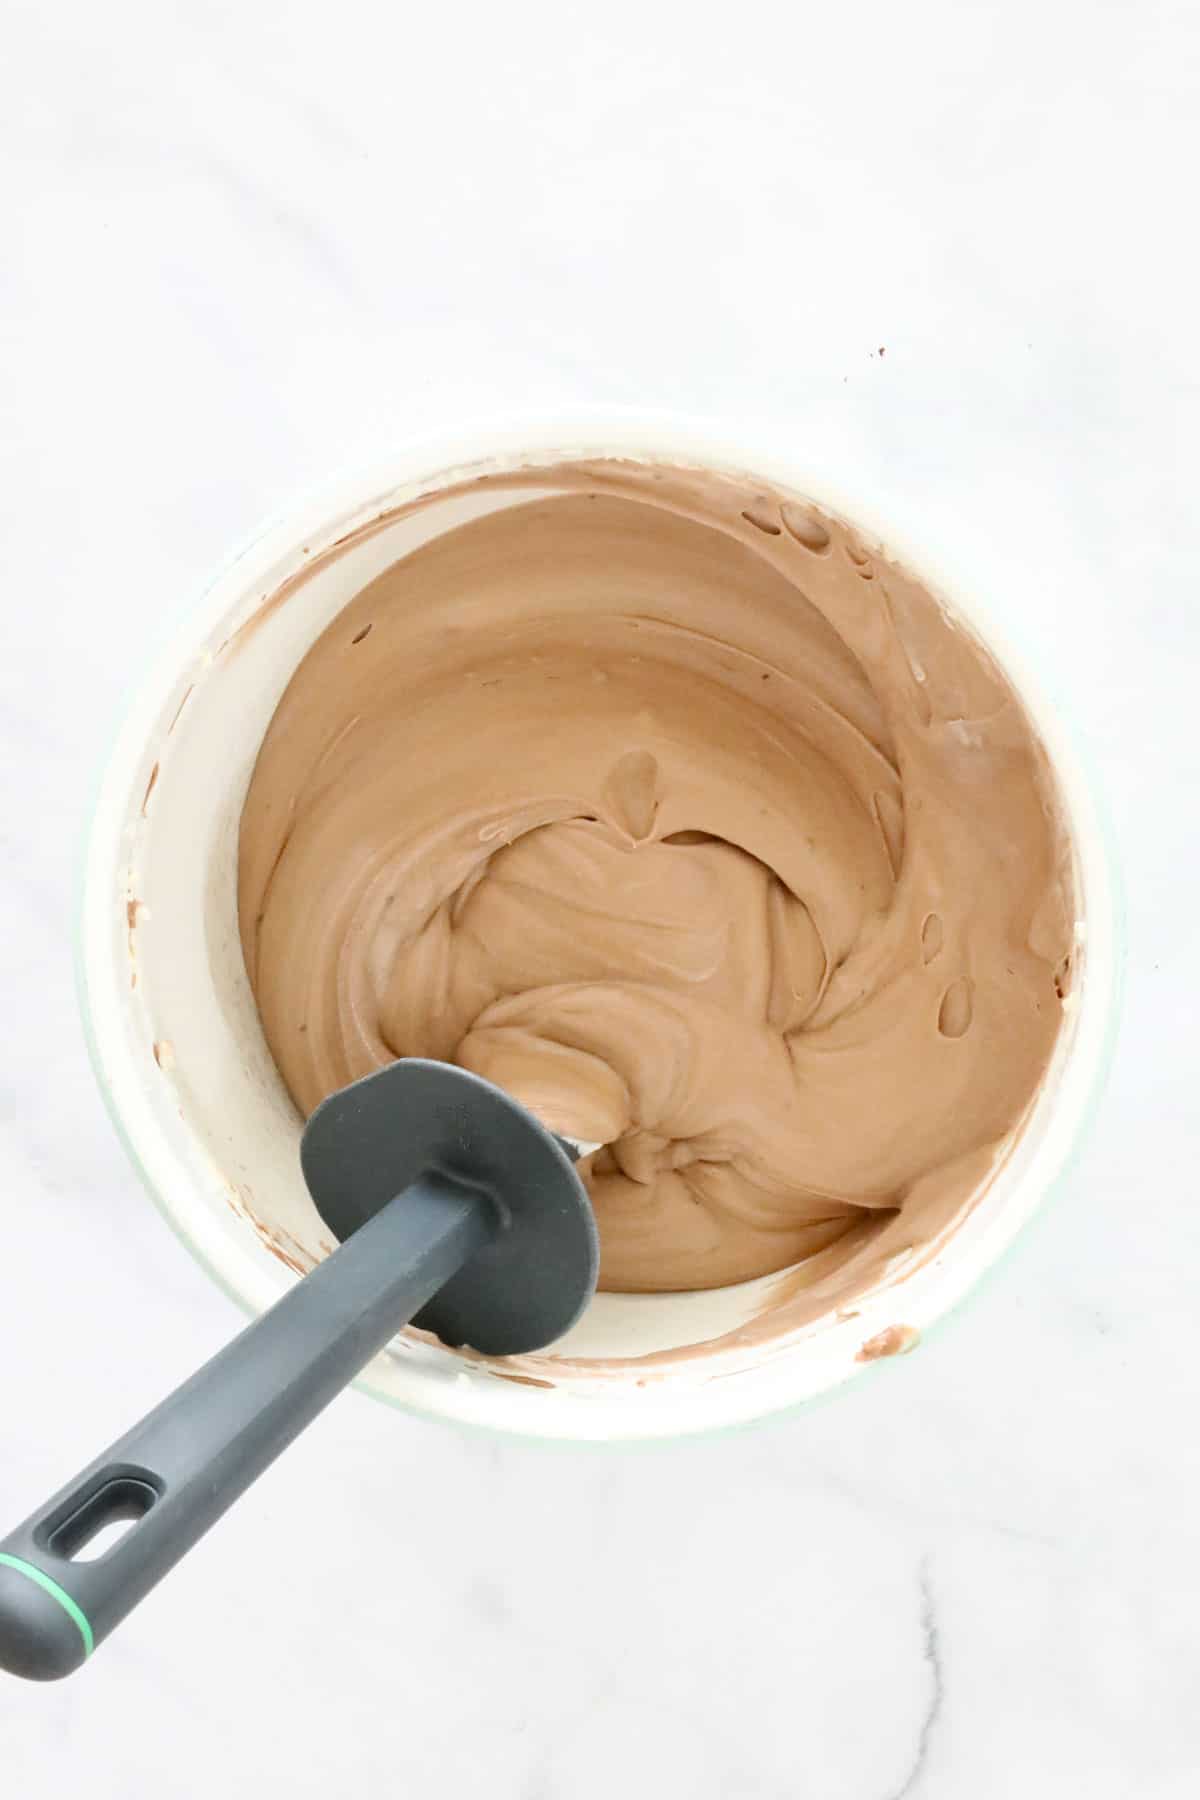
Step 4 – Assemble
Spoon the mixture into the prepared springform tin. Spread out evenly with a spoon.
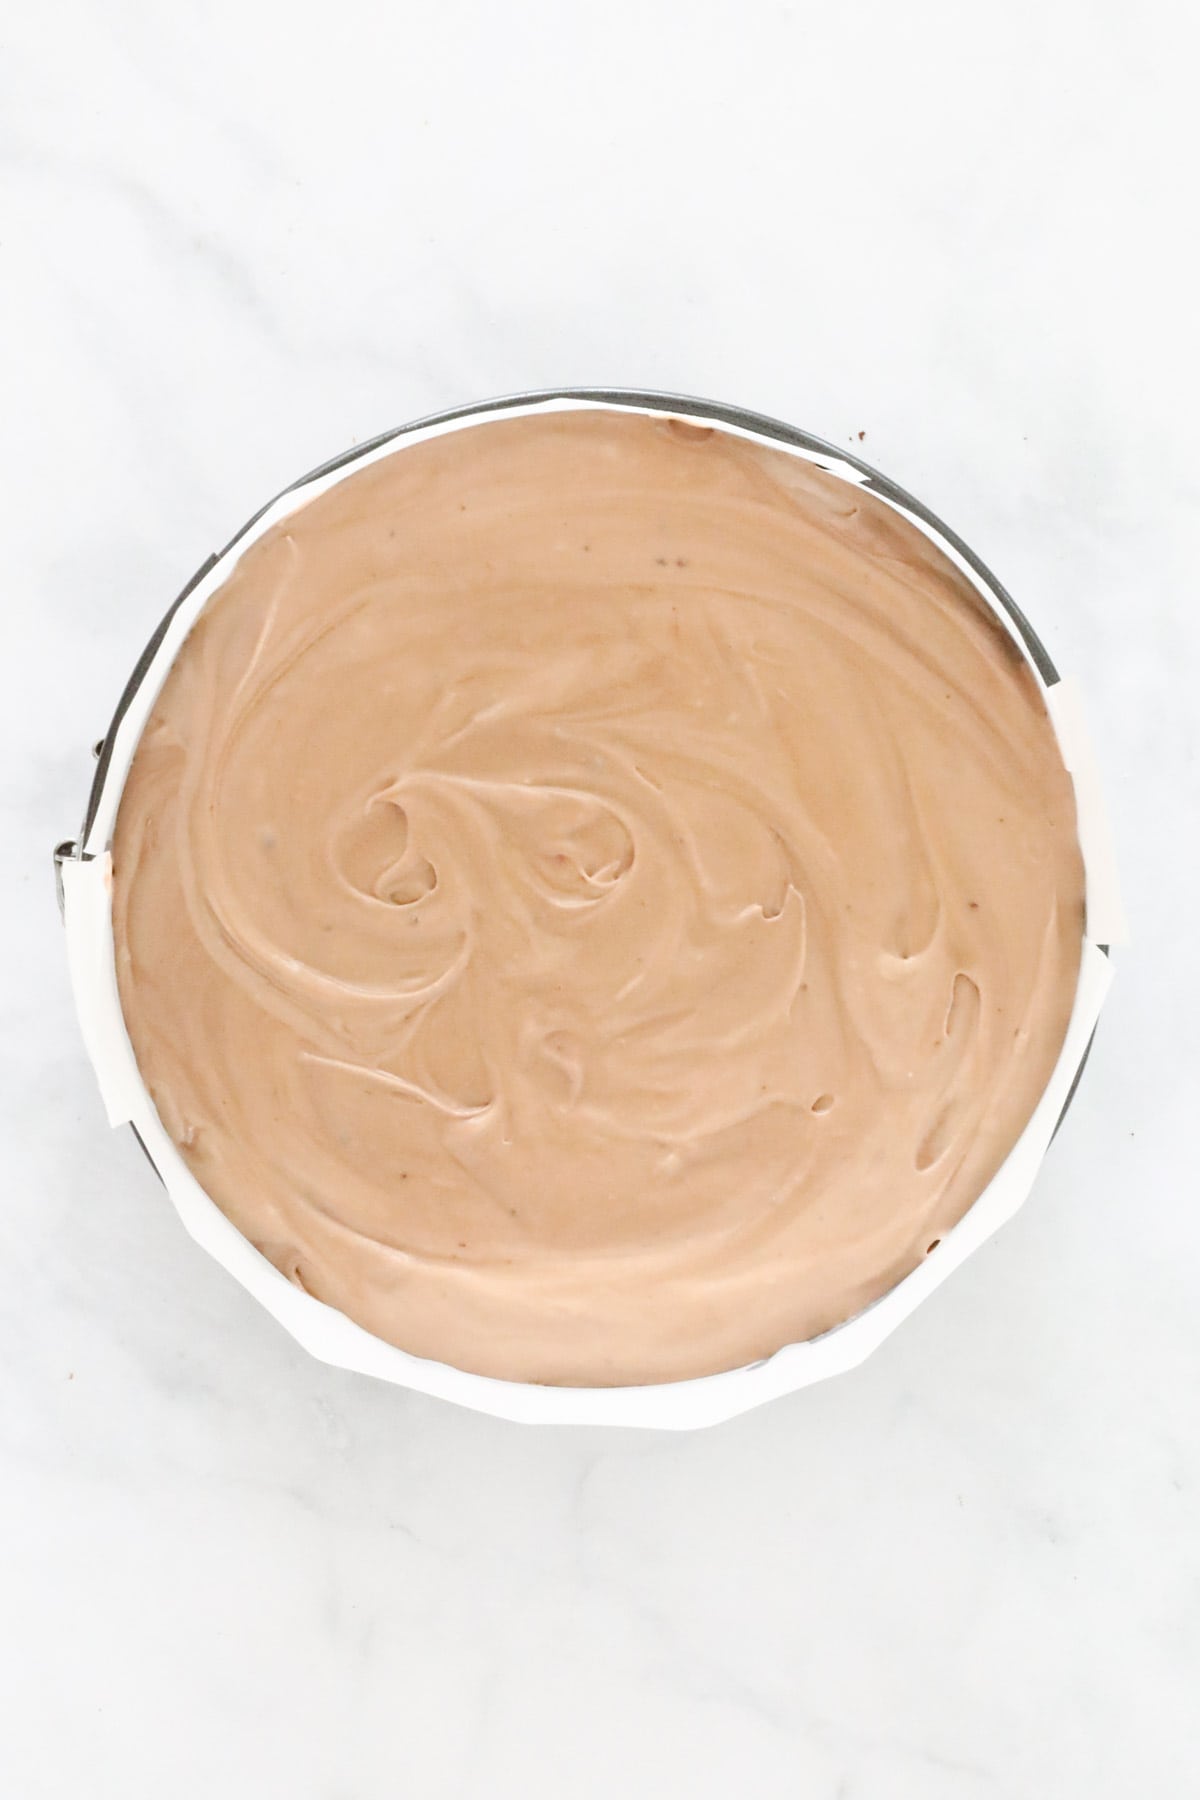
Place the cheesecake into the fridge overnight for best results (if possible), or for at least 4 hours as a minimum.
Step 5 – To Decorate
Whip the thickened cream using hand-held beaters or a stand mixer until firm peaks form. Spread the whipped cream over the top of the cheesecake.
Grate the dark chocolate over the whipped cream.
Drain the liquid from the pitted sweet black cherries, then place cherries around the top of the cheesecake (you may not use the whole can of cherries).
Expert Tips
Chilling the Black Forest cheesecake allows the flavours to fully develop and for the cheesecake filling to firm.
- You probably won’t need the entire tin of cherries.
- You can use fresh cherries if you prefer.
- Make sure that all of your ingredients are at room temperature before you start to ensure you have a smooth, creamy dessert.
- Use a springform pan – it’s best to use a springform pan when making cheesecakes as the removable sides make it easy to transfer the cheesecake from the pan to a serving plate. Grease the pan well and line the base and sides with baking paper to avoid the filling from sticking to the edges.
- Chilling time – a minimum of 4 hours is required but overnight is best whenever possible.
- Store your Black Forest cheesecake in the fridge and consume within 3 days.
- Make ahead, allow to set in the fridge, then freeze your undecorated chocolate cheesecake for up to a month as a whole, or in individual portions. Wrap in a layer of plastic wrap and then a layer of foil and freeze.
FAQs
How do I dissolve gelatine without it forming lumps?
To prevent gelatine from going lumpy, always sprinkle or sift the gelatine powder lightly over the hot water, rather than pour water over the gelatine. Stir the liquid vigorously with a fork or whisk while you add the gelatine powder.
Can I use fresh cherries instead of canned?
Of course, fresh cherries are lovely to use when in season. Canned sweet black cherries are useful when fresh are not available, plus they add an extra luscious flavour to your Black Forest cheesecake from being soaked in a sweet syrup.
Are black sweet cherries the same as Morello cherries?
No, black cherries are much sweeter and the texture is softer than Morello cherries.
Morello cherries are also known as sour cherries, they are a different variety and picked earlier. Morello cherries are usually sweetened when baked in pies, tarts and pasties.
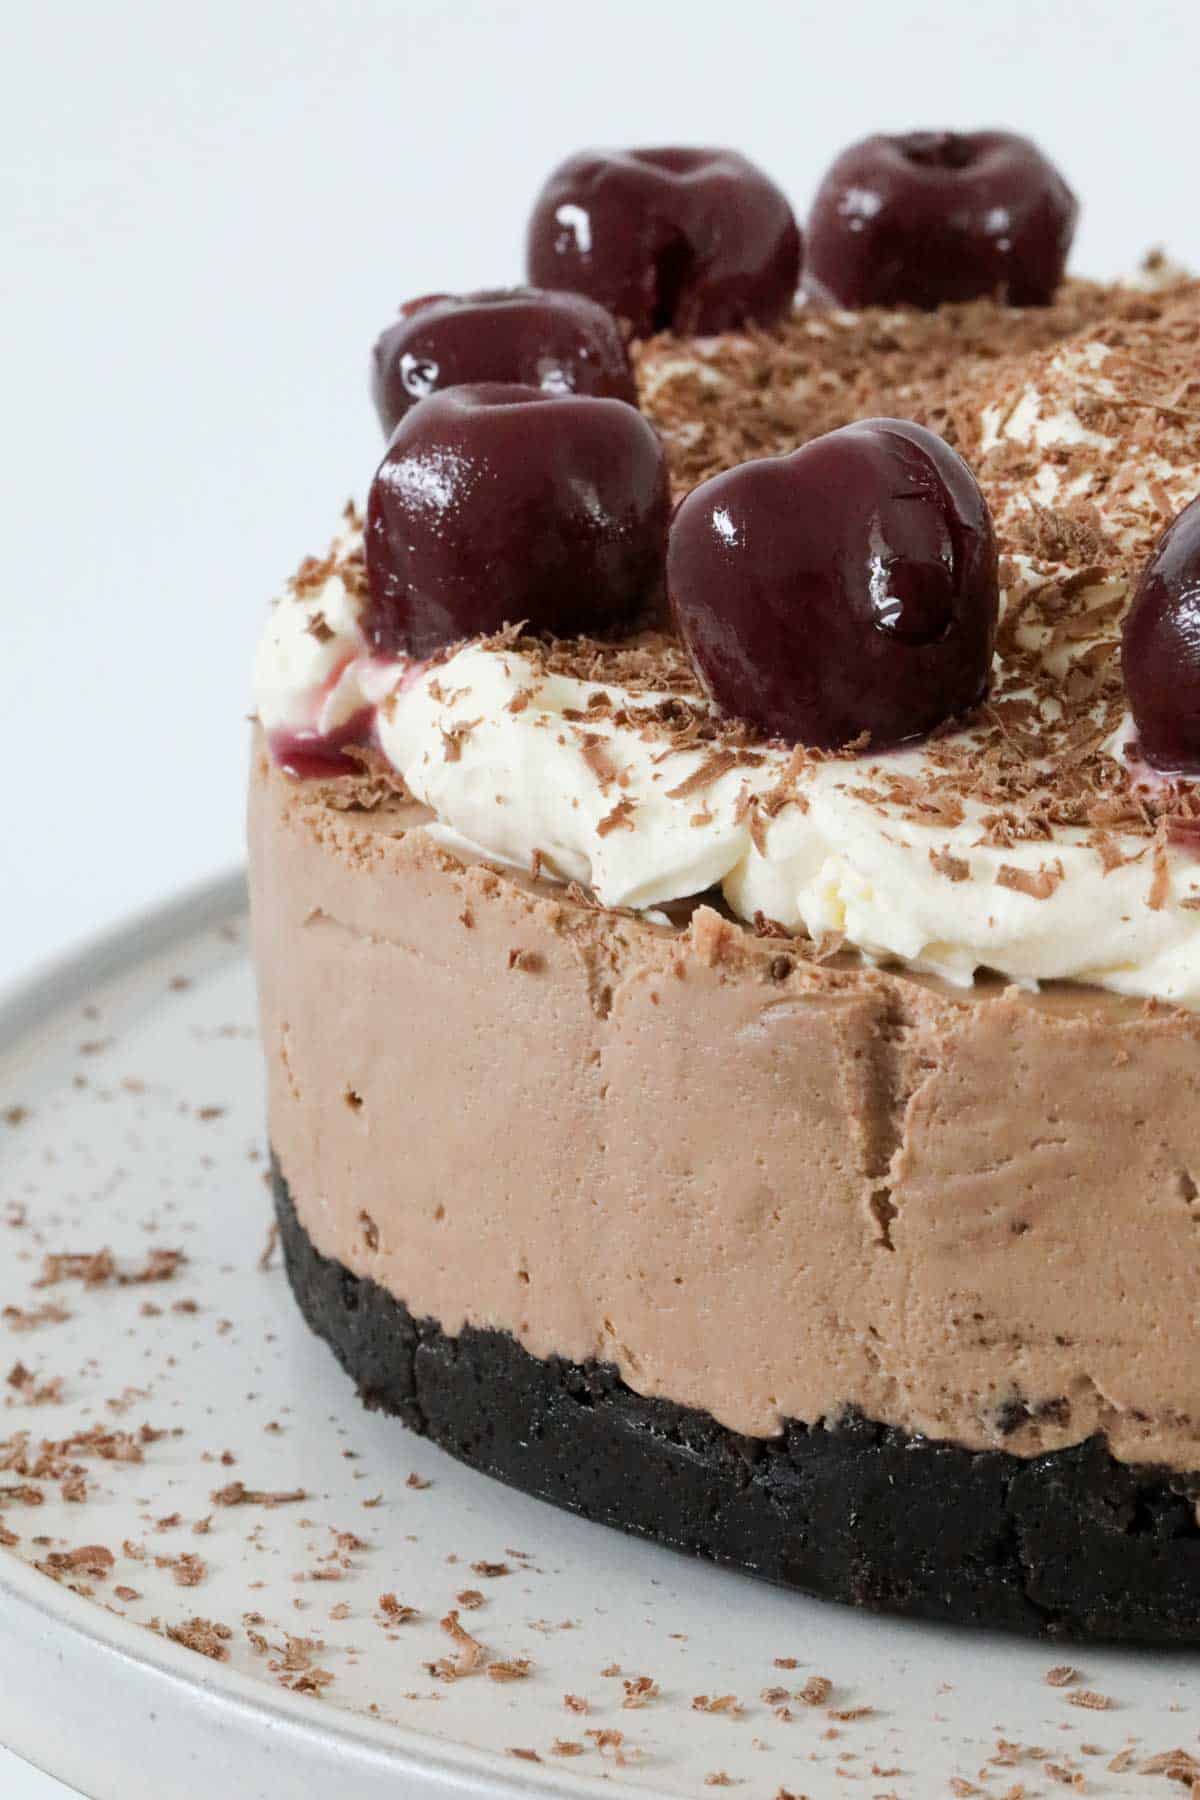
No-bake cheesecakes, such as this Black Forest cheesecake, are my easy go-to when I need a special dessert that I can prepare a day before required (yes, I like to be super organised!)
And t’s just so many delicious cheesecakes to choose from!!!
Follow us on Facebook at @CookGoodRecipes
Black Forest Cheesecake
A simple no-bake Black Forest Cheesecake topped with whipped cream, grated chocolate and cherries.
Course: Dessert
Cuisine: Cheesecake
Prep Time: 20 minutes minutes
Chilling time: 4 hours hours
Total Time: 4 hours hours 20 minutes minutes
Servings: 16 serves
Calories: 467kcal
Ingredients
For The Cheesecake
For Decorating
Prevent your screen from going dark
Instructions
- Grease and line the base and sides of a 23cm spring-form pan with baking paper and set aside.
- Finely crush Oreos in a food processor and place into a bowl. Add the melted butter and mix until well combined.If using a Thermomix: Melt butter in the TM bowl for 2 minutes, 100 degrees, Speed 1. Add the Oreos and crush for 10 seconds, Speed 10. Scrape down the sides of the bowl and repeat until well combined.
- Press the mixture firmly into the base of the pan and place into the fridge.
- Whip the cream and set aside.If using a Thermomix: Whip cream in a clean, dry TM bowl on Speed 3.5 until lightly whipped (the time it takes will depend on the freshness of the cream – it can be anyw between 10 seconds and 2 minutes!!) Set the cream aside in a separate bowl.
- Melt the milk chocolate and set aside to cool slightly.If using a Thermomix: Place the milk chocolate into the TM bowl and melt for 3 minutes on 50 degrees, Speed 2. Set aside in a bowl to cool slightly.
- Pour ¼ cup of boiling water into a cup, sprinkle over the gelatine and stir until dissolved. Allow to cool.
- Beat the cream cheese, vanilla bean paste and caster sugar until smooth and creamy.If using a Thermomix: Beat the cream cheese, vanilla bean paste and caster sugar in a clean and dry TM bowl for 30 seconds on Speed 5. Scrape down the sides with a spatula and repeat until smooth and creamy.
- Add the cooled, dissolved gelatine and the cooled melted chocolate to the mix and beat until well combined.If using a Thermomix: Add the cooled, dissolved gelatine and the cooled melted chocolate to the mix and mix for 30 seconds on Speed 5.
- Fold through the whipped cream.
- Spoon the mixture into the prepared tin. Spread out evenly with a spoon.
- Place the cheesecake into the fridge to set for a minimum of 4 hours (for best results, leave in the fridge overnight).
- Whip the thickened cream using hand-held beaters or a stand mixer until firm peaks form. If using a Thermomix: Whip cream in a clean, dry TM bowl on Speed 3.5 until lightly whipped (the time it takes will depend on the freshness of the cream – it can be anyw between 10 seconds and 2 minutes!!).
- Spread the whipped cream over the top of the cheesecake.
- Grate the dark chocolate over the top of the whipped cream.
- Drain the liquid from the pitted cherries. Decorate the top of the cheesecake with the cherries.
- Cut into slices and serve.
Notes
RECIPE NOTES & TIPS
- You probably won’t need the entire tin of cherries.
- You can use fresh cherries if you prefer
- Ensure that the cream cheese is at room temperature before you start to ensure you have a smooth, creamy cheesecake filling.
- Use a springform pan – it’s best to use a springform pan when making cheesecakes as the removable sides make it easy to transfer the cheesecake from the pan to a serving plate. Grease the pan well and line the base and sides with baking paper to avoid the filling from sticking to the edges.
- Chilling time – a minimum of 4 hours is required but overnight is best whenever possible.
- Store your cheesecake in the fridge and consume within 3 days.
- Make ahead, allow to set in the fridge, then freeze your cheesecake for up to a month as a whole or in individual portions. Wrap in a layer of plastic wrap and then a layer of foil and freeze.
Recipe by CookGoodRecipes.com
Nutrition
Calories: 467kcal | Carbohydrates: 33g | Protein: 5g | Fat: 37g | Saturated Fat: 21g | Polyunsaturated Fat: 2g | Monounsaturated Fat: 11g | Trans Fat: 0.2g | Cholesterol: 83mg | Sodium: 216mg | Potassium: 173mg | Fiber: 2g | Sugar: 26g | Vitamin A: 1072IU | Vitamin C: 0.2mg | Calcium: 63mg | Iron: 3mg


